GAP Guardian v3.11 - User Guide
Introduction
This article explains how to use the GAP Guardian app for iOS and Android.
Contents
- Installation
- Getting Started
- Navigation
- SOS
- Monitor Me
- Check-In Schedules
- Tracking
- Messages
- Maps
- Devices
- Travel Alerts
- Itineraries
- Documents
- Quick Call
- Take Photo
- Notes
- My Info
- Location Service Settings
- Privacy Settings
- Analytics Settings
- Log
- App Tester
- Beacons
- Deactivation
Installation
You can install GAP Guardian from the Apple or Android app stores using the links below:
To run the app on iOS, your device needs to be running a minimum of iOS v12.0.0.
To run the app on Android, your device needs to be running a minimum of Android v11.
Getting Started
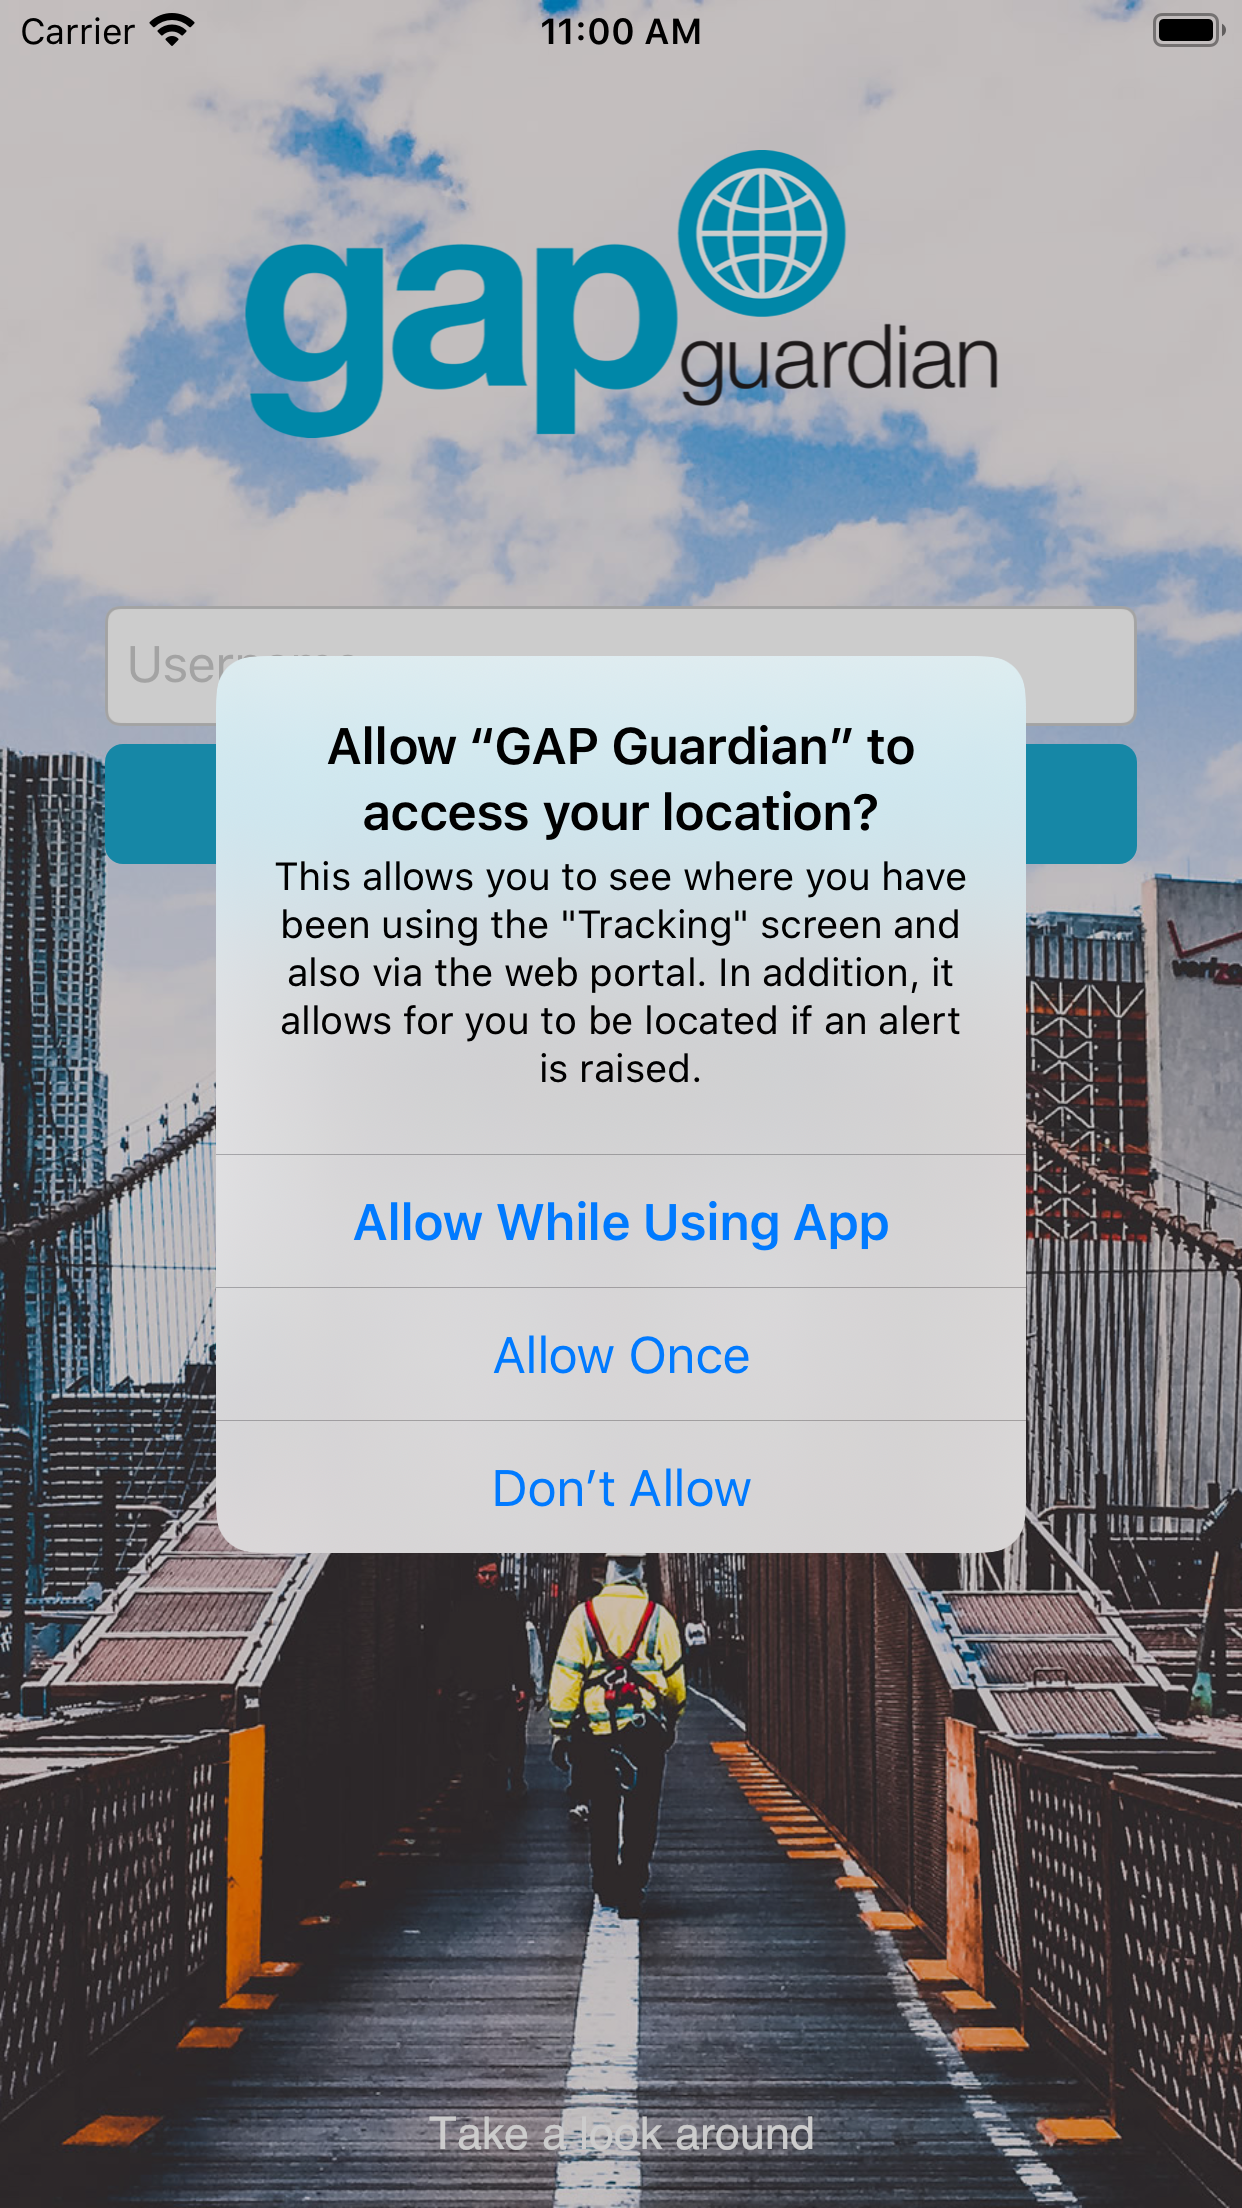
When you start the app for the first time on iOS, you may be prompted to allow the app access to your location. Tap "Allow While Using App". Later you may be prompted to permit the app to use your location when it runs in the background. If this happens, tap "Always Allow". You may also be prompted to allow the app to send you notifications. Tap "Allow".
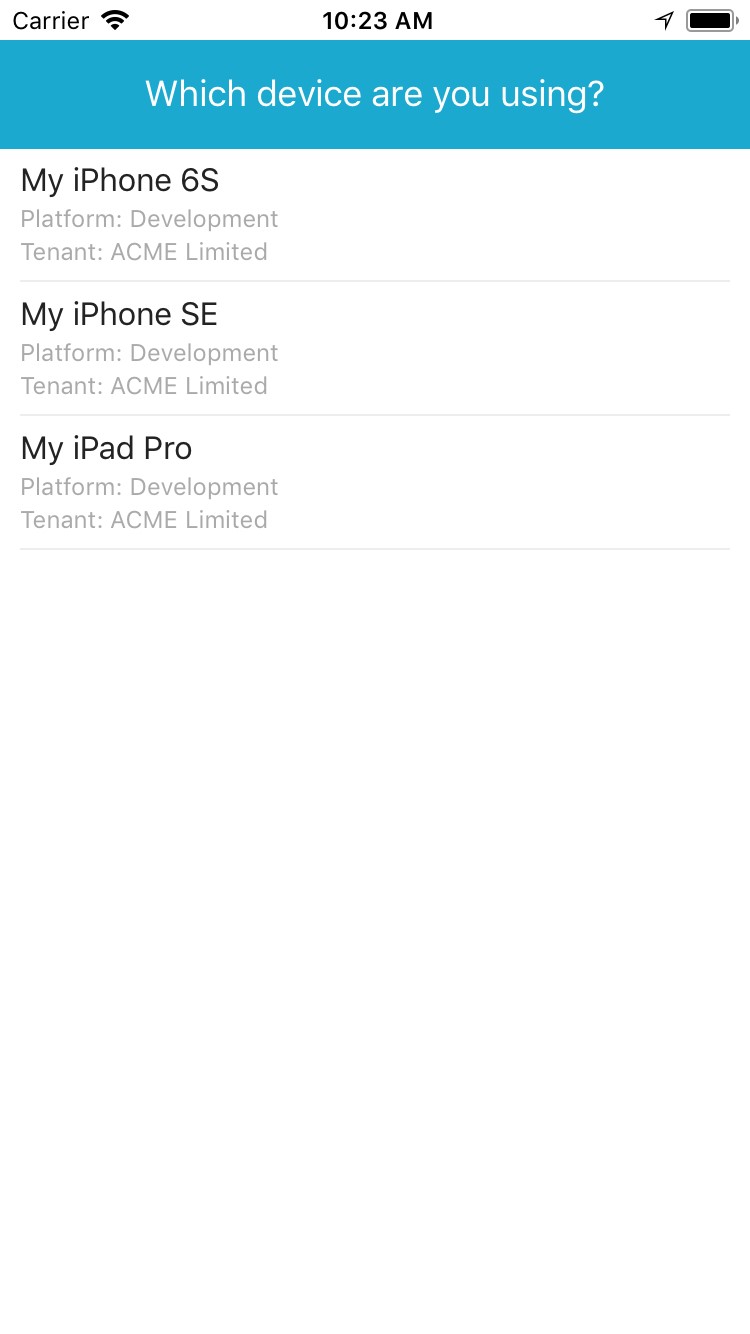
Enter your user name in the "Username" text box then tap "Next". When prompted for a password, enter it and tap "Password" text box and tap "Login". If you only have one device assigned to you on the Portal, your credentials will be validated, and the Dashboard will load. If you have more than one device assigned to you, you will be asked to select which device you are using. Finally, you may be prompted to accept your service provider's terms and conditions before proceeding to the Dashboard.
How to change the display language
To change the display language, tap the "Settings" button then "App Language". Select a language from the list then tap the "Back" button in the banner.
Navigation
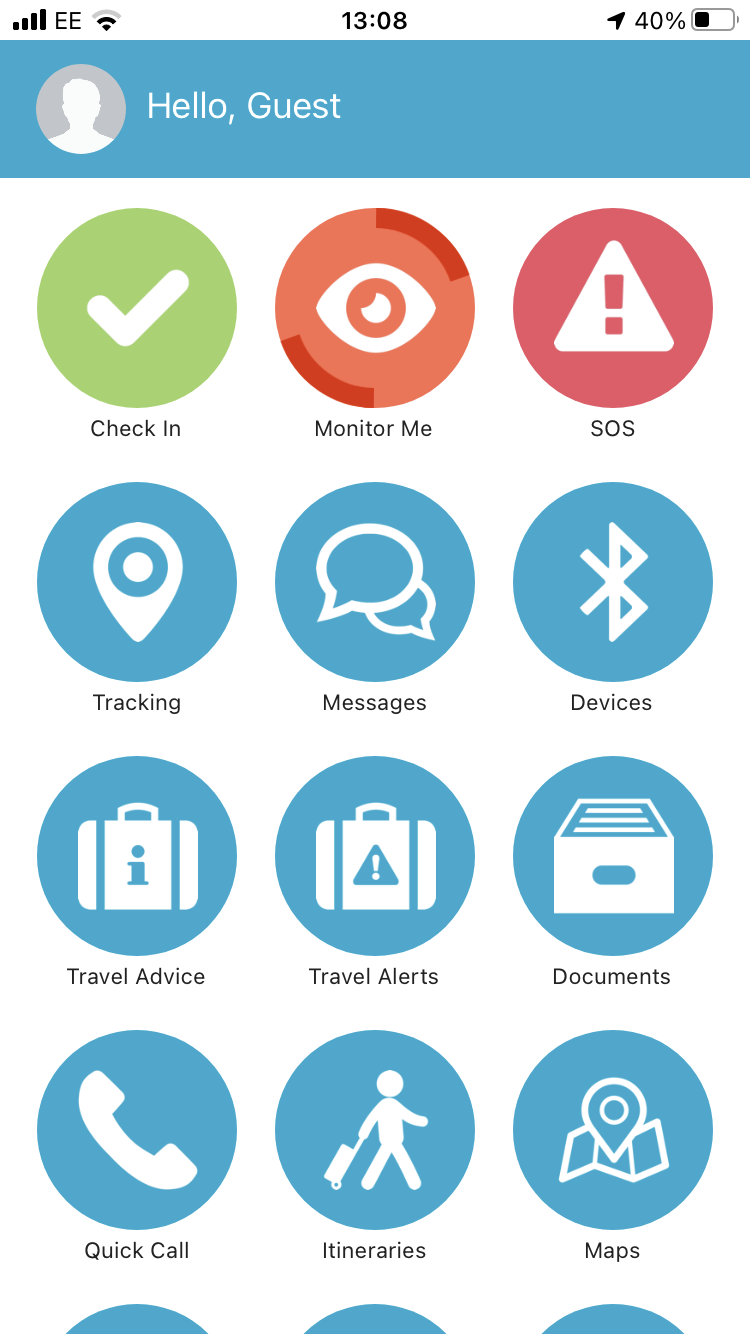
The Dashboard screen shows all the app functions available to you.
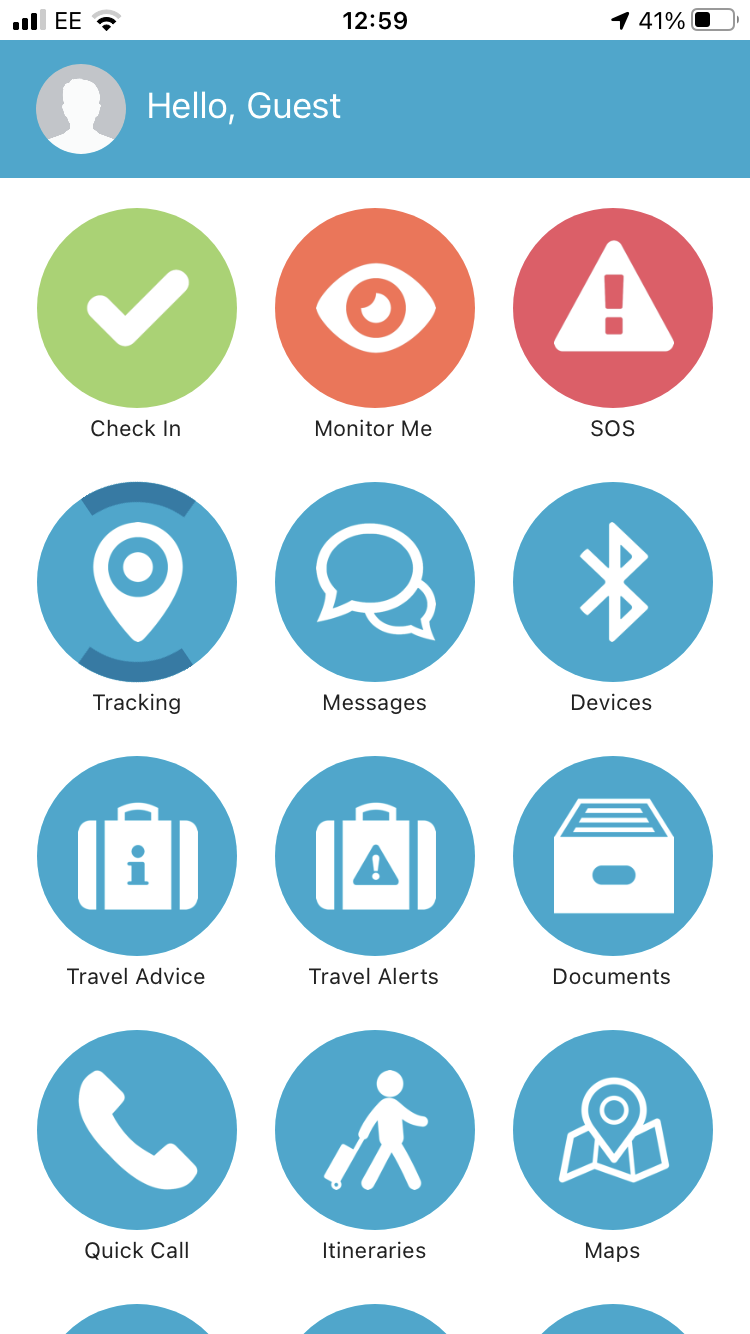
Note: some functions may not be available to you as a result of configuration undertaken by your administrator.
SOS
SOS mode raises an emergency alert on the Portal. It is used to indicate that you are in danger and require assistance.
How to activate SOS mode
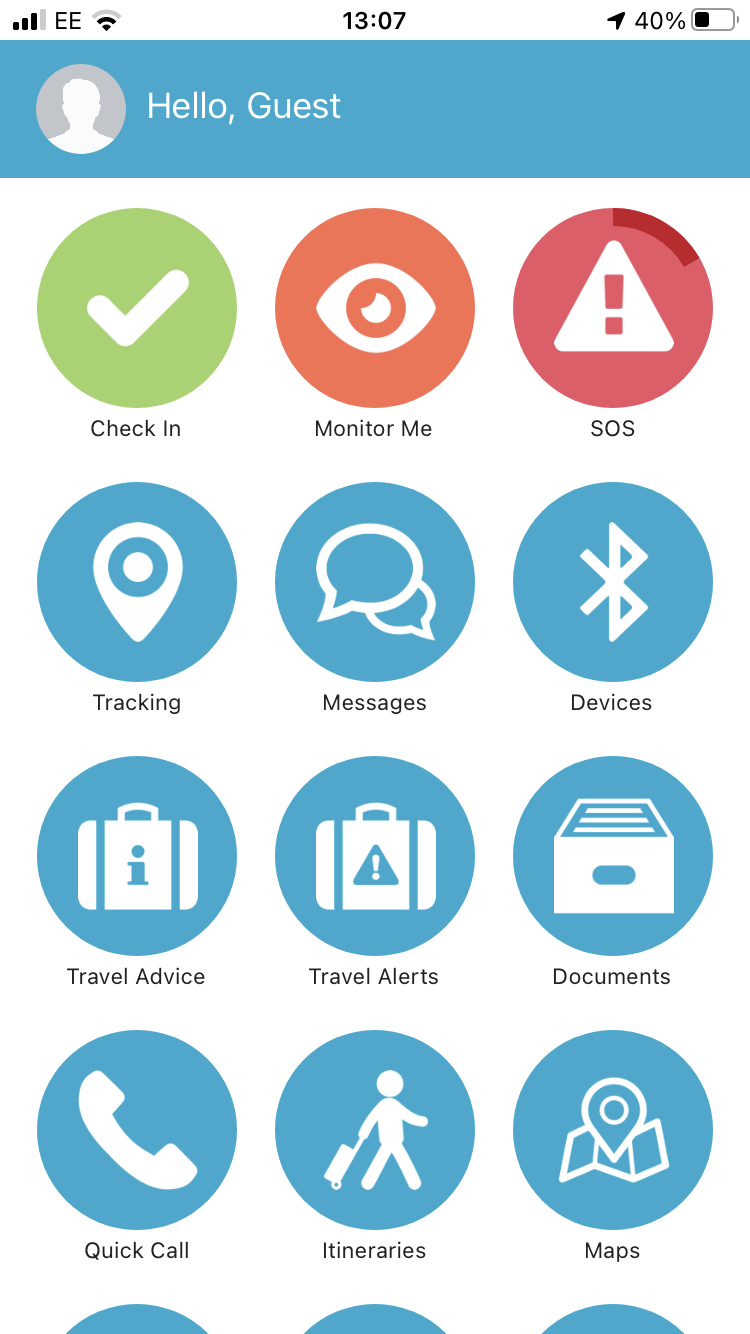
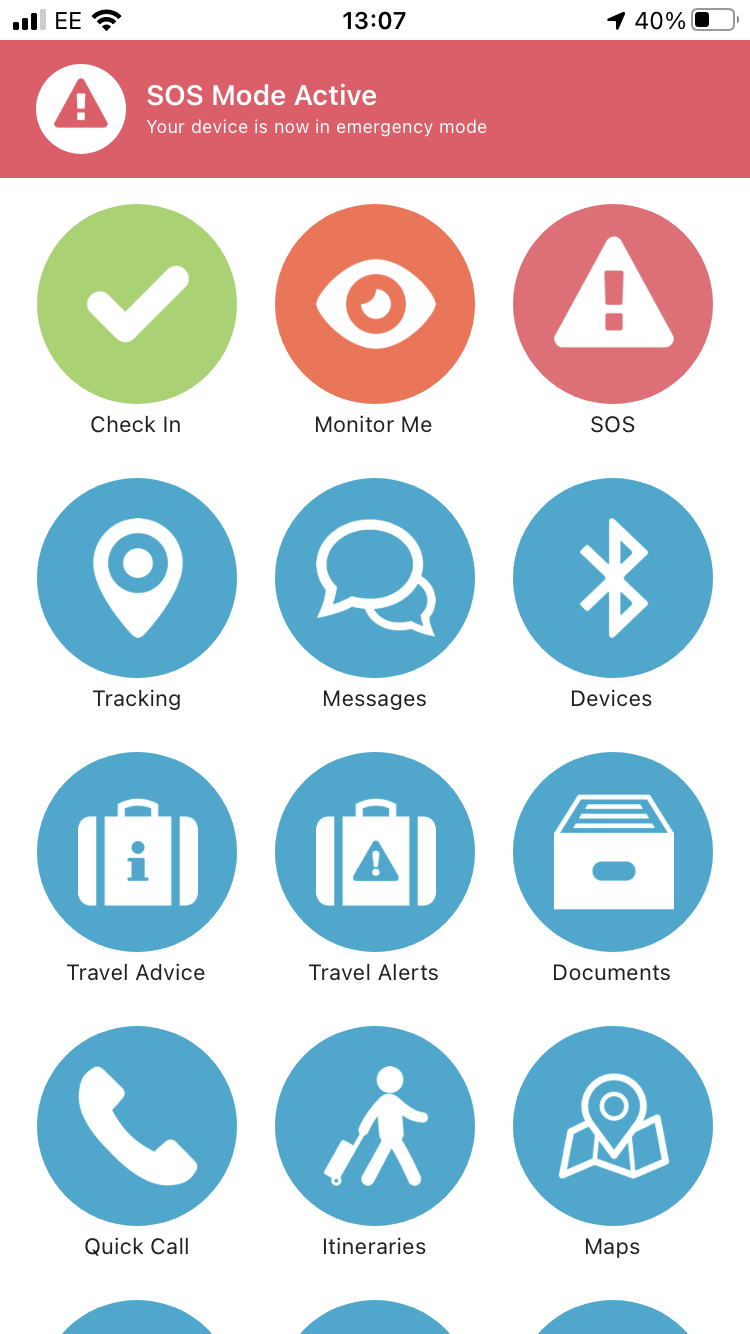
To activate SOS mode, press and hold the "SOS" button until the animation around the edge of the icon completes a full circle. When complete, a red banner will display, and the "SOS" button will pulsate. An SOS message will be sent at regular intervals to the Portal.
How to configure the SOS message interval
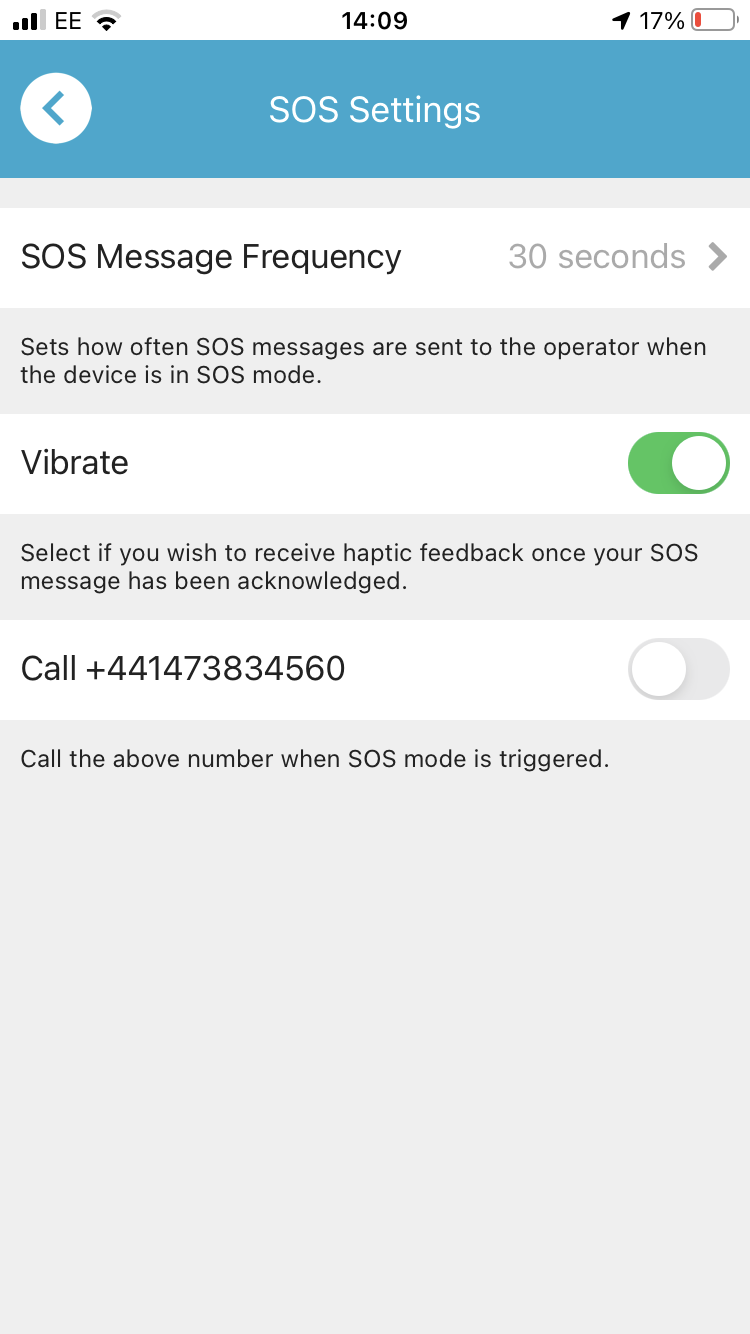
To configure the SOS message interval, tap the "Settings" button then tap "SOS" and then "SOS Message Frequency". Select your chosen interval from the list.
How to trigger a phone call when SOS mode is started
To trigger a phone call when SOS mode is started, tap the "Settings" button then "SOS". Flick the "Call ... " option to "on". The number called will be defined by your administrator. Please see the Administration Guide for more information.
How to enable haptic feedback (vibration) when an SOS is acknowledged
To enable haptic feedback (vibration) when an SOS mode is acknowledged, tap the "Settings" button then "SOS". Flick the "Vibrate" option to "on".
Note: on iOS, the "Vibrate on Ring" setting (tap Settings then Sounds) should also be enabled.
How to cancel SOS mode
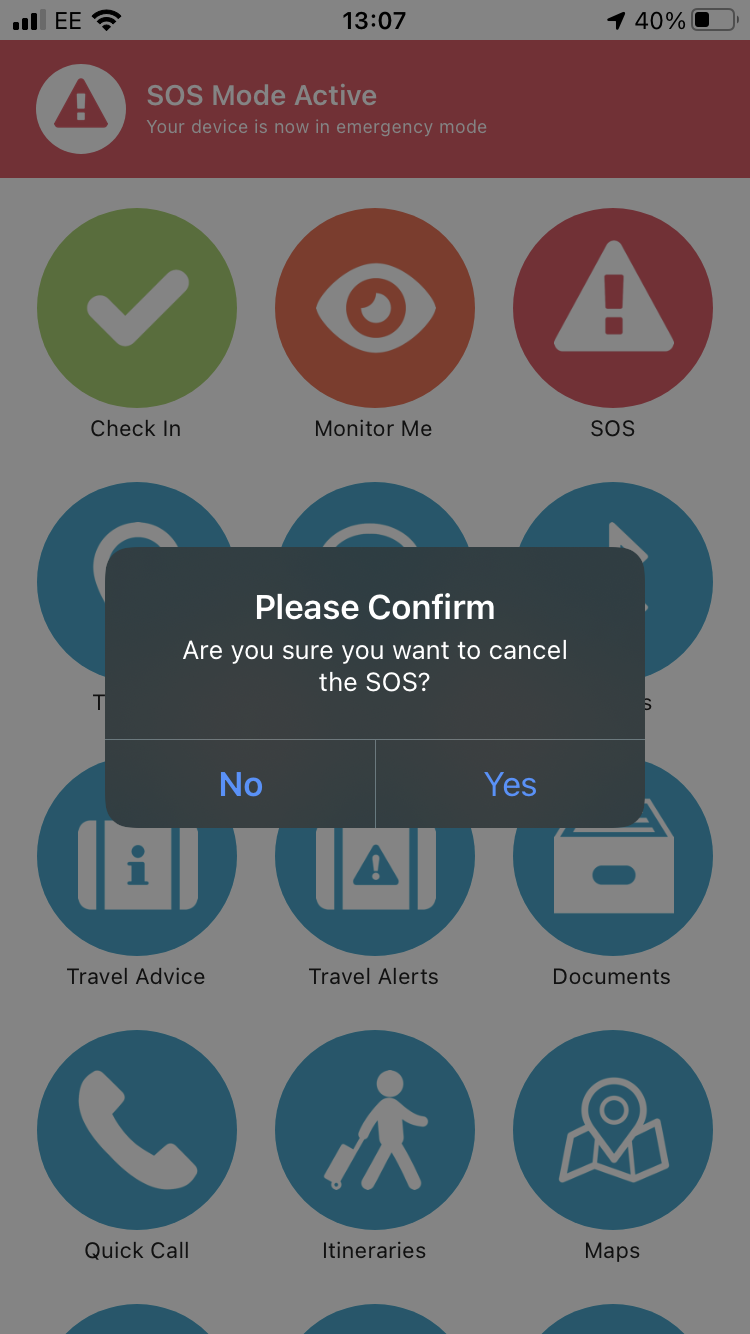
To cancel SOS mode, tap the "SOS" button and tap "Yes" at the warning prompt.
Monitor Me
Monitor Me is a customisable, user-initiated monitoring mode which allows you to decide what aspects of monitoring you would like to activate when Monitor Me is switched on. These include:
- How often you should be required to check in
- How often your position should be reported
- If man-down detection should be enabled
- If a call should be initiated so that a remote operator can listen in
How to configure Monitor Me
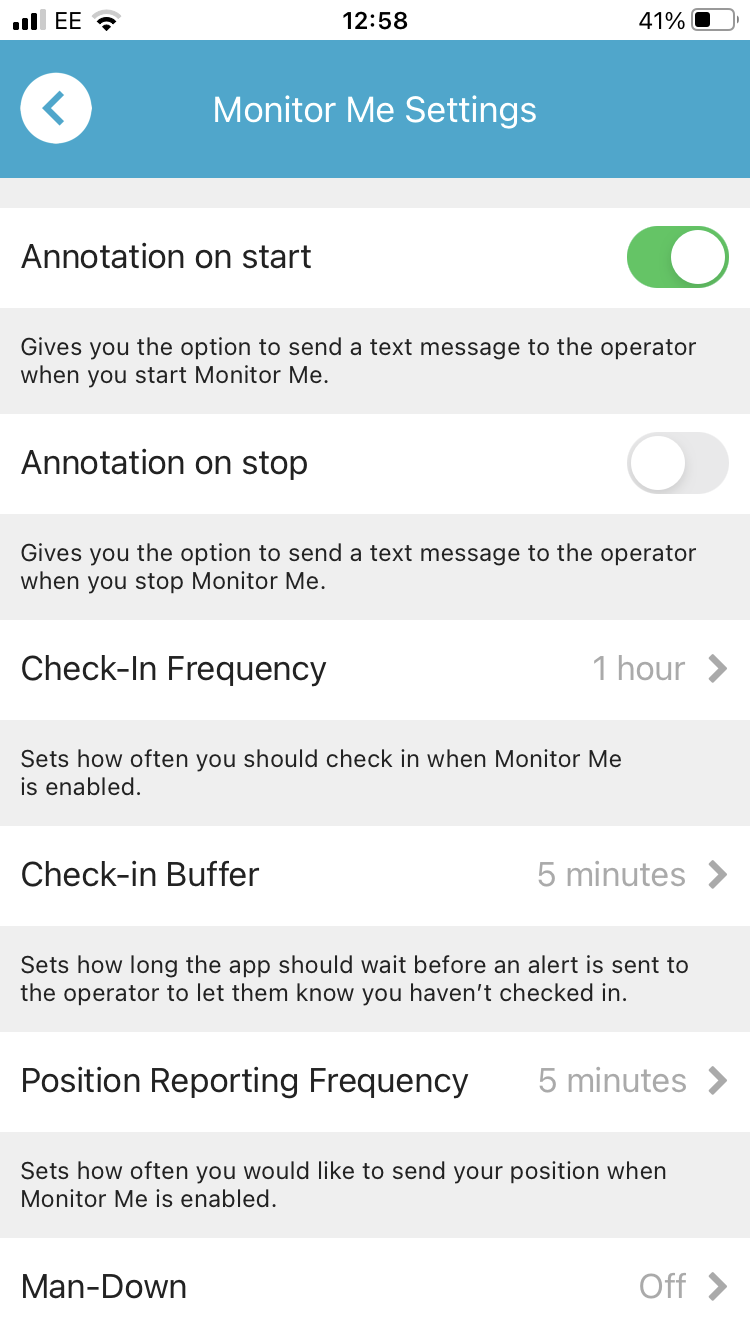
To configure your Monitor Me settings, tap the "Settings" button then "Monitor Me". You can configure the following values:
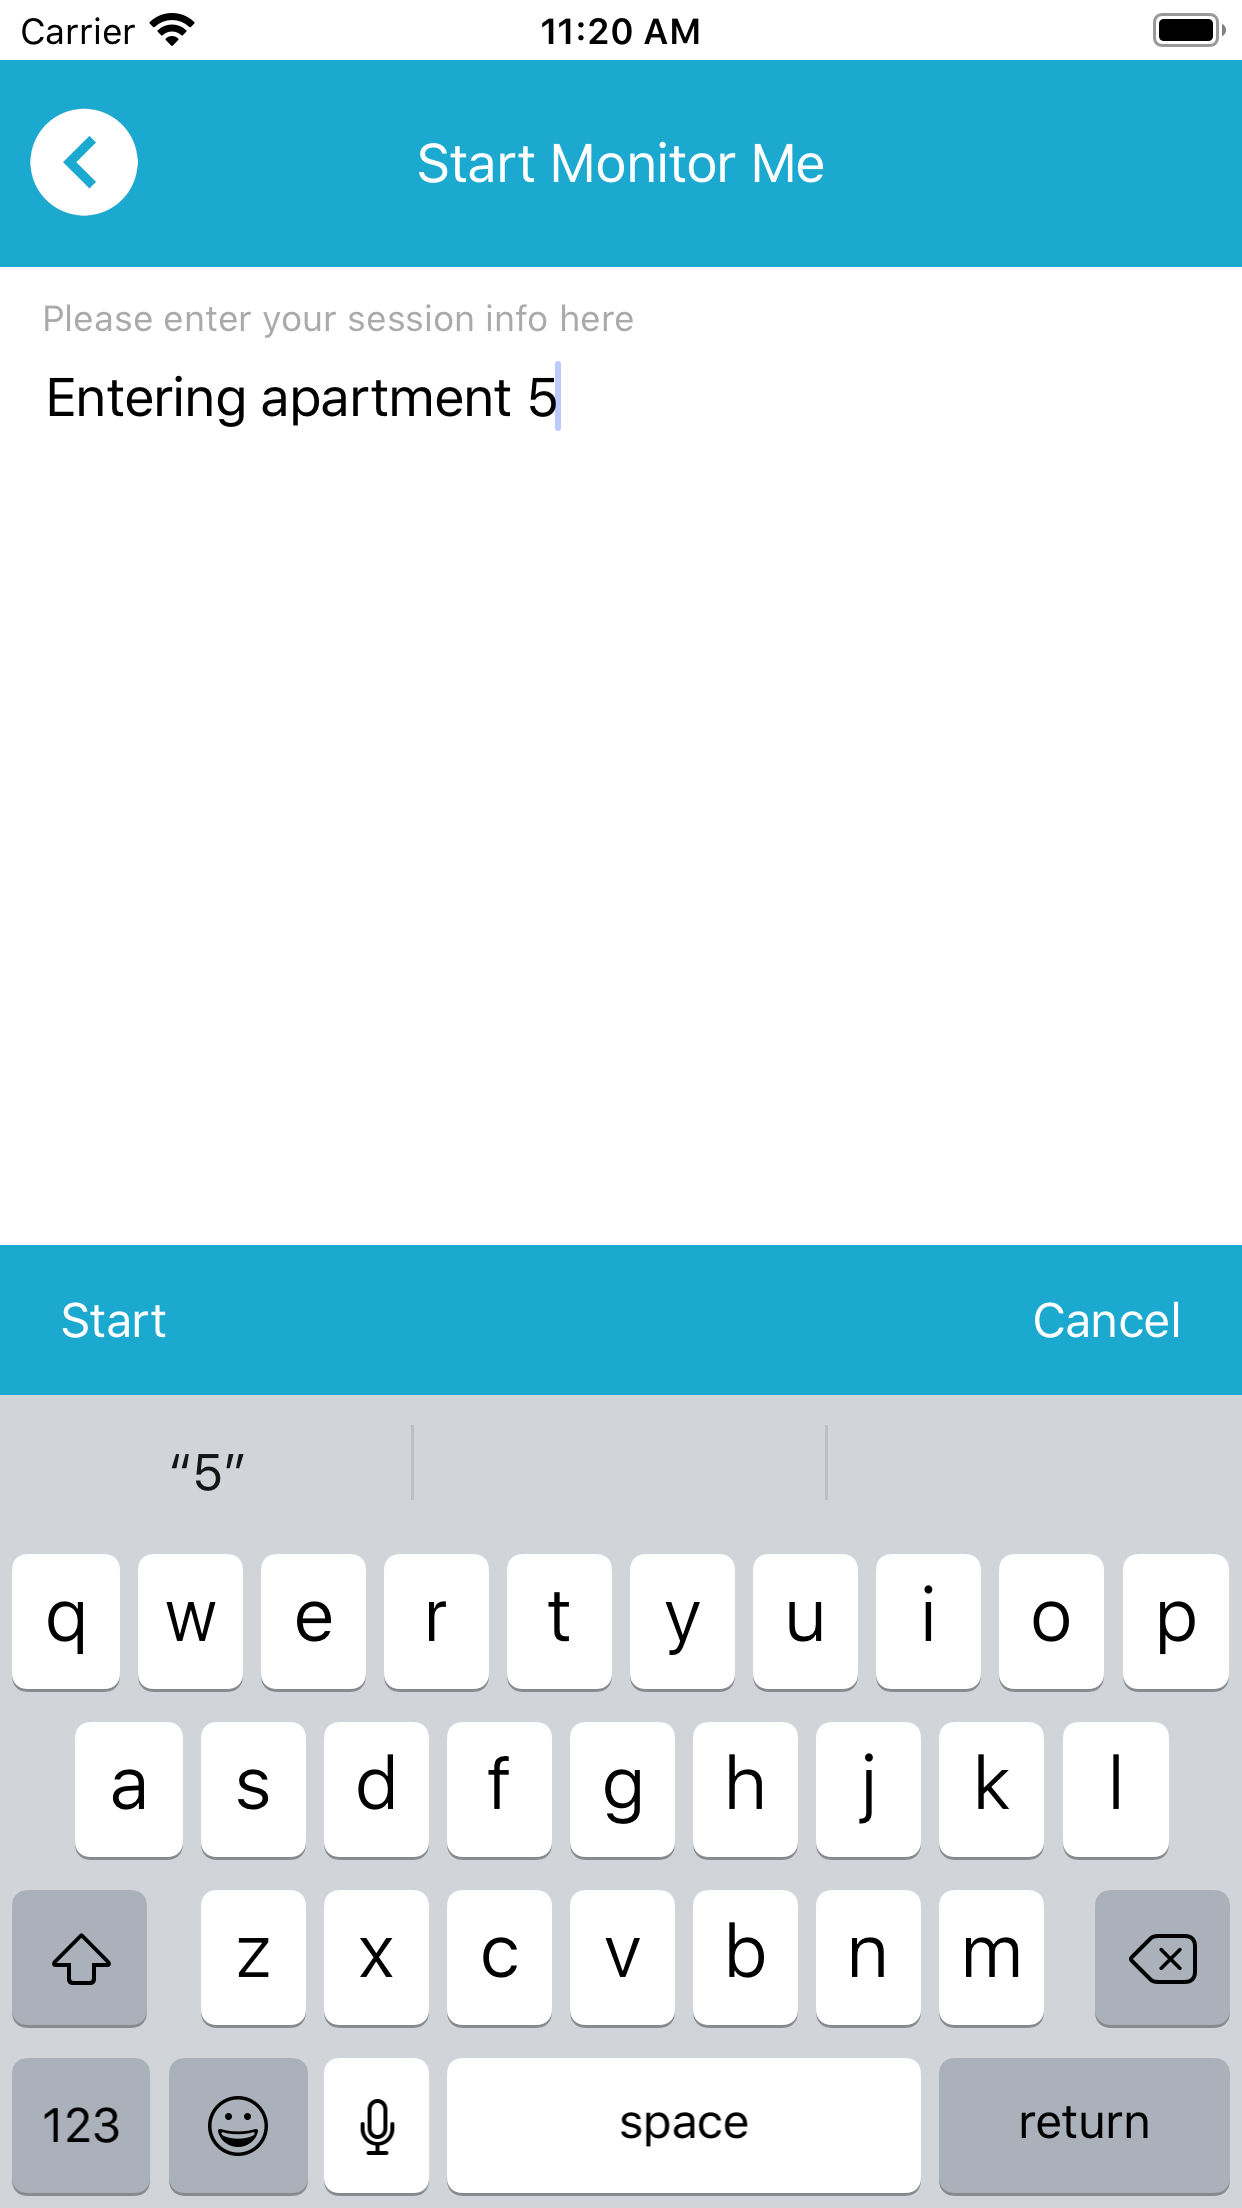
- Whether you should be prompted to add a note when starting Monitor Me ("Annotation on start")
- Whether you should be prompted to add a note when stopping Monitor Me ("Annotation on stop")
- How often you should check in ("Check-In Frequency")
- How late you can check-in ("Check-in Buffer")
- How often your location should be reported ("Position Reporting Frequency")
- How long your device can be motionless before an alert is sent to the Portal ("Man-Down")
- How long until an alert is sent to the Portal if you've been motionless ("Cancel Man-Down Alarm")
- How sensitive the motion detection is ("Movement Sensitivity")
- Whether man-down alerts should be supressed when the device is charging ("Charging Mode")
- Whether a phone call should be triggered when Monitor Me is started ("Call ... ")
Note: you cannot change these values whilst Monitor Me is running.
How to start Monitor Me
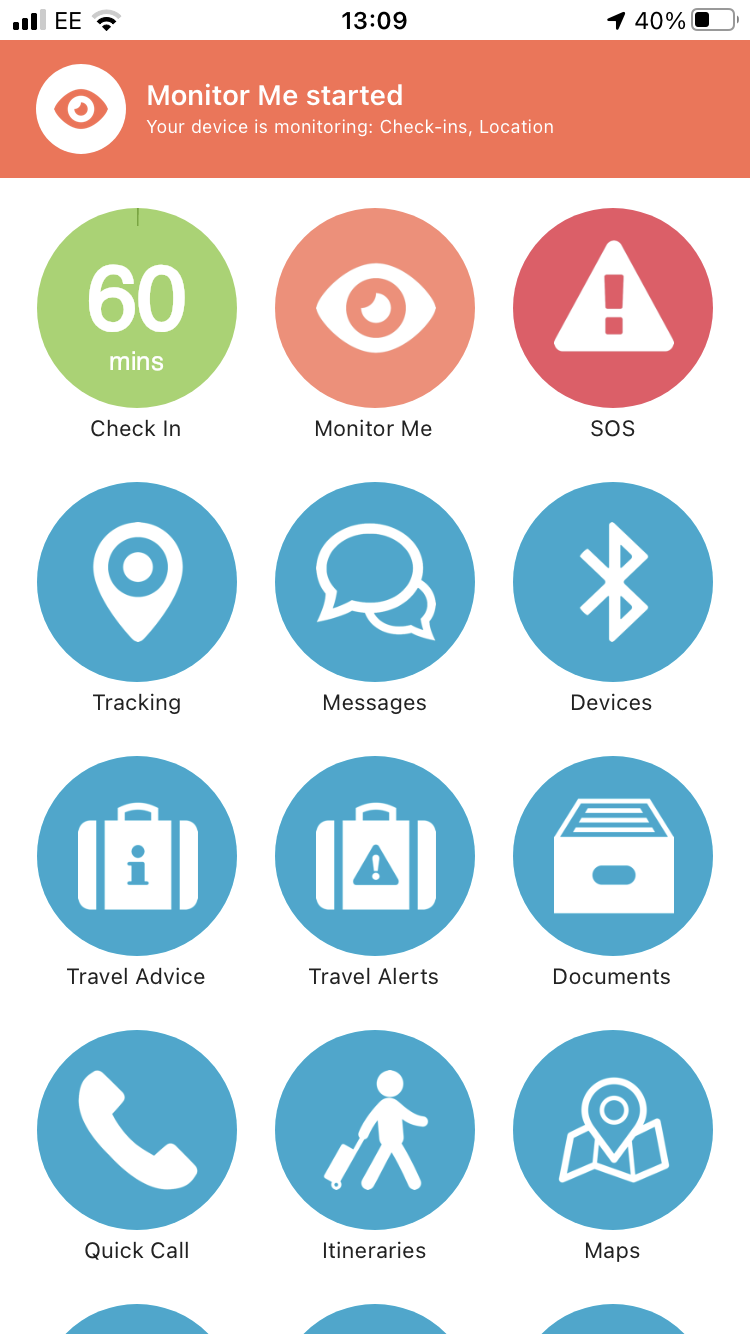
To start Monitor Me, tap the "Monitor Me" button. The edge of the button will rotate whilst Monitor Me is activating, after which point the button will pulsate to indicate it is active. The banner will also temporarily display a notification to that effect.
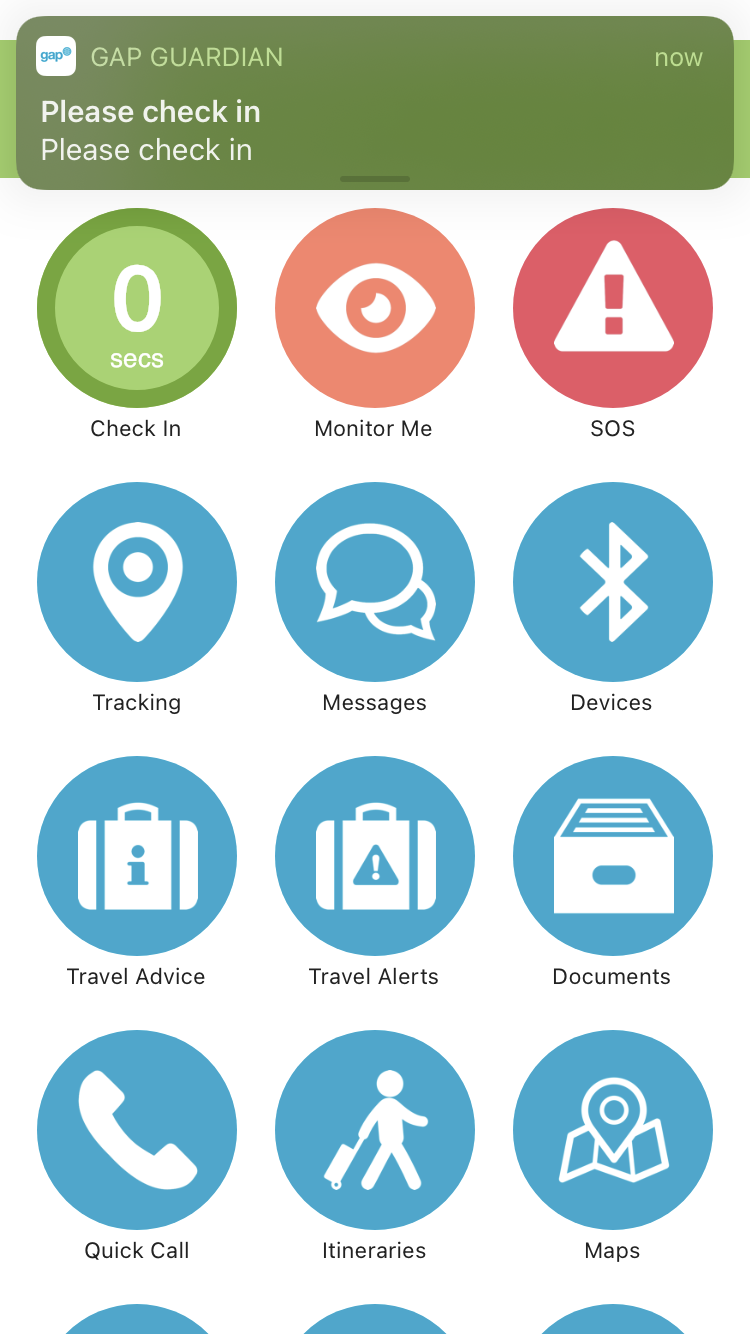
The "Check In" button will change to show a countdown timer, indicating when you are next required to check in. If you do not check in when required, a banner will be shown reminding you to check in.
How to check in
To check in, tap the "Check In" button. The edge of the button will rotate whilst the check in is performed. The banner will also temporarily display a notification to that effect.
If you don't have data connectivity, you may be prompted to attempt a check-in via an SMS message.
If your app is configured to request an annotation when performing a check-in, you will be prompted to enter some text before completing the check-in. When complete, tap the "Check In" button. You need not enter any text if you do not want to. You can turn check-in annotations on or off via the "Settings" screen.
If your app is configured to require a photo when performing a check-in, you will be prompted to take a photo before completing the check-in. When complete, tap the "Use Photo" button. You can turn Photo Check-In on or off via the "Settings" screen.
How to stop Monitor Me
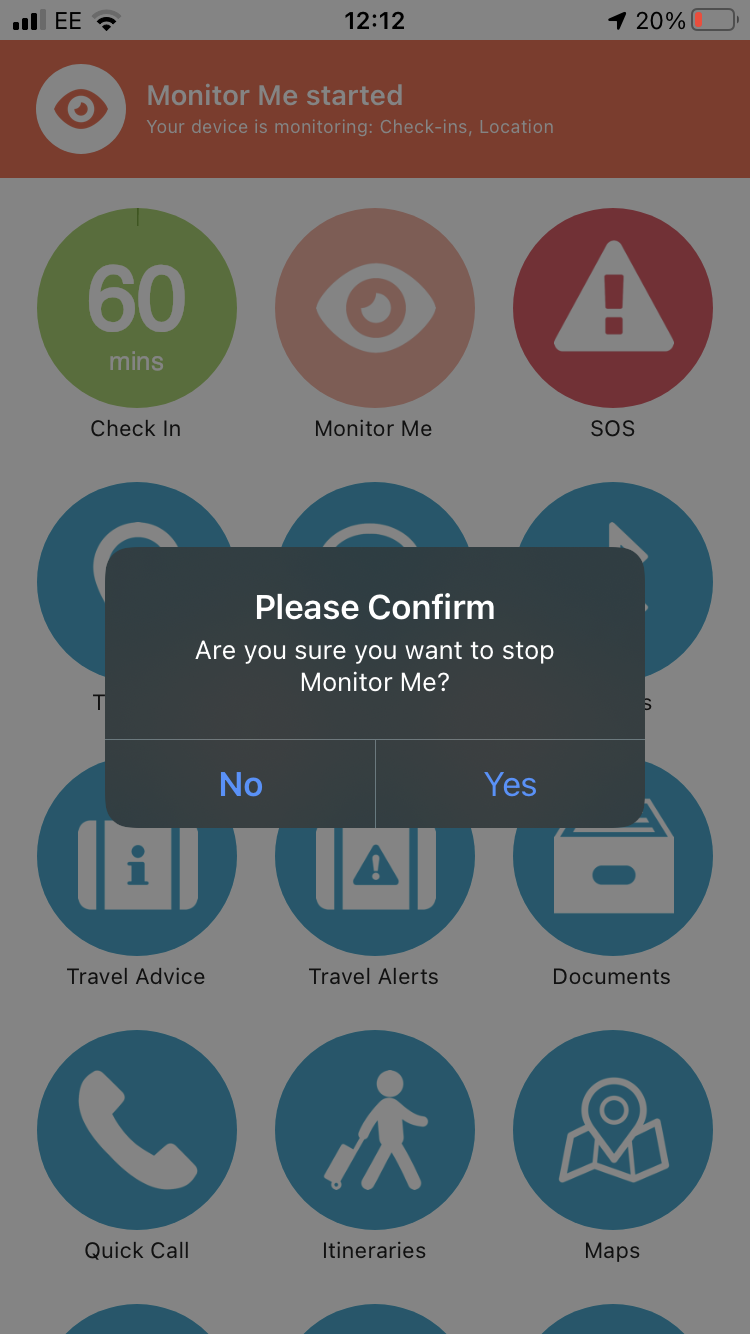
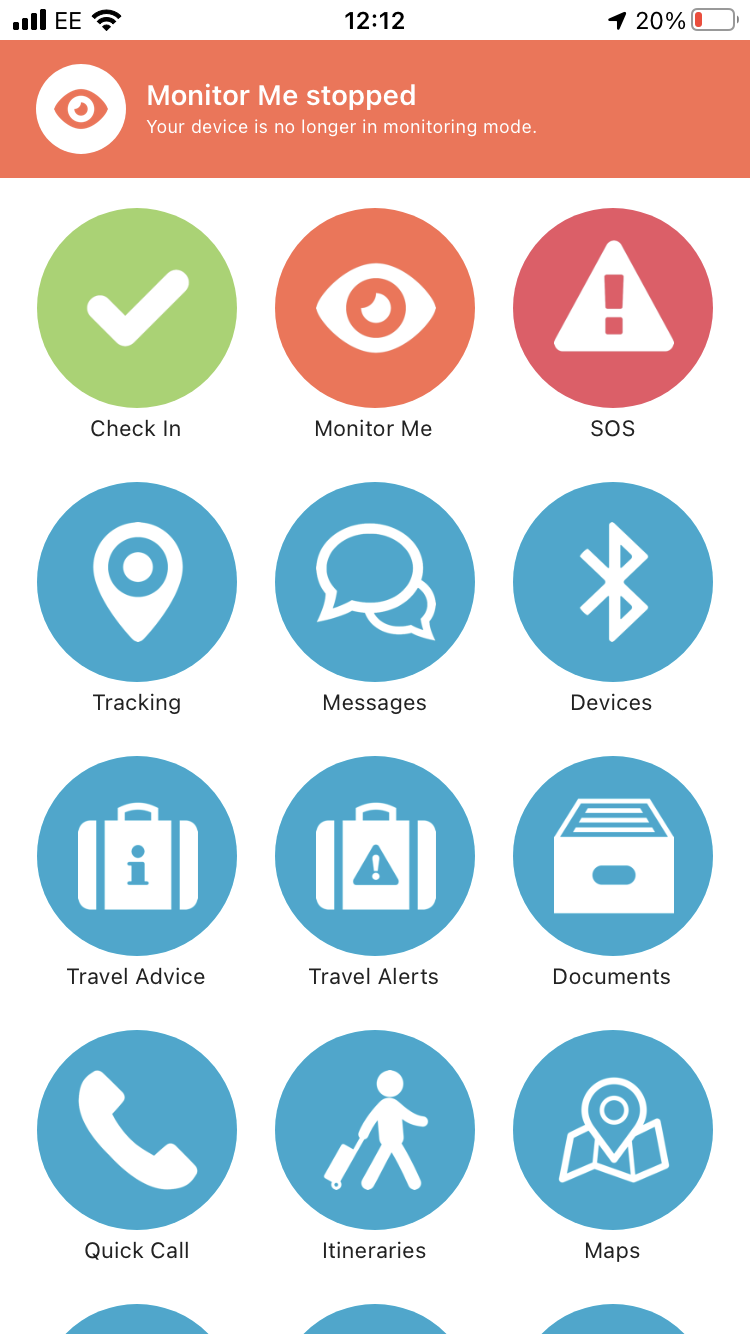
To stop Monitor Me, tap the "Monitor Me" button and then tap "Yes" at the warning prompt. The edge of the button will rotate whilst Monitor Me is stopping, after which point the button stop pulsating. The banner will also temporarily display a notification to that effect.
Check-In Schedules
In addition to Monitor Me, your administrator can create Check-In Schedules, requiring you to check in at predefined intervals or certain times of the day. These are assigned remotely to your device via the Portal by your administrator.
How to enable a Check-In Schedule
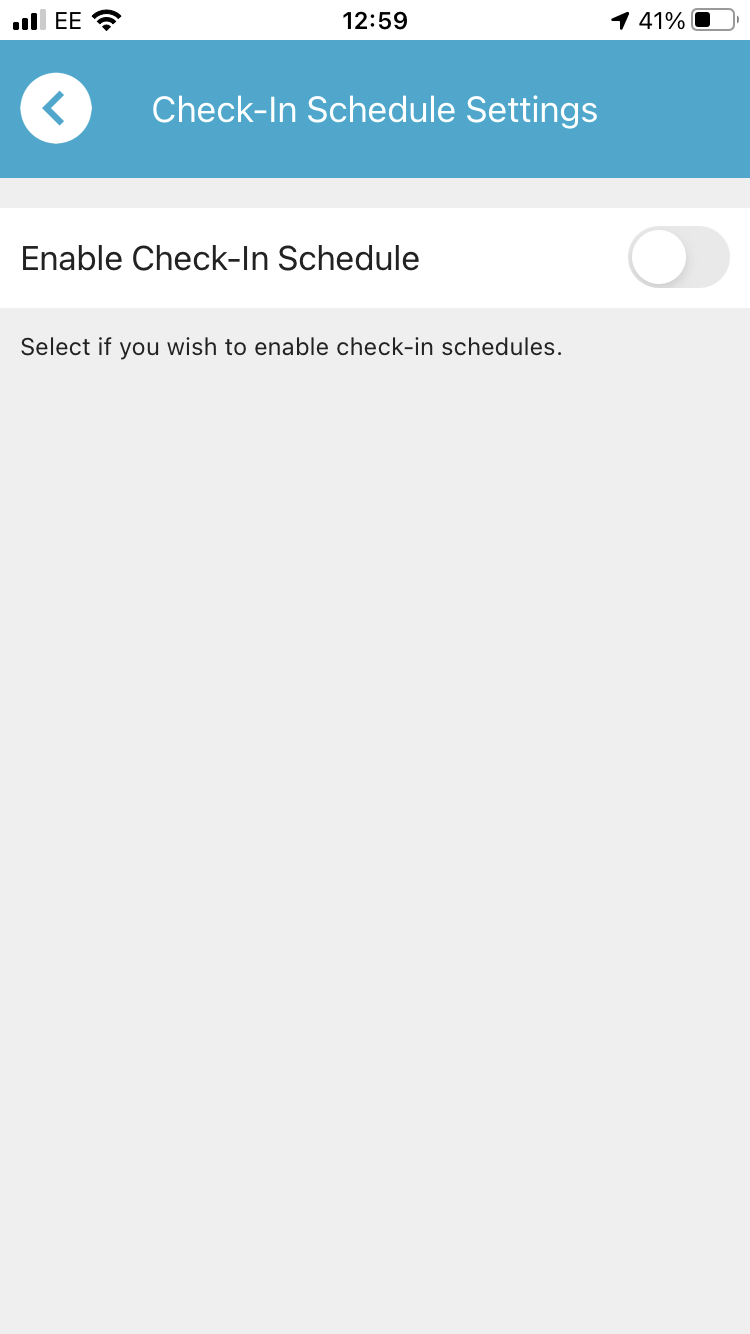
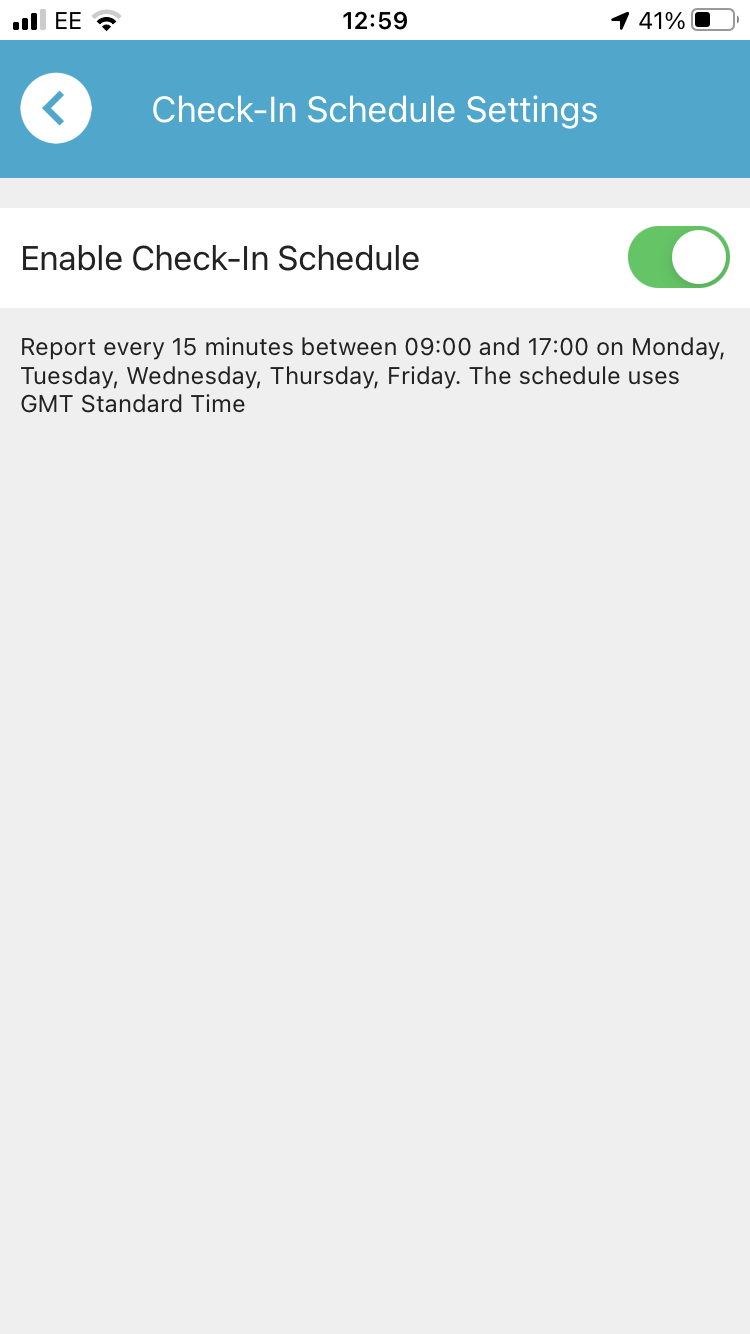
To enable your assigned Check-In Schedule, tap "Settings" then "Check-In Schedule" and then flick the "Enable Check-In Schedule" option to "on". The details of your assigned schedule will be displayed.
If there is no Check-In Schedule assigned to your device, an error message will be displayed.
If Monitor Me is active, your next check-in will be calculated based on the chosen Monitor Me interval and your assigned Check-In Schedule.
How to disable a Check-In Schedule
To disable your assigned Check-In Schedule, tap "Settings" then "Check-In Schedule" and then flick the "Enable Check-In Schedule" option to "off".
How to change your notification sound
iOS users can change their notification sound by tapping "Settings" then "Notification Sounds". Android users should use the functionality built into the Android operating system (where supported).
Tracking
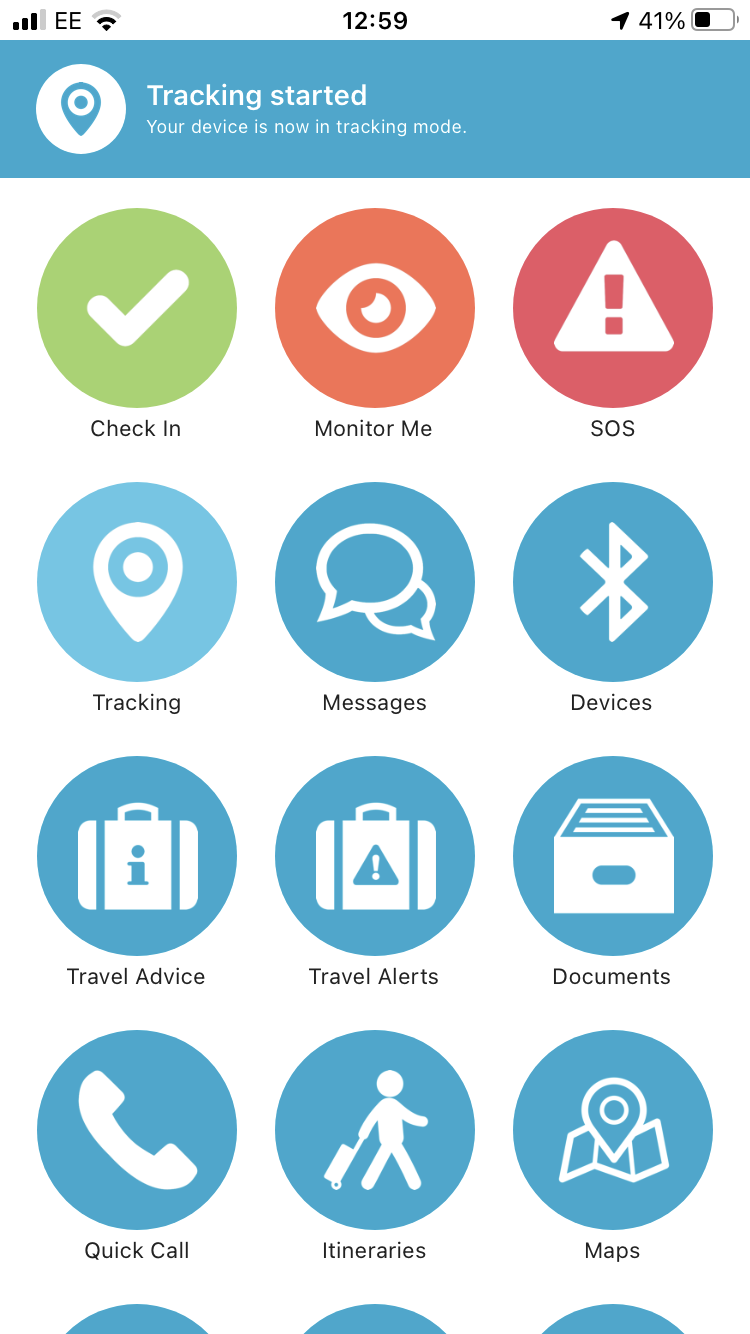
When tracking mode is active, your location information will be sent to the Portal on a set interval or when you move more than approx. 200M.
How to start tracking
To start tracking, tap the "Tracking" button. When tracking mode is enabled, the "Tracking" button on the Dashboard will pulsate.
How to configure tracking based on a particular interval
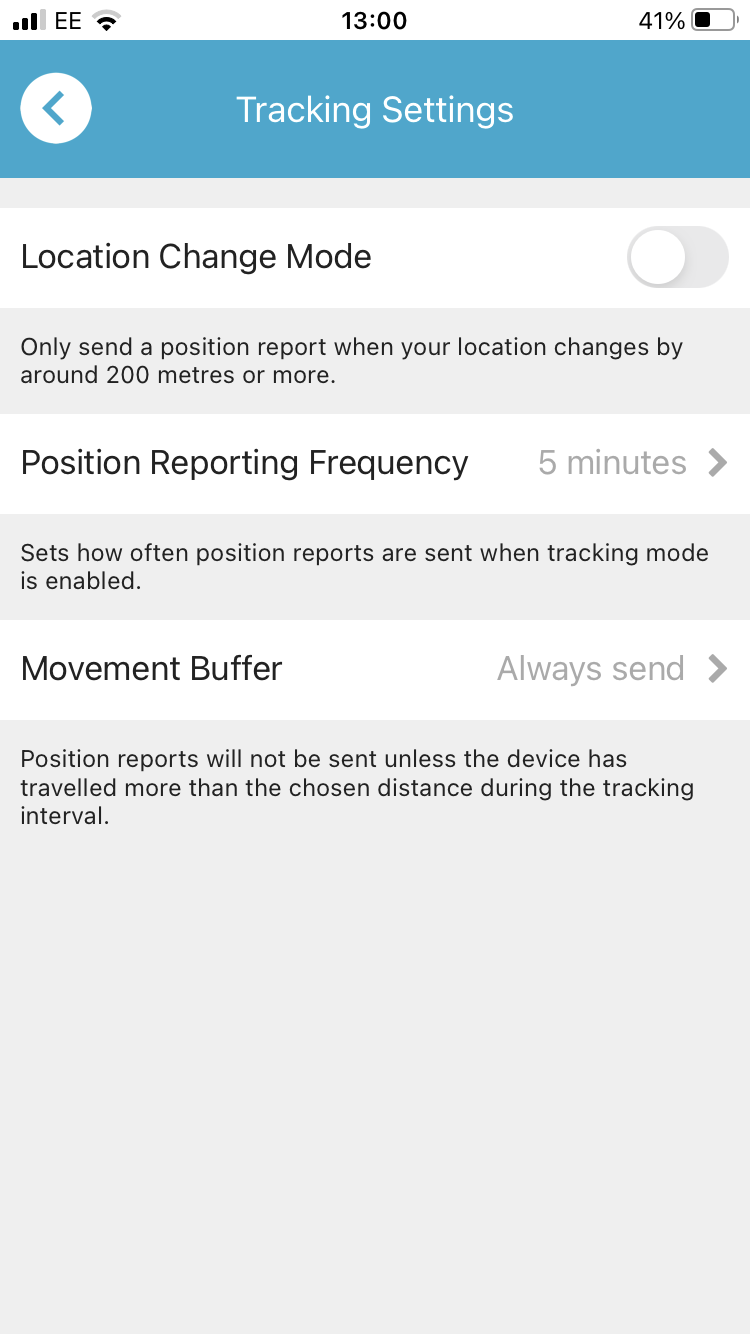
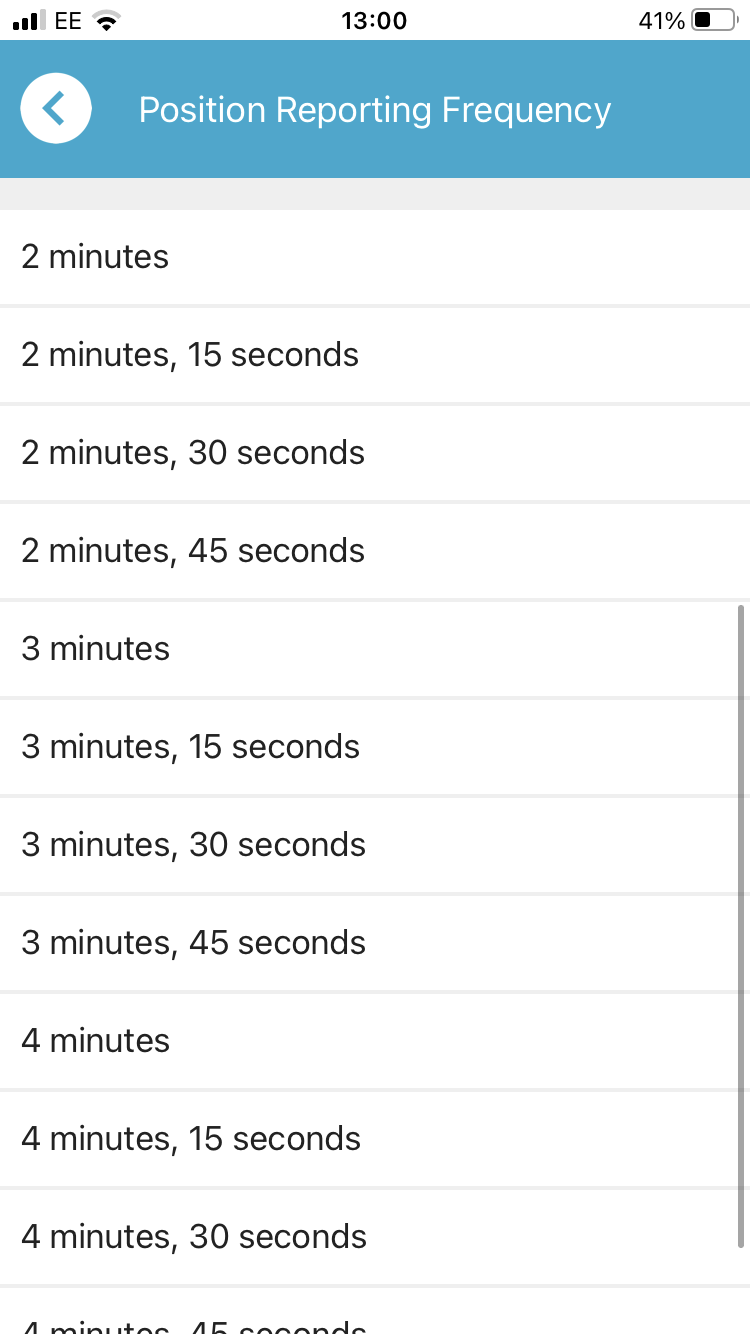
To configure tracking based on a particular interval, tap "Settings" then "Tracking". Set the "Location Change Mode" toggle to off then tap the "Position Report Frequency" option and select your chosen frequency.
In this mode, you can also configure whether position reports should only be sent when you have moved more than a set distance using the "Movemeent Buffer" option.
How to configure tracking based on significant movement
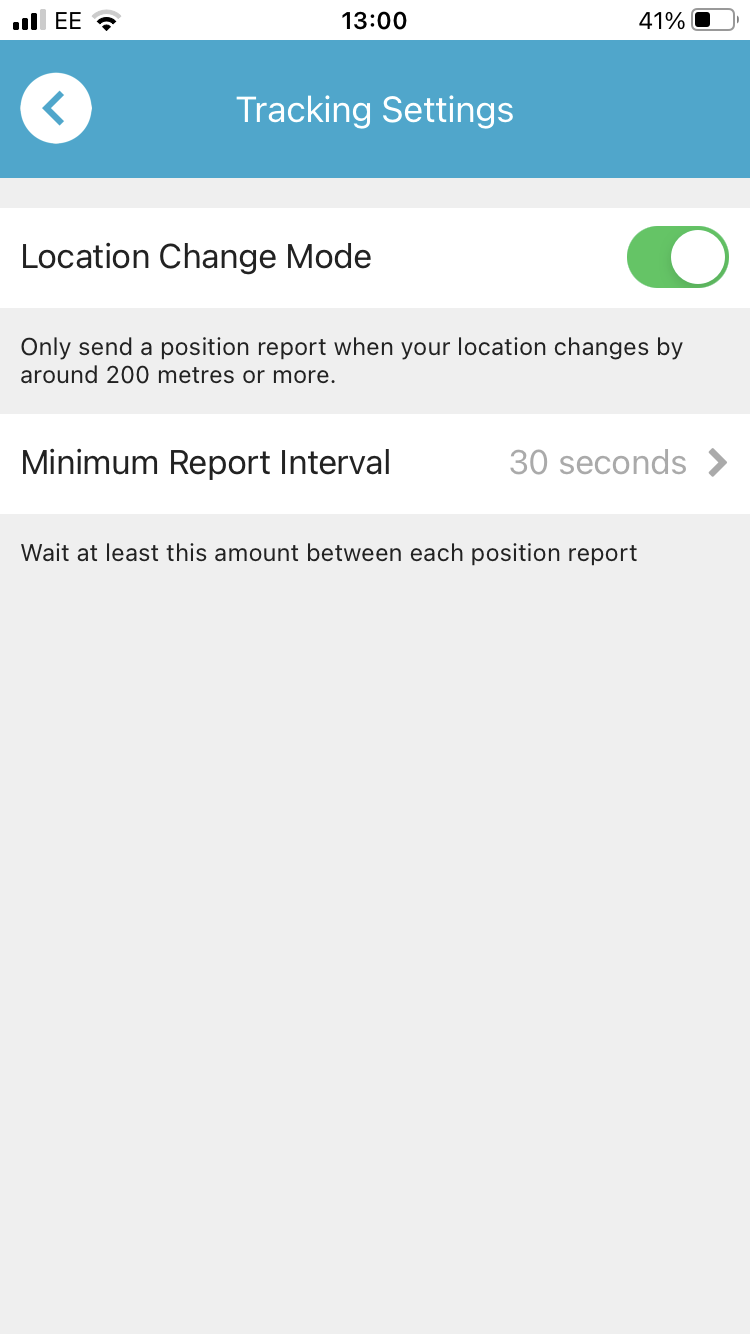
To configure the tracking based on a significant movement (approx. 200M), tap "Settings" then "Tracking". Set the "Location Change Mode" toggle to on.
In this mode, you can also configure the maximum frequency position reports will be sent using the "Minimum Report Interval" option.
How to stop tracking
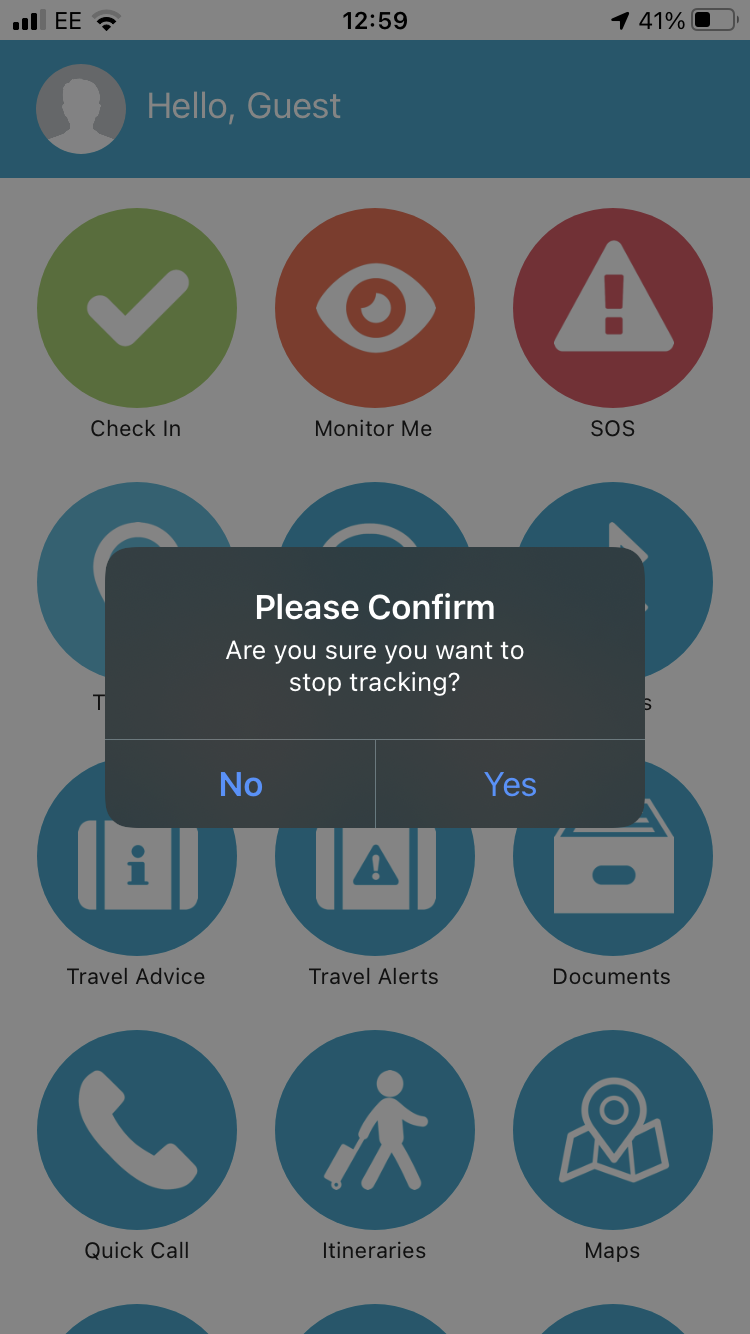
To deactivate tracking, tap the "Tracking" button and then tap "Yes" at the warning prompt.
Messages
The Messages screen allows you to converse via text messages with a Portal operator.
When you receive a message, a notification will be displayed and a red badge indicating the number of unread messages will be shown on the Dashboard screen and on your device's app launcher screen (on supported Apple, Samsung and Sony devices only).
How to send a message to a new recipient
To send a message to a recipient with whom you've not conversed previously, tap "Messages" then the "+" button at the top-left hand side of the screen. Select a recipient from the "Choose Recipient" screen. Enter your message in the text box at the bottom of the screen and tap Send.
How to reply to a message
To reply to a message, tap "Messages" then the name of the sender. Enter your message in the text box at the bottom of the screen and tap Send.
Maps
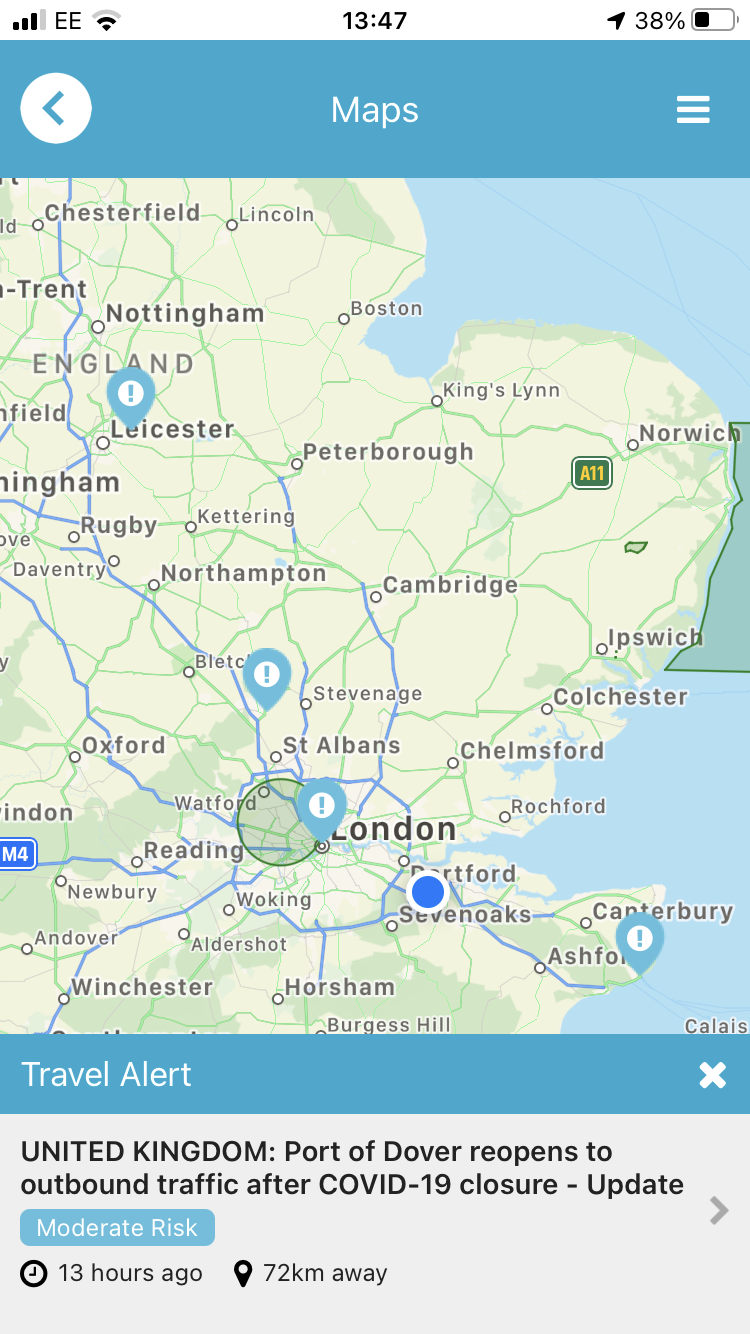
The Maps screen allows you to view your current location, recent track. nearby devices, geofences, travel alerts and points of interest on a map.
How to view items on the map
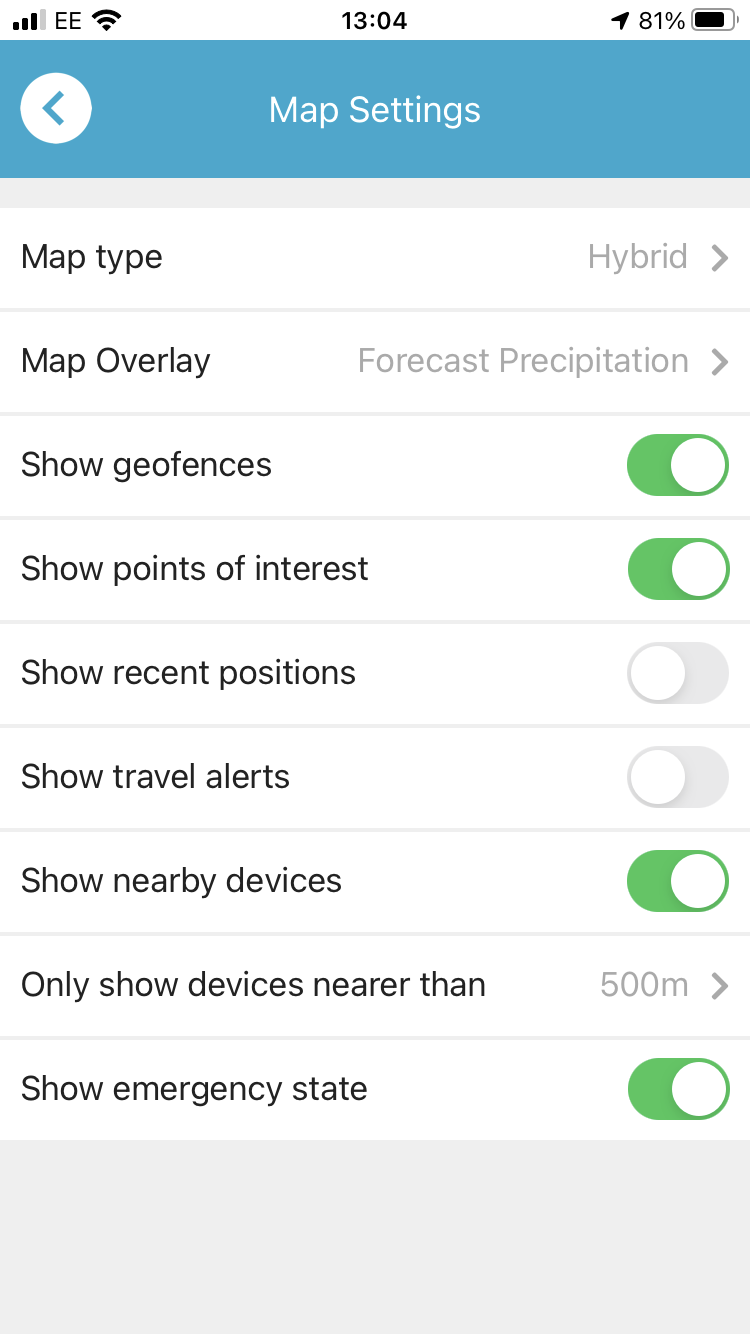
To view items on the map, tap the "Maps" screen then tap the "hamburger" icon at the top right-hand side of the screen. Toggle items on or off using the sliders.
How to interact with other users
Tap the "Maps" screen then tap the "hamburger" icon at the top right-hand side of the screen. Toggle the "Show nearby devices" on using the slider. You can optionally set the distance within which you can view nearby devices via the "Only show devices nearer than" click-through menu. If you would like to see the emergency state for devices shown on the map, toggle the "Show emergency state" option to on.
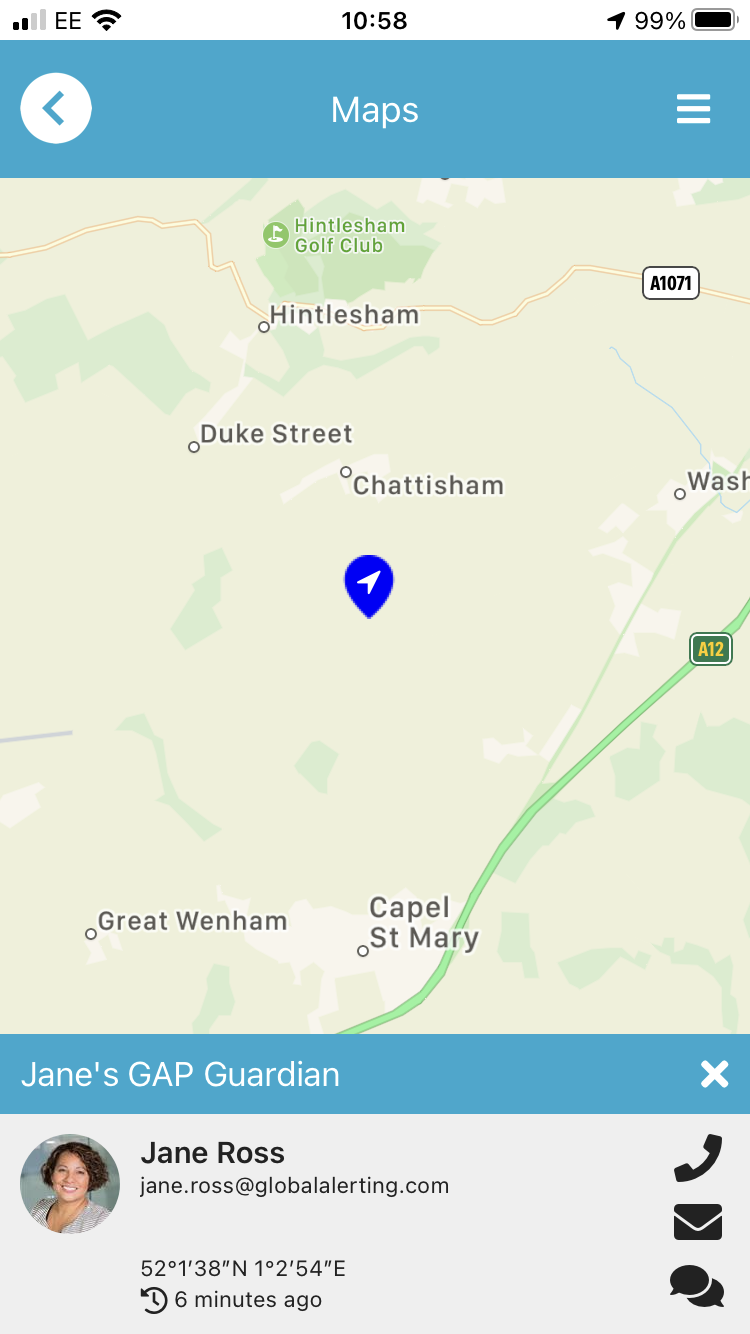
Devices will be shown on the map using the same icons as the GAP Portal. Tap on a pushpin for more information. You can call, e-mail or message the user via the relevant buttons on the right-hand side of the pop-up menu.
How to change the map type
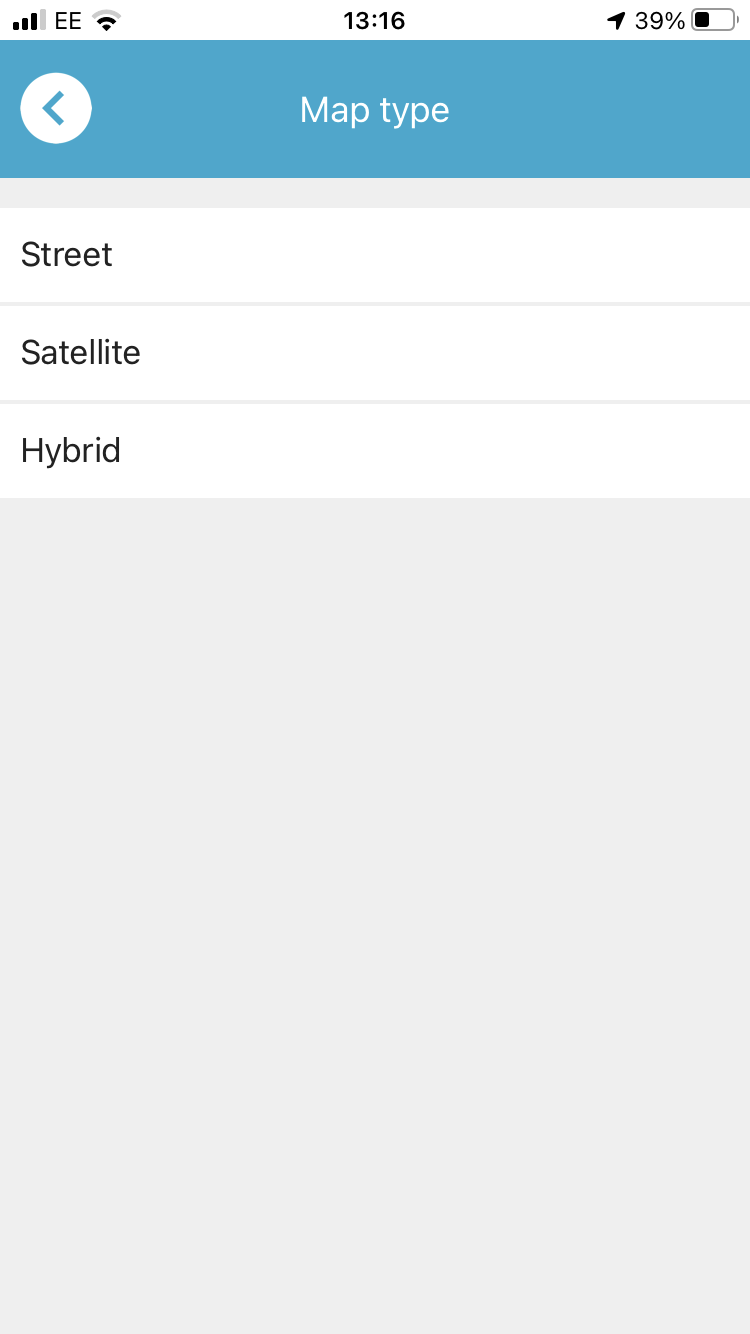
To change the map type, tap the "hamburger" icon at the top right-hand side of the screen. Tap the "Map Type" option and select either "Street", "Satellite" or "Hybrid" as required.
Devices
The Devices screen allows you to pair a Bluetooth LE button called a V.BTTN, enabling you to trigger SOS alerts or check in without having to unlock the phone and use the app. You can pair one or more such buttons.
How to connect the V.BTTN
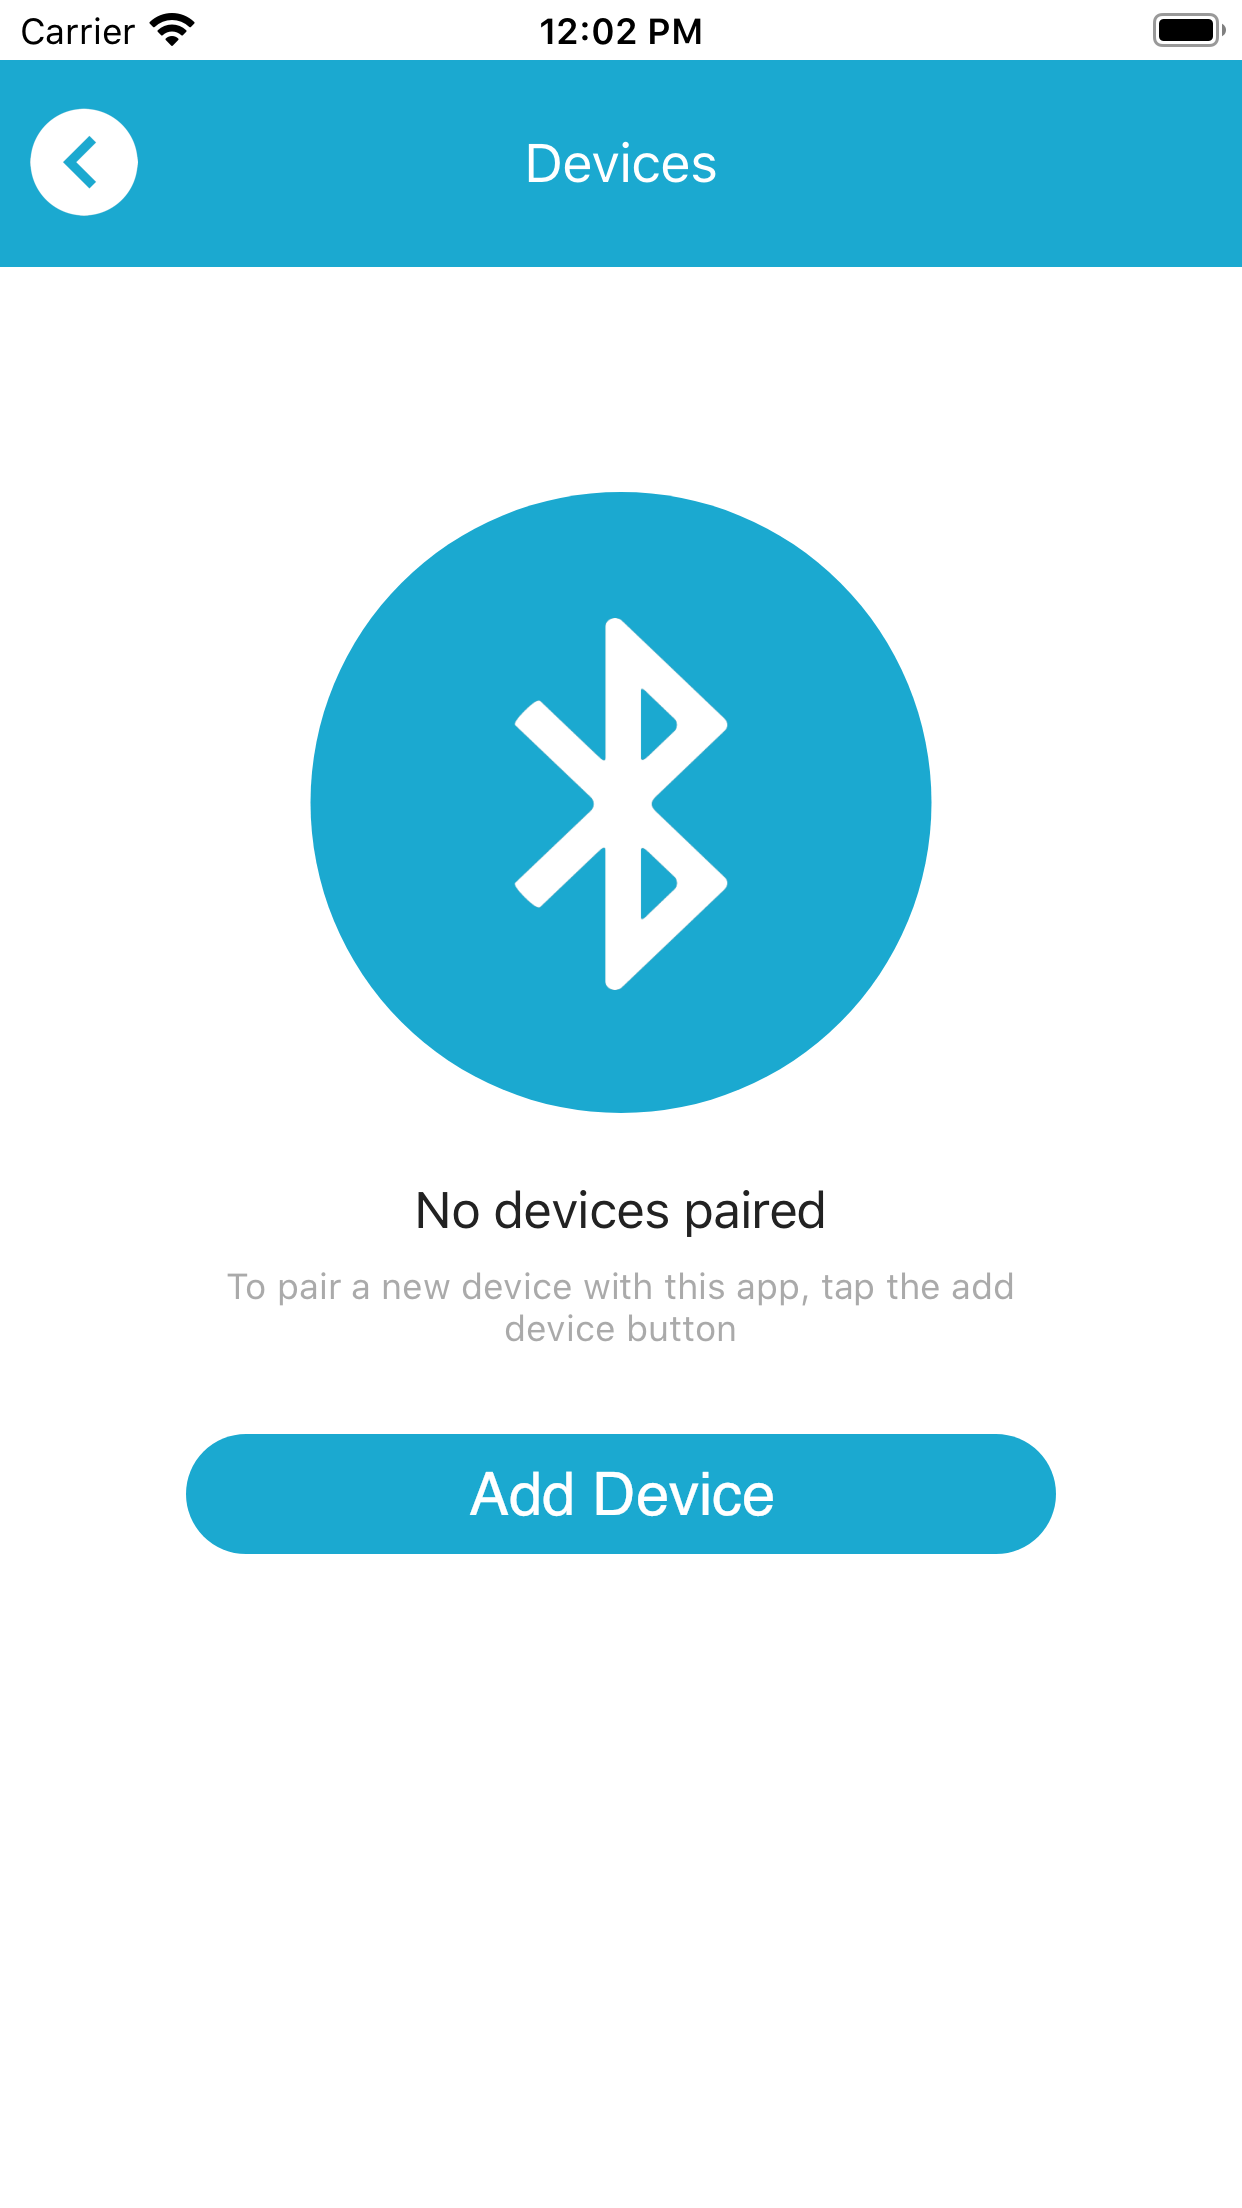
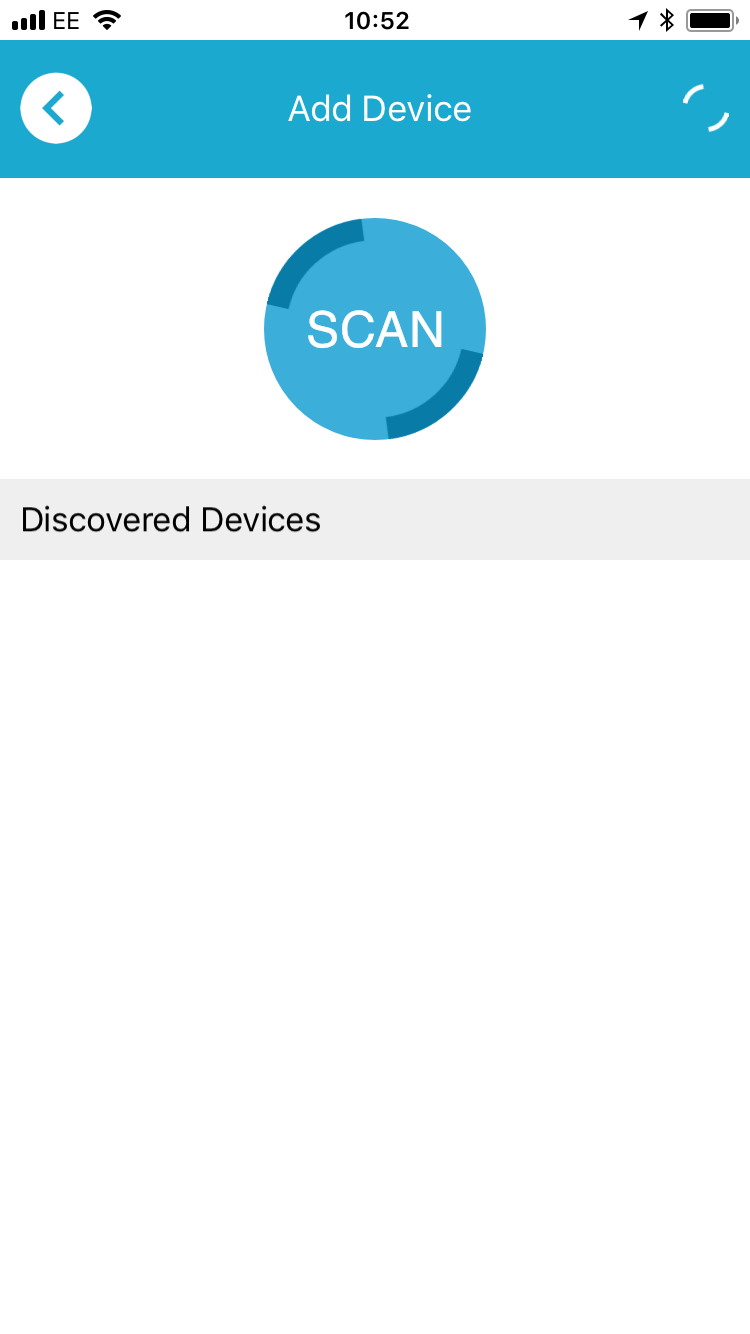
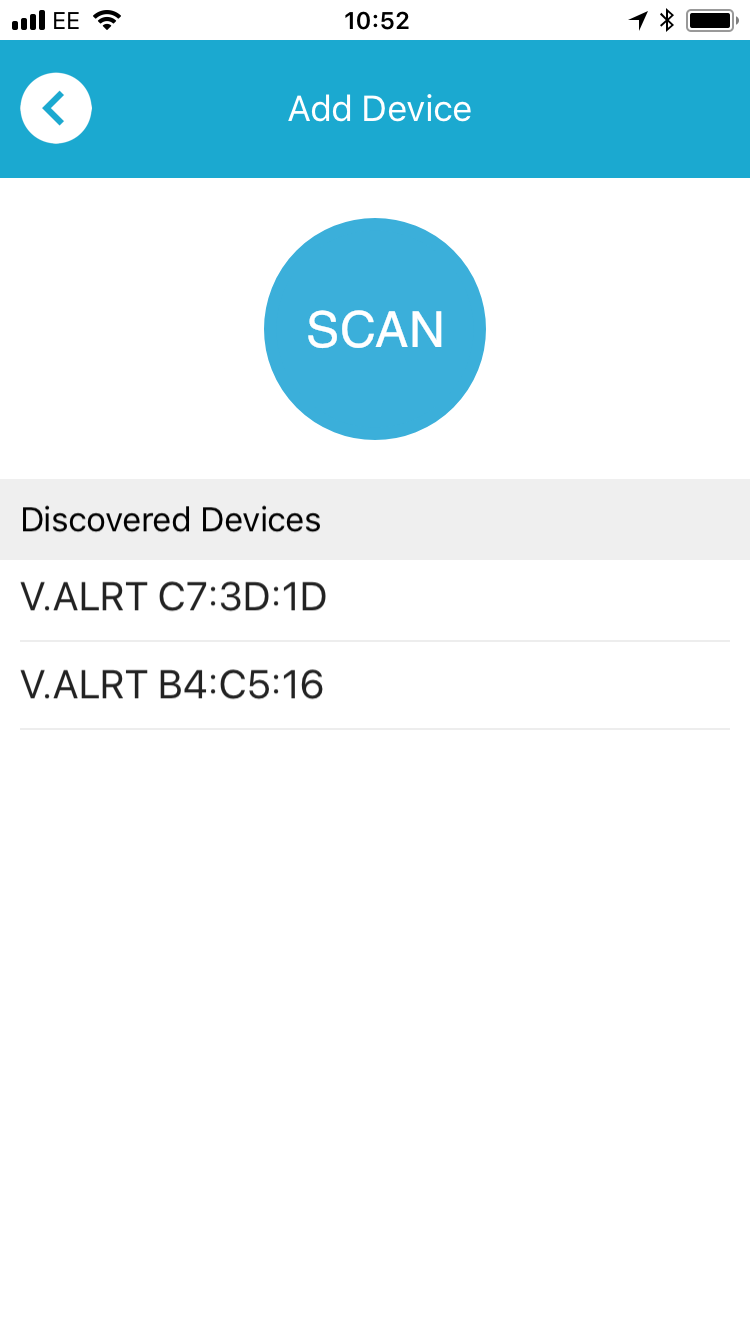
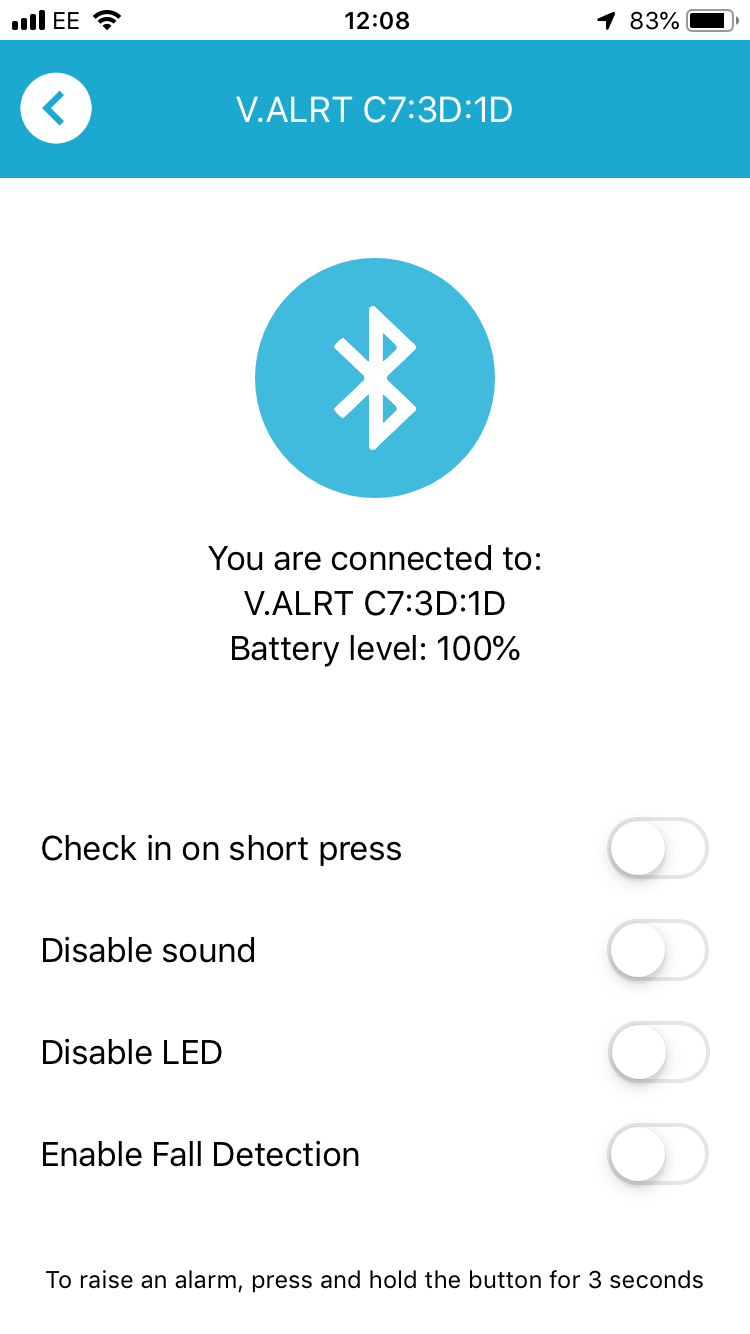
To connect the V.BTTN, make sure Bluetooth is enabled on your device and then tap Devices. If Bluetooth is not enabled, you will be reminded to enable it. Once enabled, tap the "Add Device" button then tap the "Scan" button. A list of available V.BTTNs will appear below. Tap on the device you wish to connect. The V.BTTN should beep and display a green light; the app will also display that it is connected to the V.BTTN.
How to trigger a check-in via the V.BTTN
Once connected, you can optionally configure the button to perform a check-in via single, short tap. To do this, swipe the "Check in on short press" option.
To perform a check-in via the V.BTTN, press the button for less than 3 seconds.
How to silence the V.BTTN
To prevent the V.BTTN from flashing or making a noise, swipe the "Disable LED" and "Disable sound" options.
How to detect possible falls via the V.BTTN
Once connected, you can optionally configure the button to detect a sudden fall. To do this, swipe the "Enable Fall Detection" option.
Note: enabling fall detection can significantly impact V.BTTN battery life.
How to trigger an SOS via the V.BTTN
To trigger an SOS via the V.BTTN, press and hold the button for 3 seconds and release. The button will flash red and beep twice. Once the app has received the alert from the button, the V.BTTN will flash alternate red and green.
How to cancel an SOS
To cancel as SOS you triggered via the V.BTTN, you must use the app to cancel the SOS in the normal way. Cancelling an SOS via the V.BTTN is not currently supported.
How to disconnect a V.BTTN
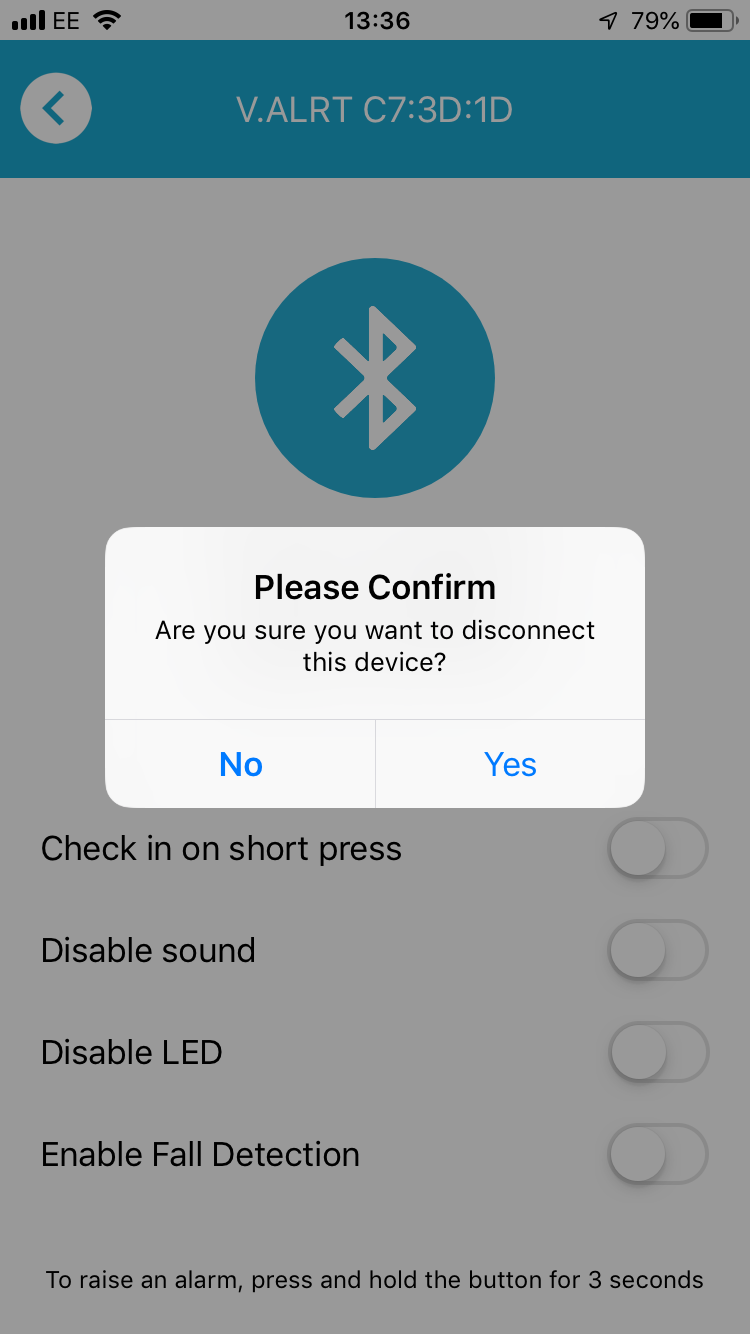
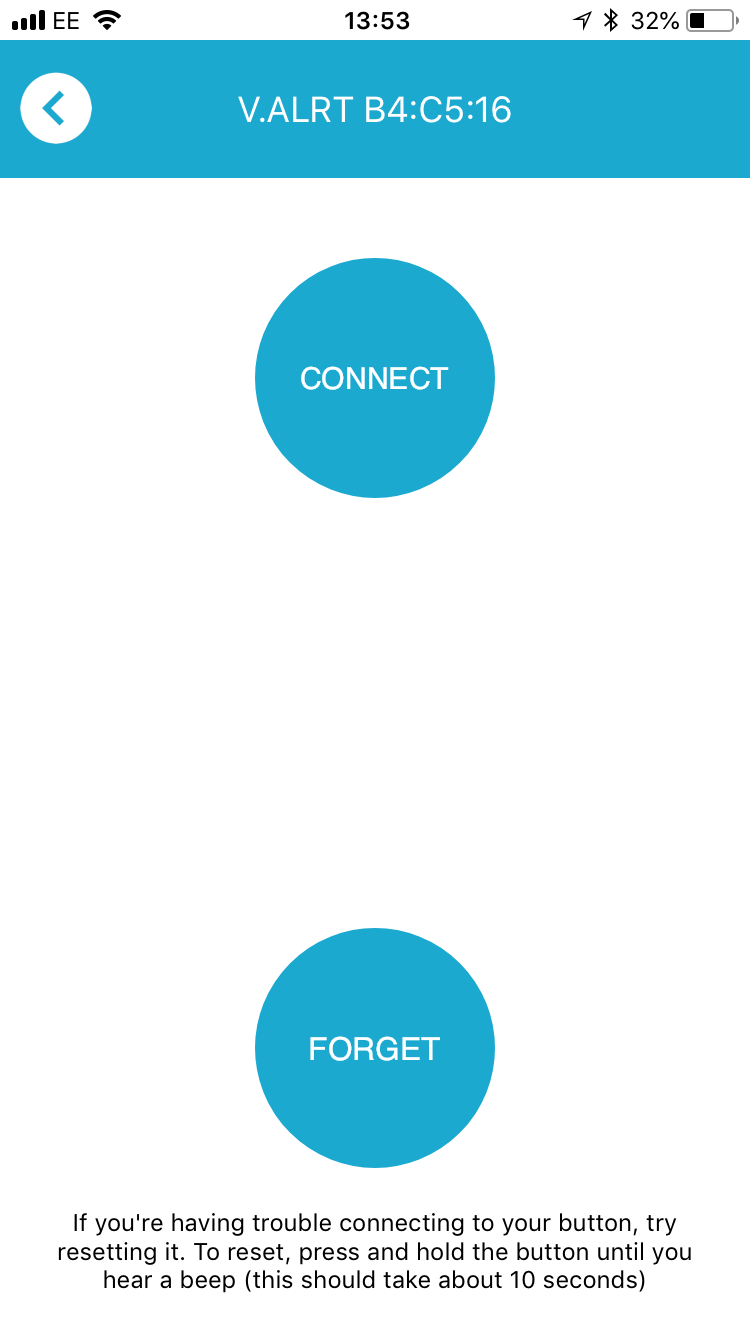
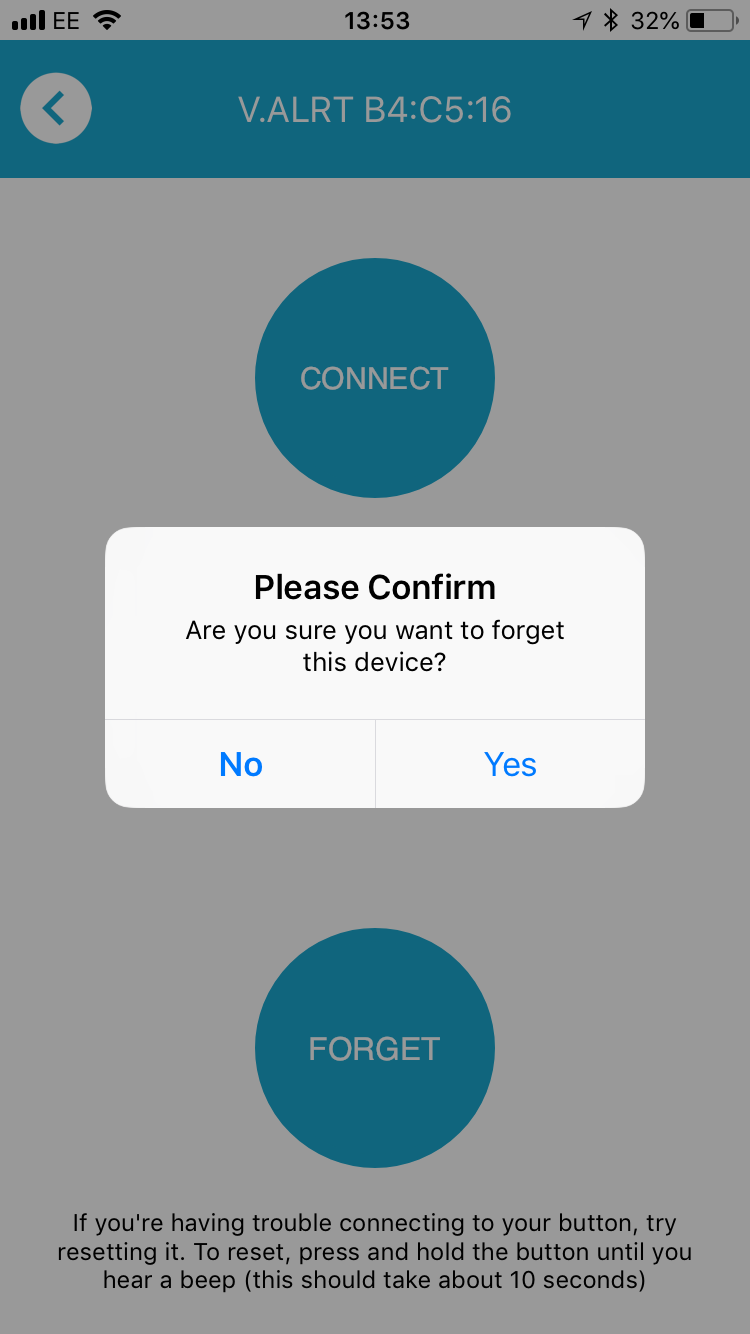
To disconnect the V.BTTN, tap"Devices" and then tap the flashing Bluetooth button. Accept the prompt to disconnect the device. The V.BTTN will beep twice and flash red for a few seconds. To forget the device permanently, tap "Forget". To reconnect, tap "Connect".
Travel Alerts
Note: the Travel Alerts function is available for GAP Insights customers only.
How to view travel alerts
To view travel alerts, tap the "Travel Alerts" button. Tap on an alert to view further details.
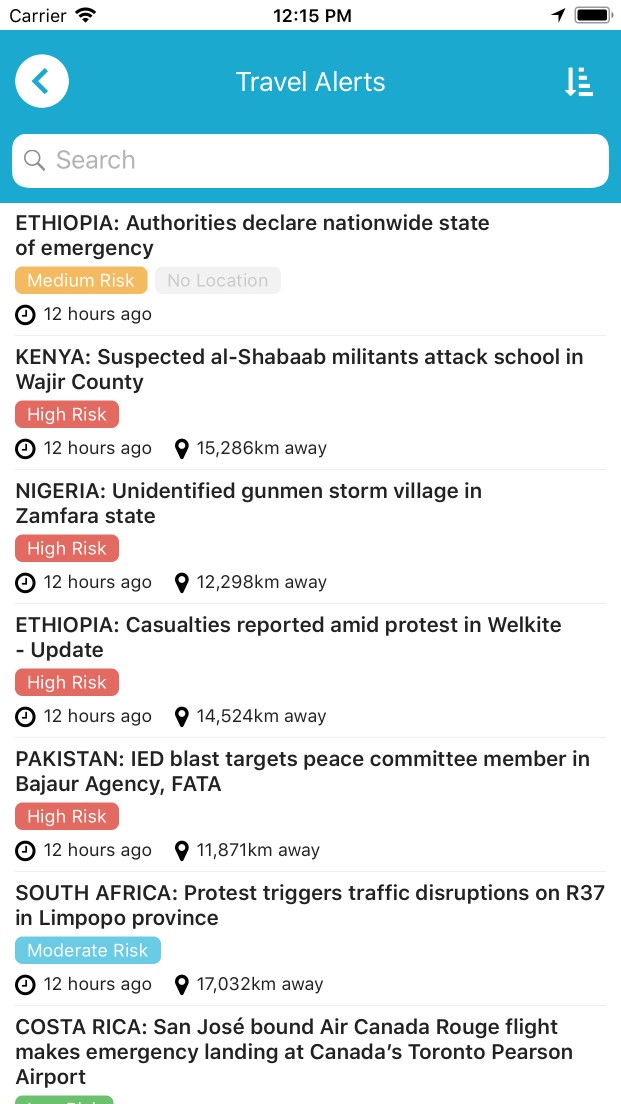
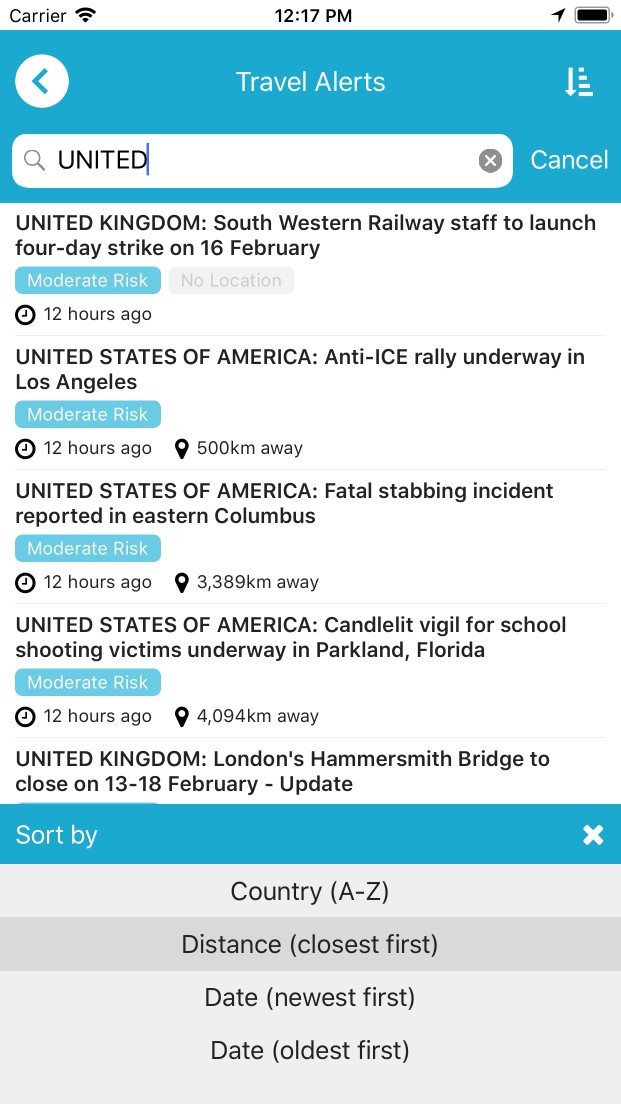
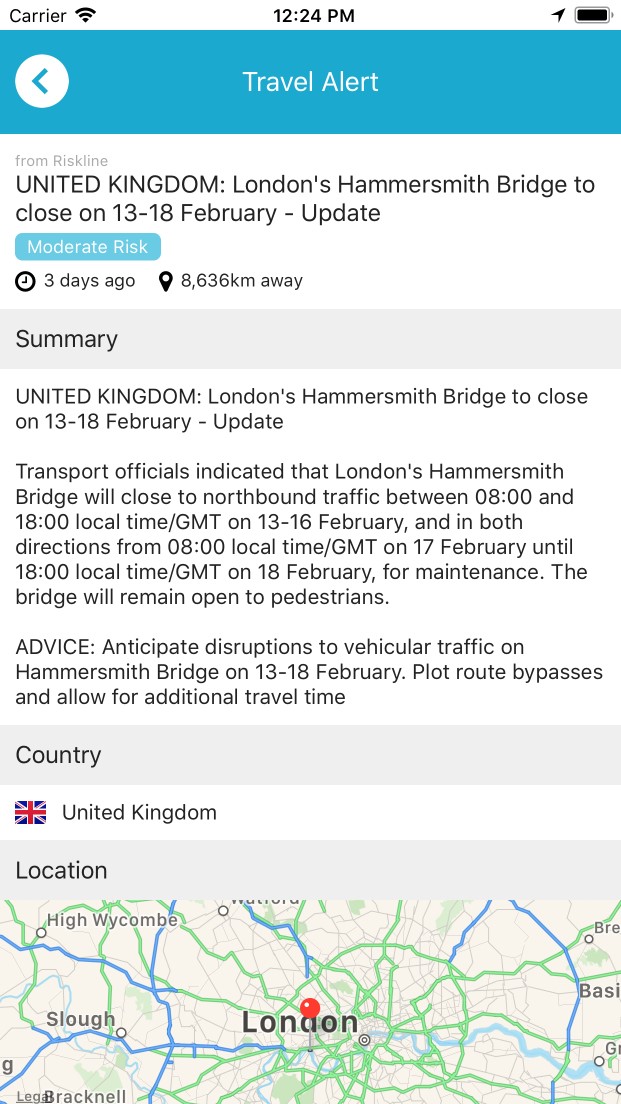
How to change which travel alerts are displayed
You can either view all current travel alerts or only travel alerts that have been specifically sent to you (based on settings configured by your administrator).
To change this setting, tap the "Settings" button then tap "Travel Alerts". Flick the "Show only travel alerts that have been sent to me" to "on" or "off" as required.
Itineraries
Note: the Itineraries function is available for GAP Insights customers only.
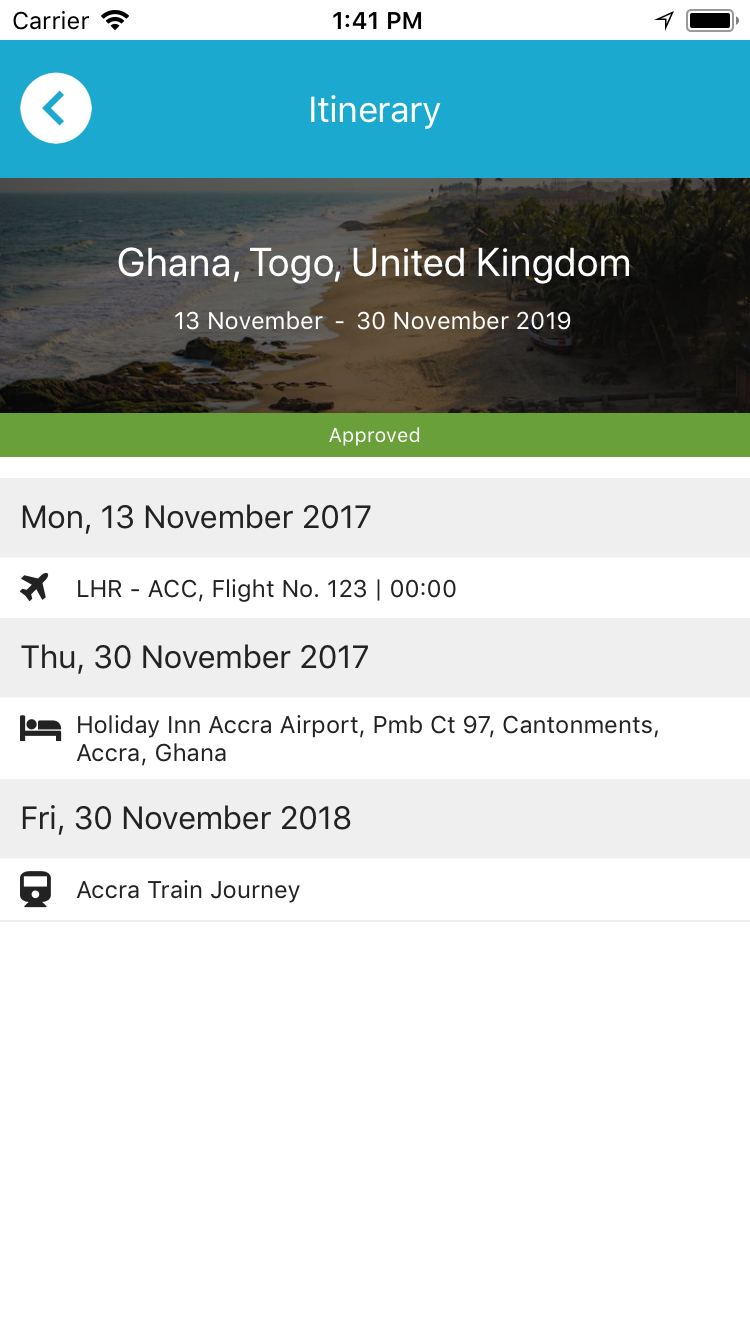
How to view itineraries
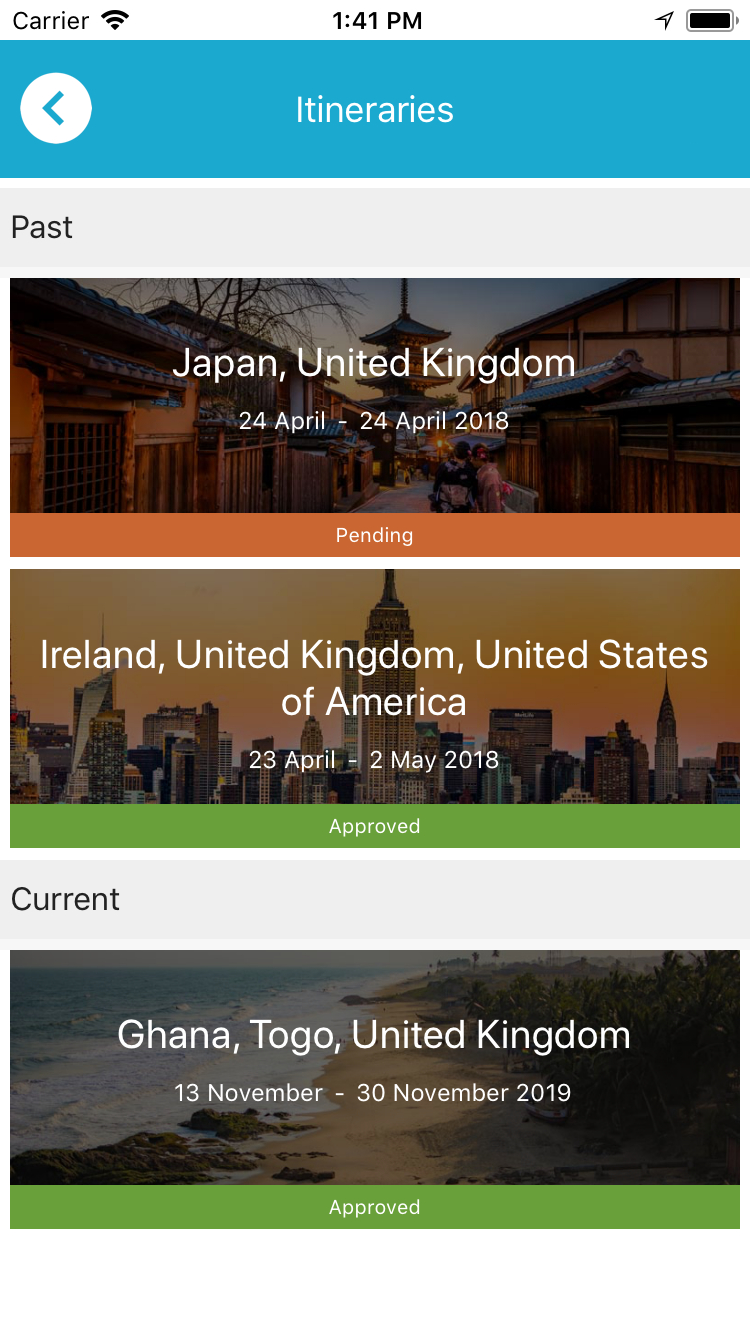
To view itineraries, tap the "Itineraries" button. Tapping on an individual itinerary will open the detailed view.
Documents
Note: the Documents function is available for GAP Insights customers only.
How to view documents
To view documents, tap the "Documents" button. Tapping on a folder will open that folder. Tapping on a document will open the document (if the file format is supported by your device). To navigate back up the folder structure, tap the back icon on the banner.
Quick Call
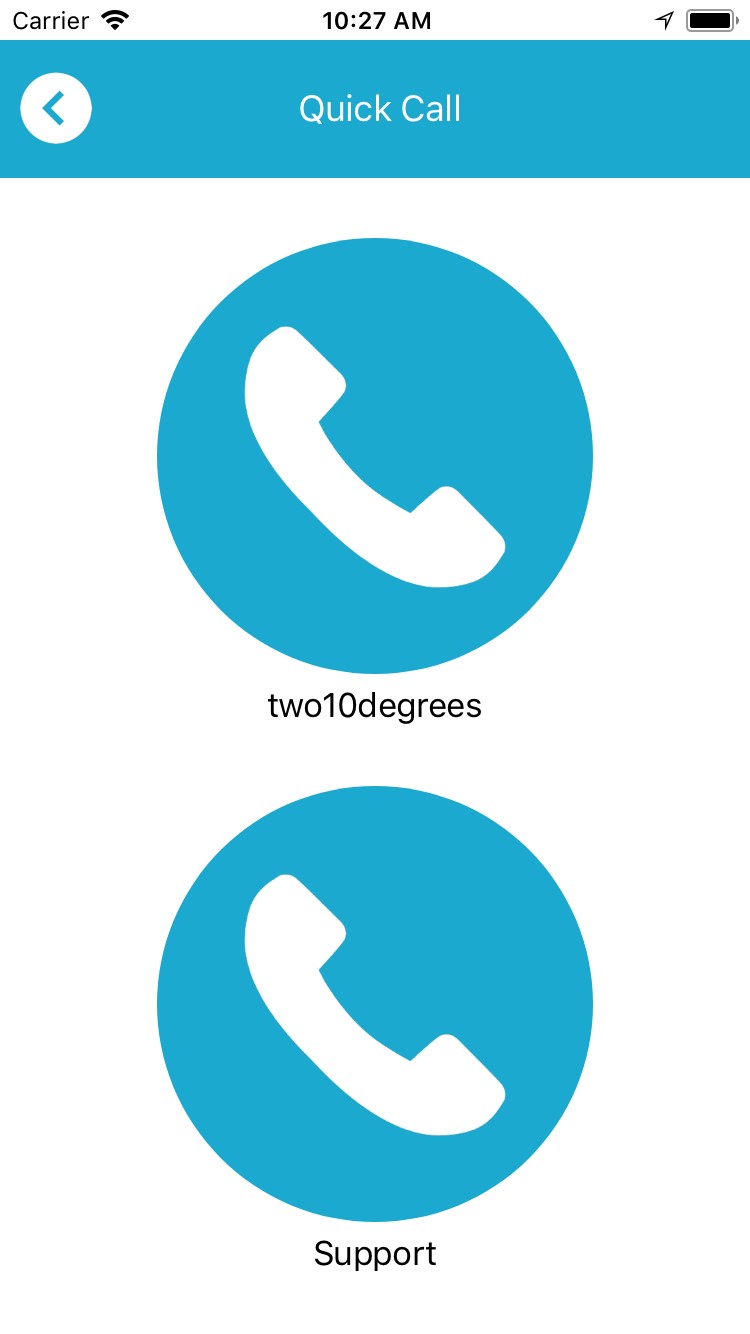
The Quick Call function presents you with two buttons to initiate phone calls to numbers configured by your administrator.
How to initiate a call
To initiate a quick call, tap the "Quick Call" button then tap the button representing the number you wish to dial.
Take Photo
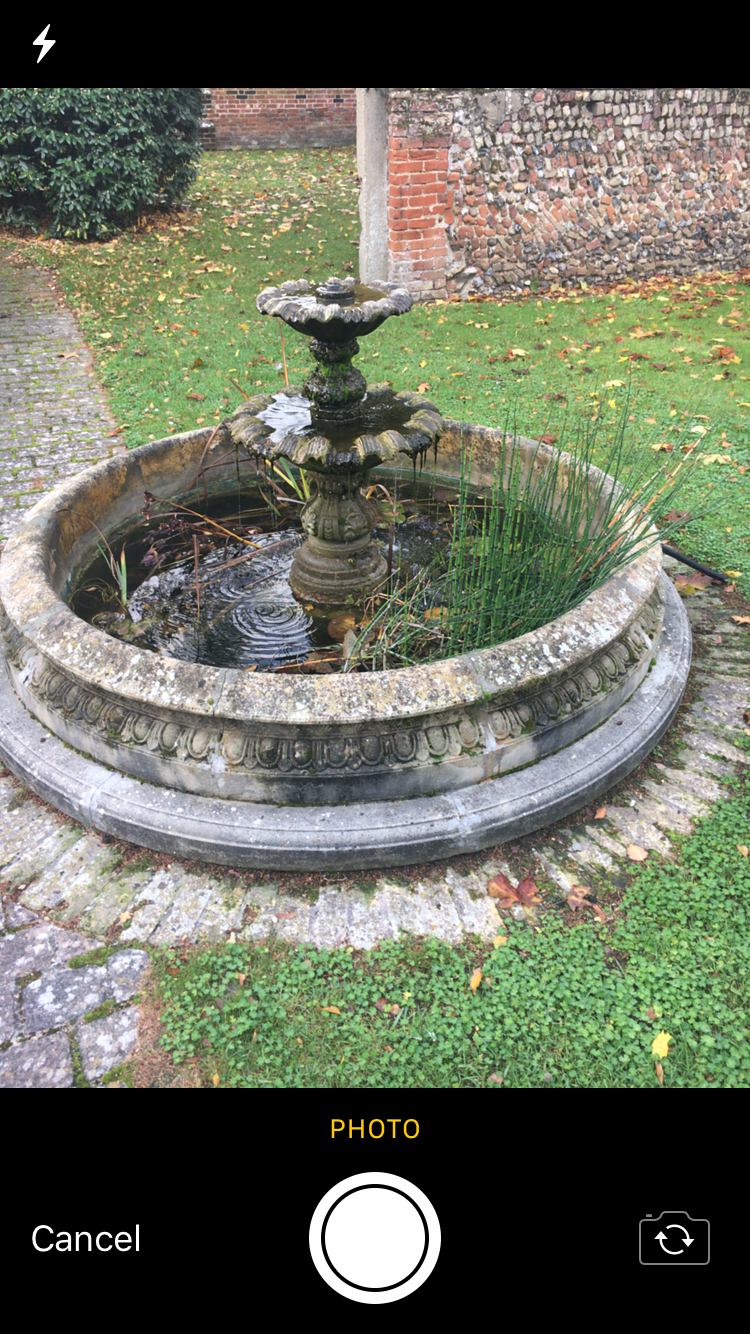
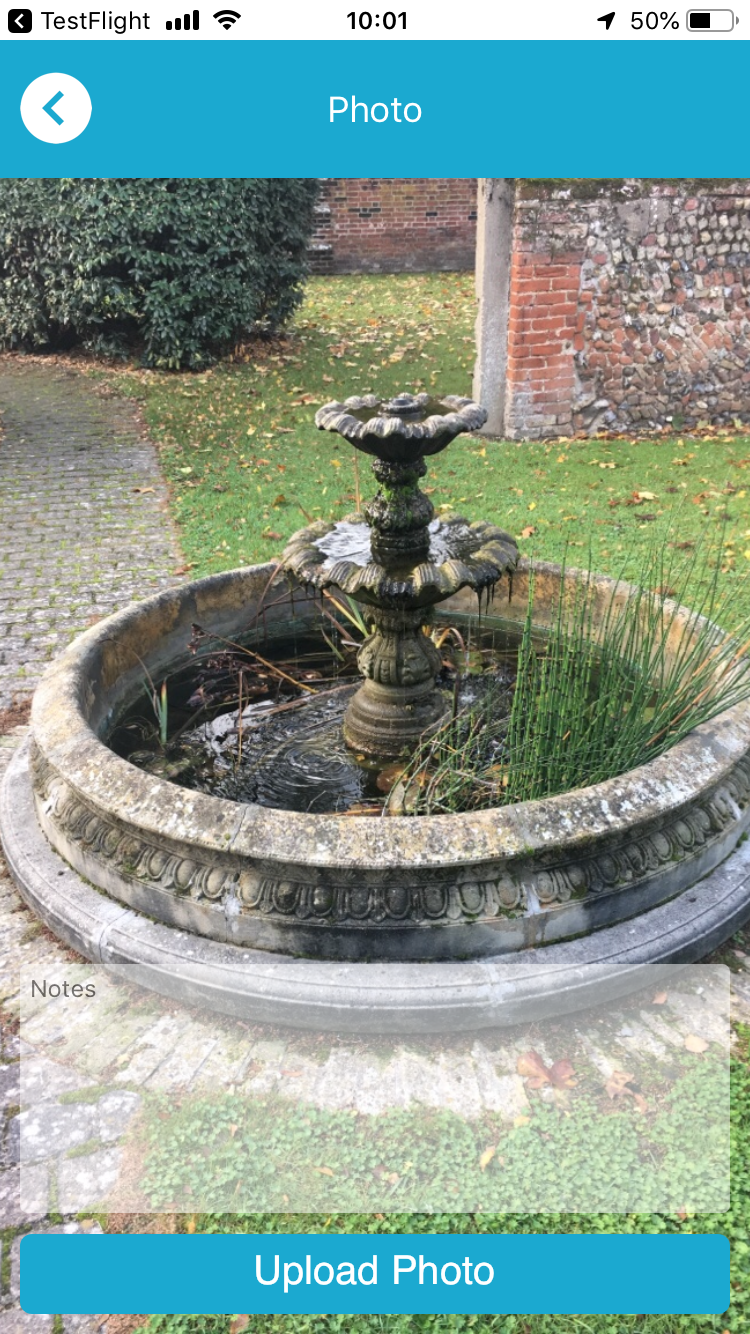
The Take Photo function allows you to take a photo and upload it to GAP (where it can be viewed in the device's inbox).
How to take a photo
To take a photo, tap the "Take Photo" button on the Dashboard and then tap the white button at the bottom of the screen. If you are happy with the photo, tap "Use Photo", otherwise, tap "Retake". If you want to enter some accompanying text, do so in the "Notes" box then tap "Upload Photo".

Notes
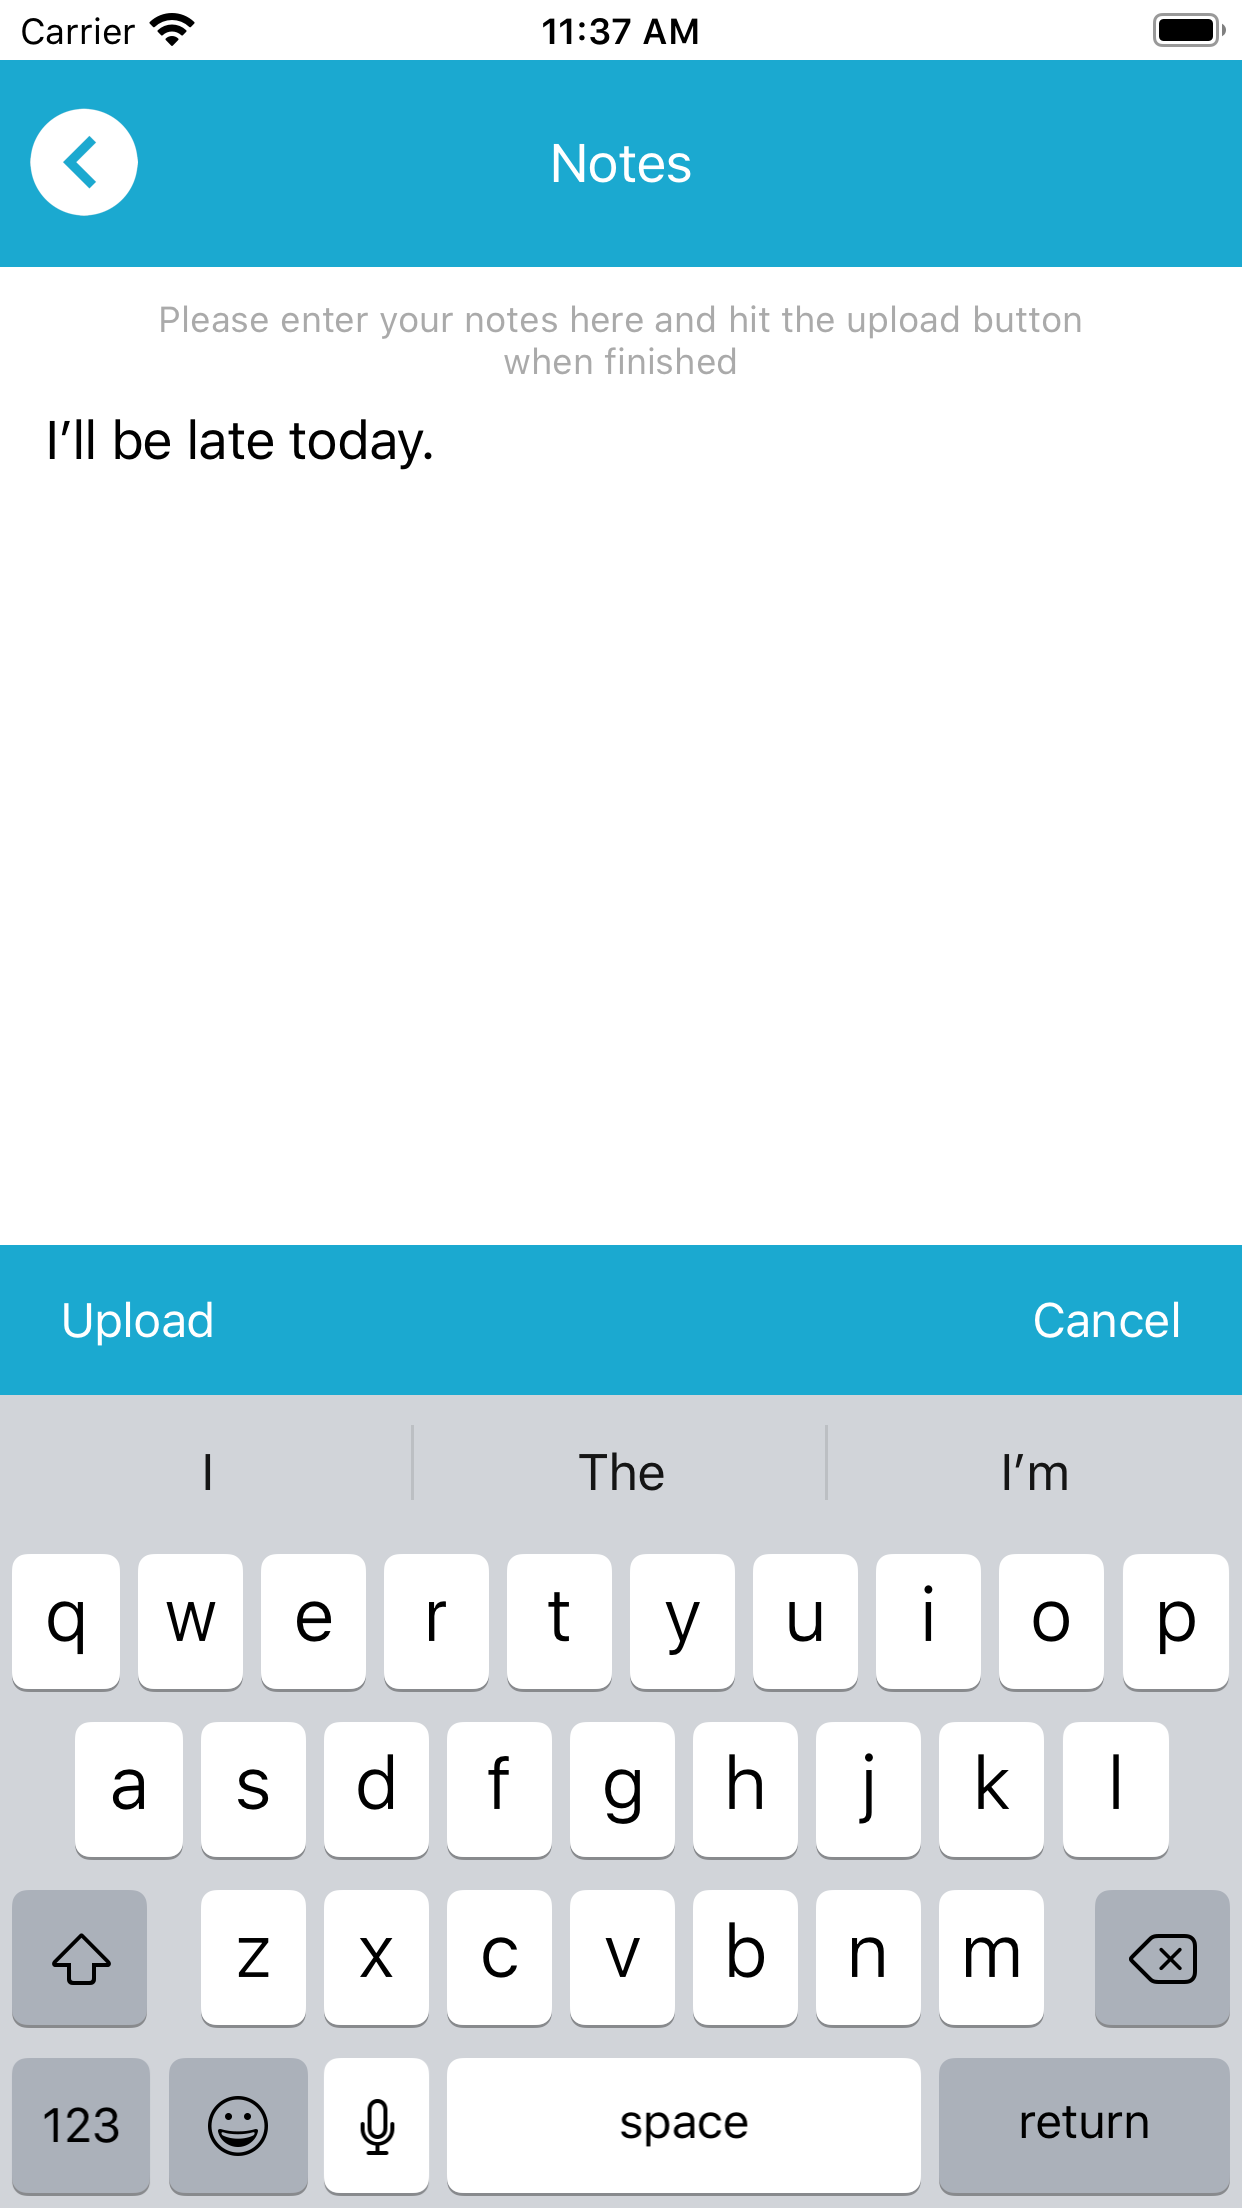
The Notes function allows you to write a text note and upload it to GAP (where it can be viewed in the device's inbox).
How to make a note
To make a note, tap the "Notes" button. Enter your text in the text box and tap "Upload".
My Info
The My Info function allows you to update information stored in your user profile.
How to amend your info
To amend your info, tap the "My Info" button. Complete the form as required and tap "Update".
Location Service Settings
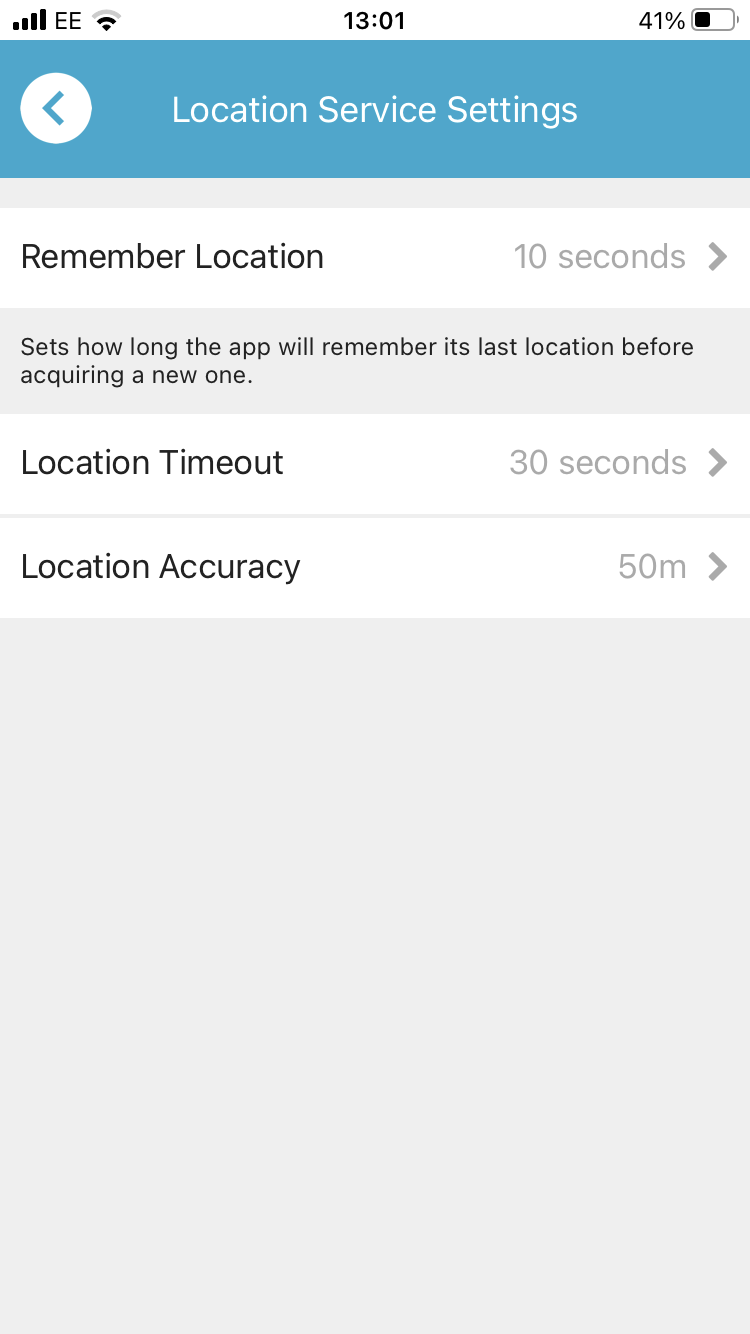
You can configure how the app obtains a location from the device's operating system using the Location Service settings screen. On this screen you can configure:
- How long the app will remember its last position ("Remember Location")
- How long the app will spend trying to obtain a new position ("Location Timeout")
- How accurate you would ideally like the position data to be ("Location Accuracy")
- If you'd like to use the position of the nearest beacon if the position returned by the device's operating system is inaccurate ("iBeacon Fallback Threshold")
How to configure your location service settings
To configure location service settings, tap "Settings" then tap "Location Service". Tap each option and set the value as required.
Privacy Settings
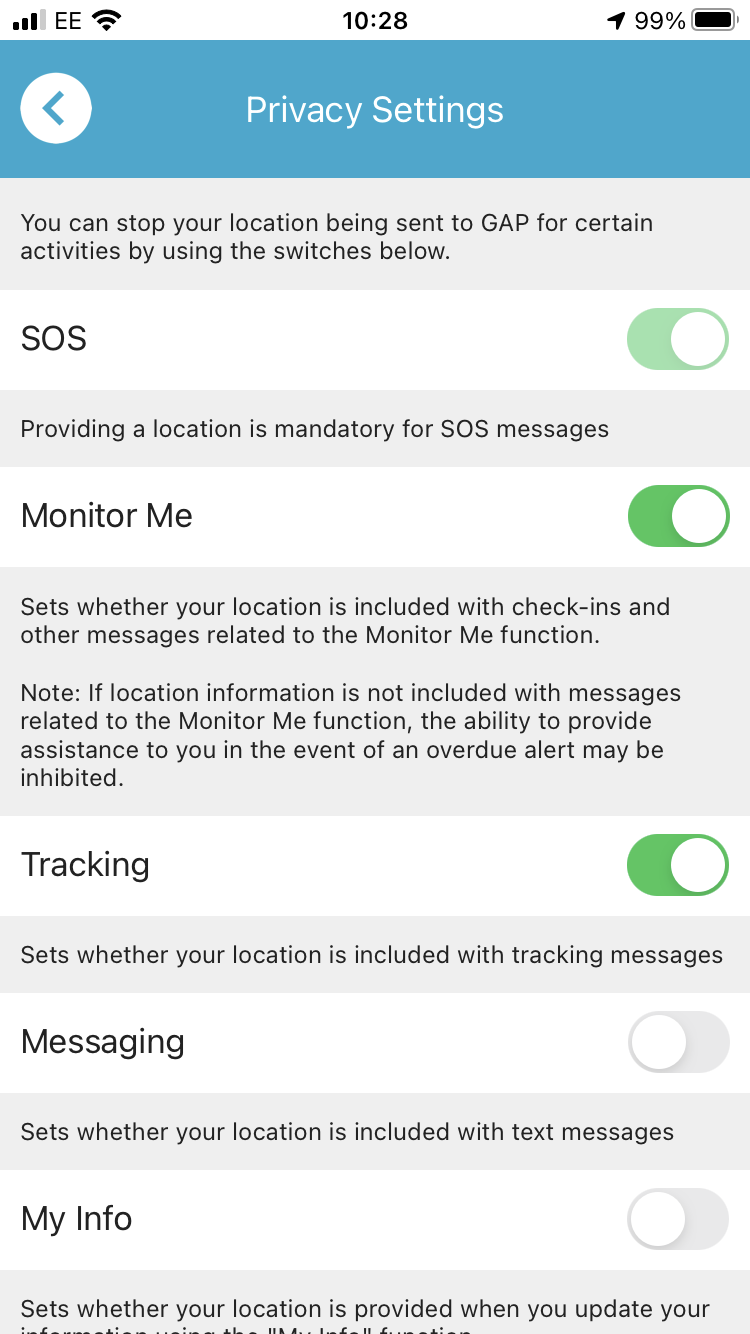
You can configure whether your location is provided along with certain message types iva the "Privacy" screen under "Settings".
How to configure your privacy settings
To configure privacy settings, tap "Settings" then tap "Privacy". Toggle each option as required. Note that you cannot prevent your location being sent in SOS messages.
Analytics Settings
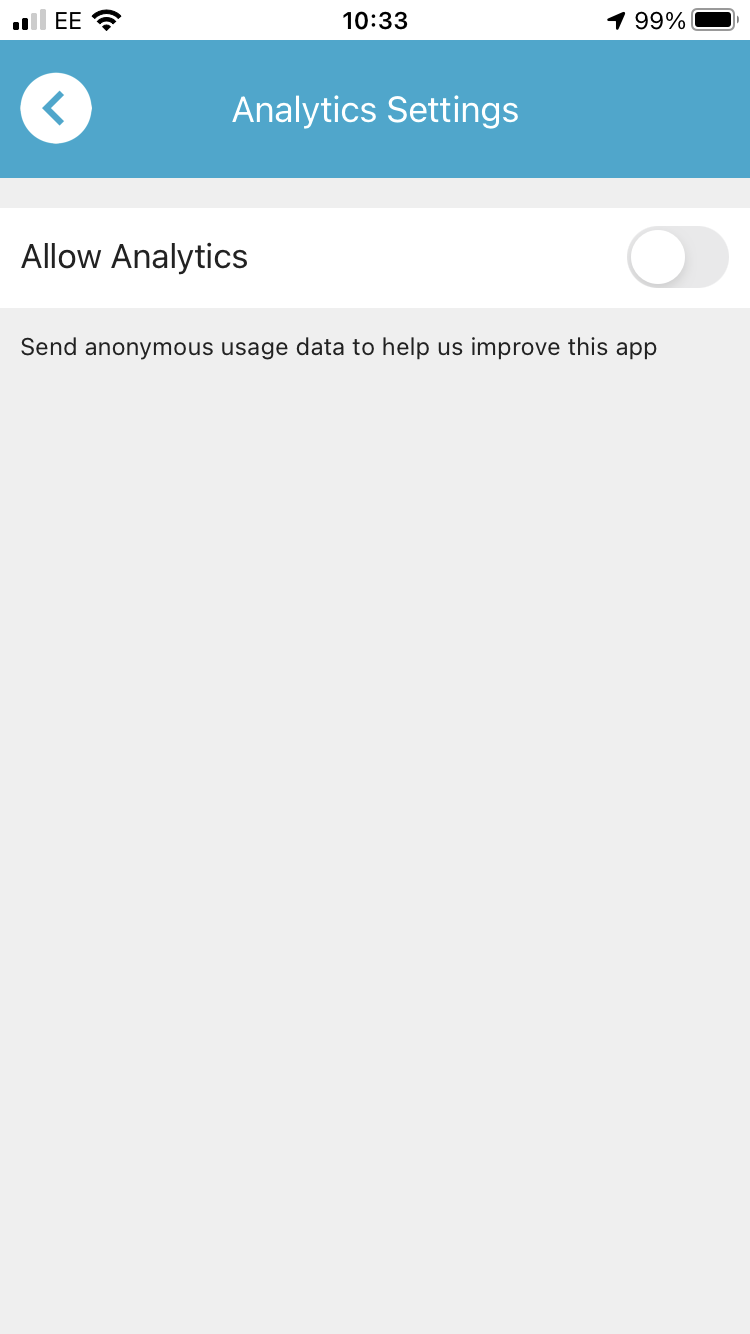
You can opt in to provide usage information to help us improve the app.
How to turn anaytics on or off
To turn app analytics on or off, tap "Settings" then tap "Analytics". Toggle the "Allow analytics" option as required.
Log
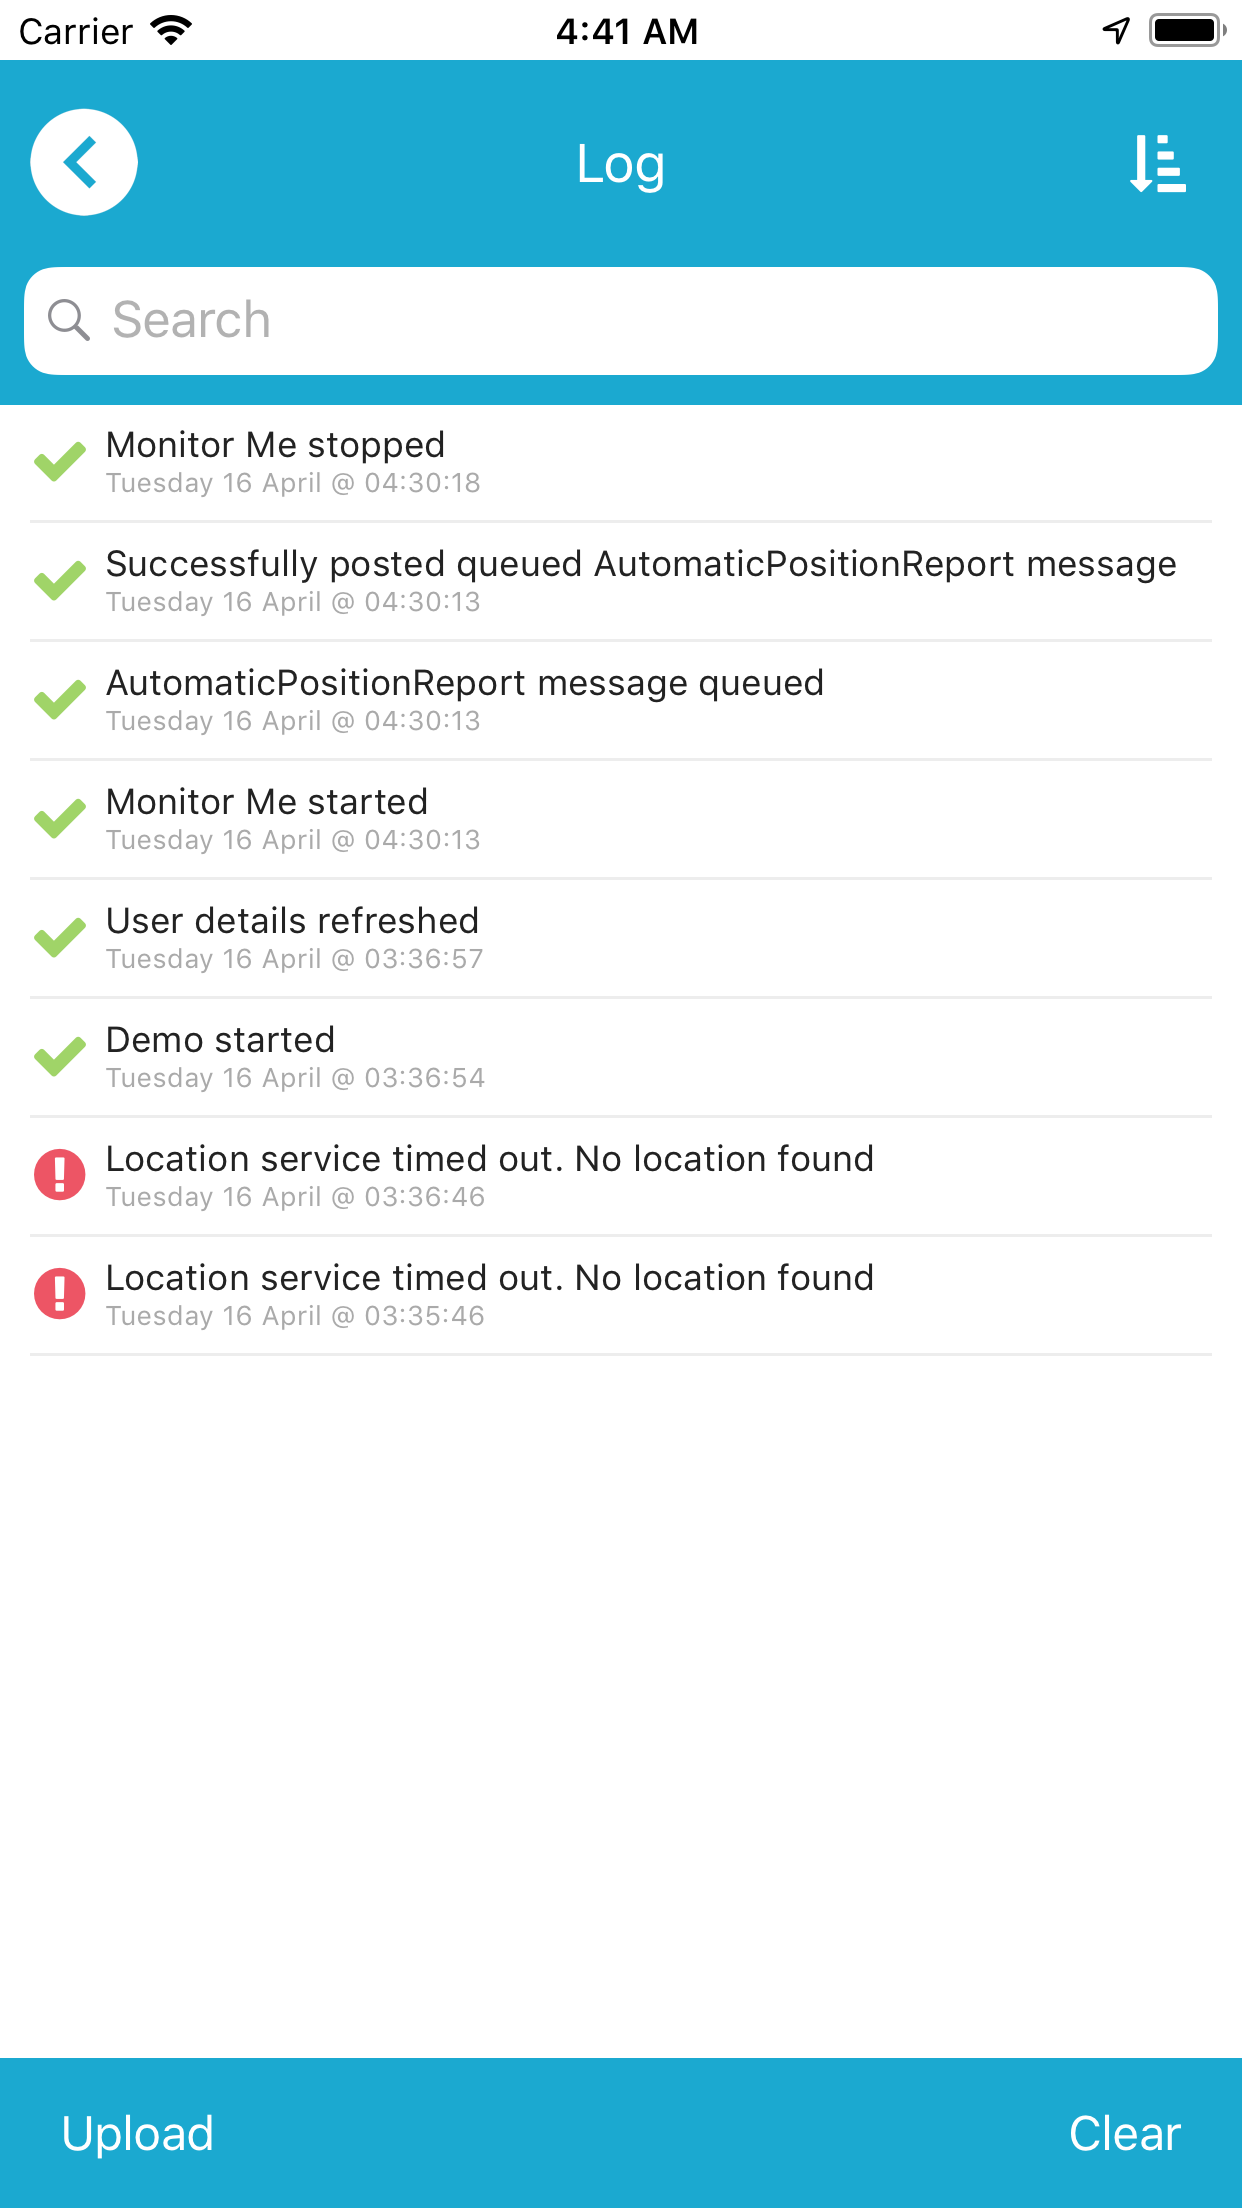
The Log screen contains information on the app's activities, including any warnings and errors.
How to view the log
To view the log, tap "Settings" then tap "Log".
How to interrogate the log
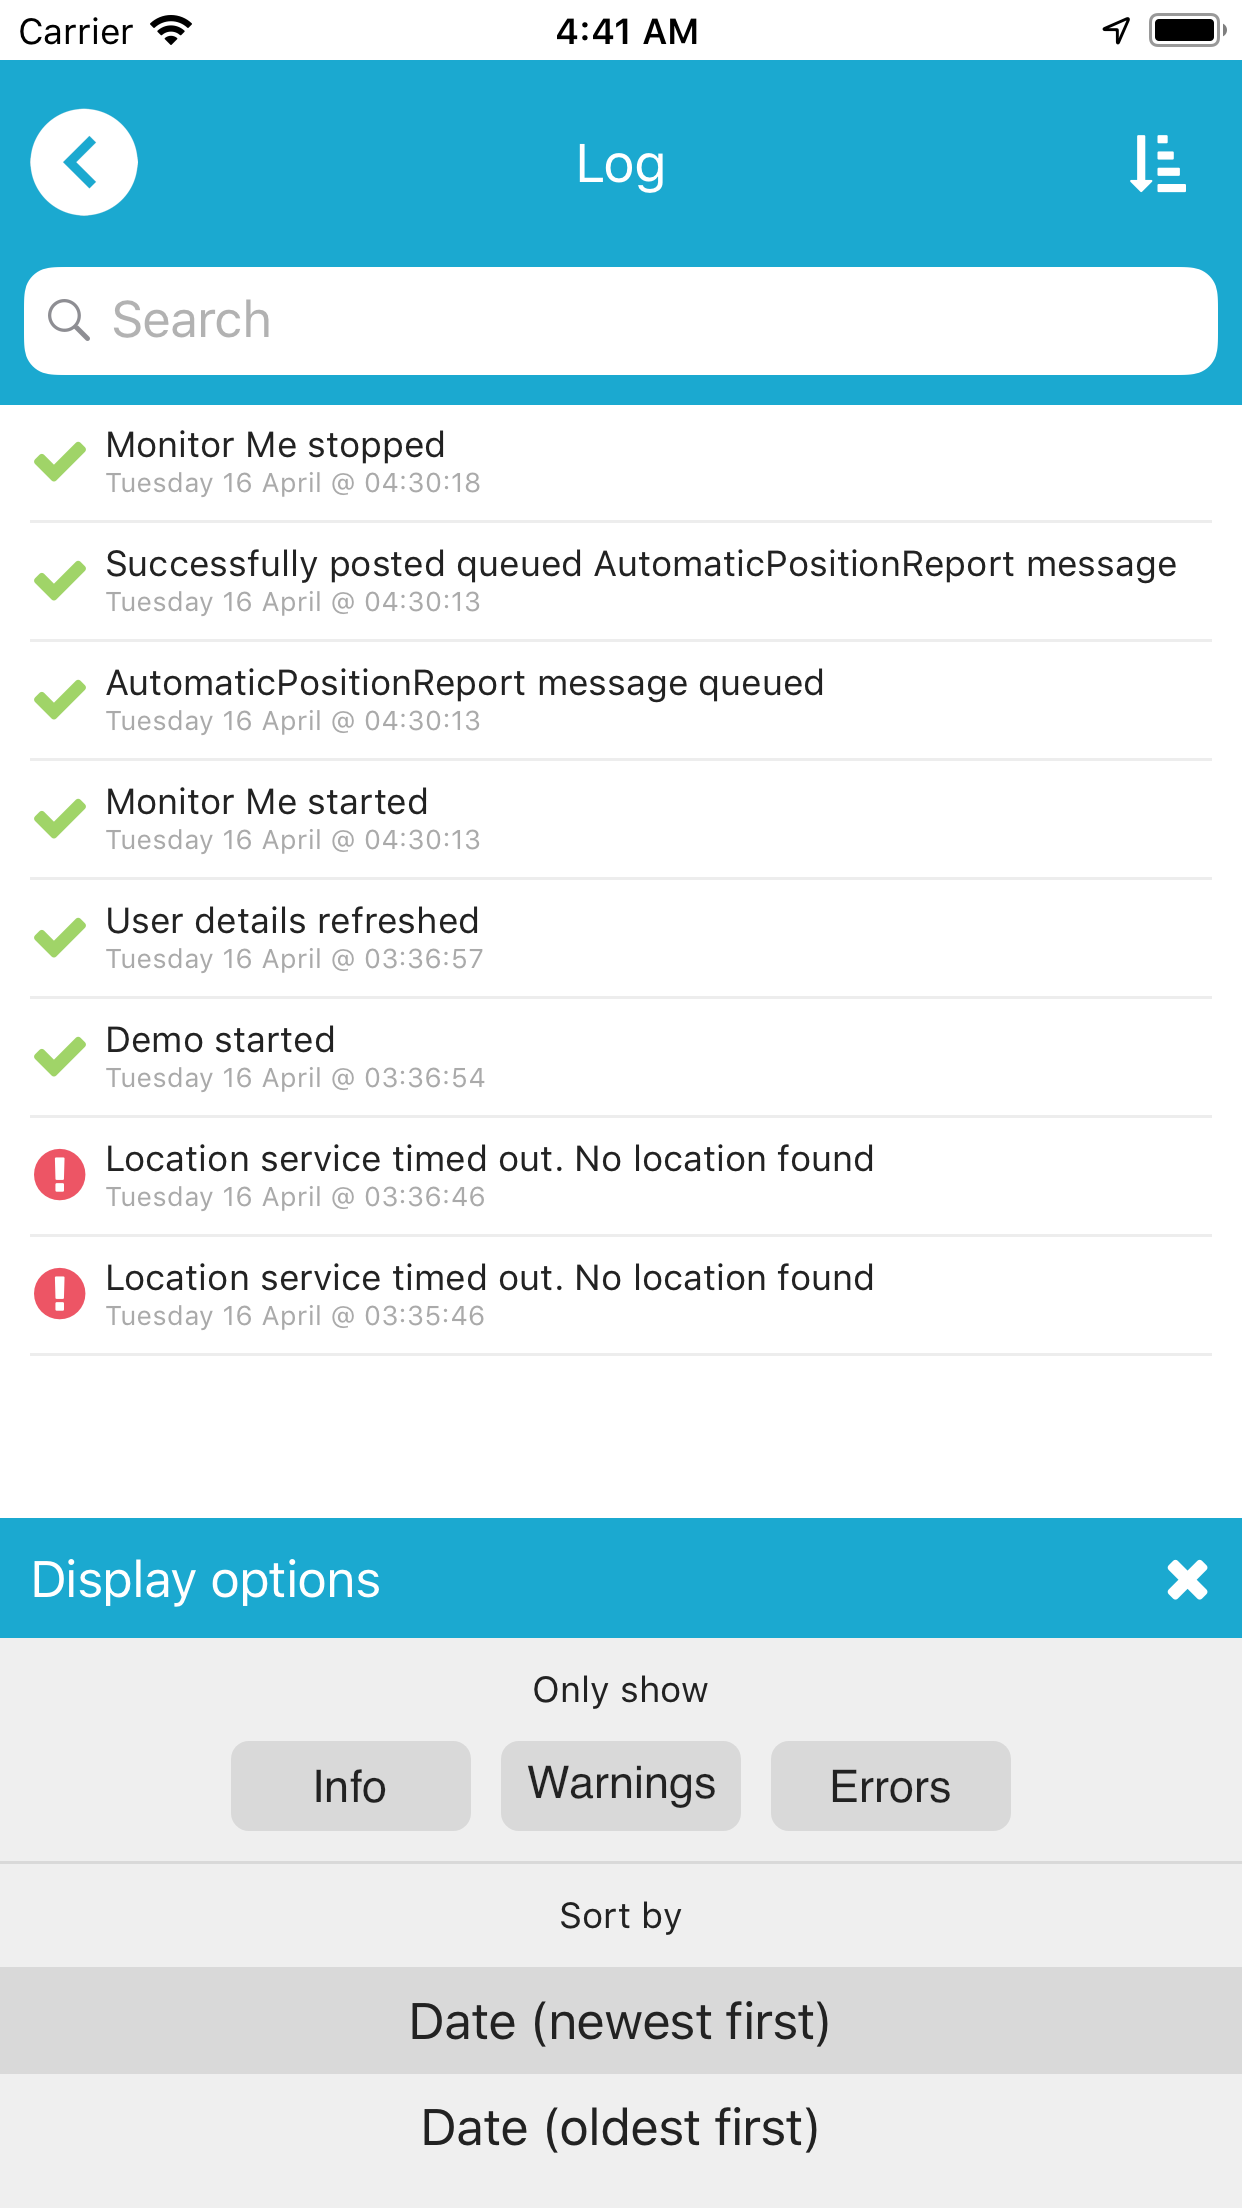
You can filter and re-order the log using the "Display Options" icon at the top right-hand corner of the Log screen.
How to send the log to the Portal for review
To send a copy of the log to the Portal, tap "Upload".
How to clear the log
To clear the log, tap "Clear".
App Tester
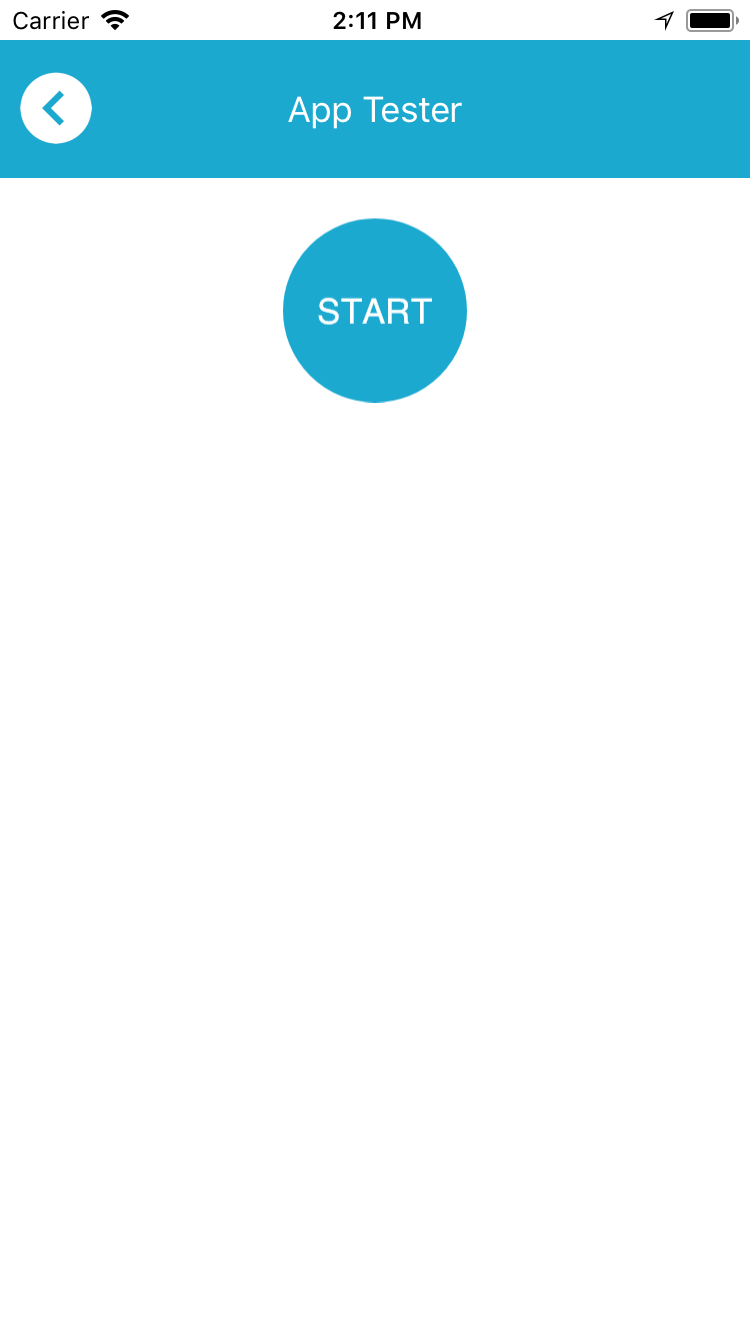
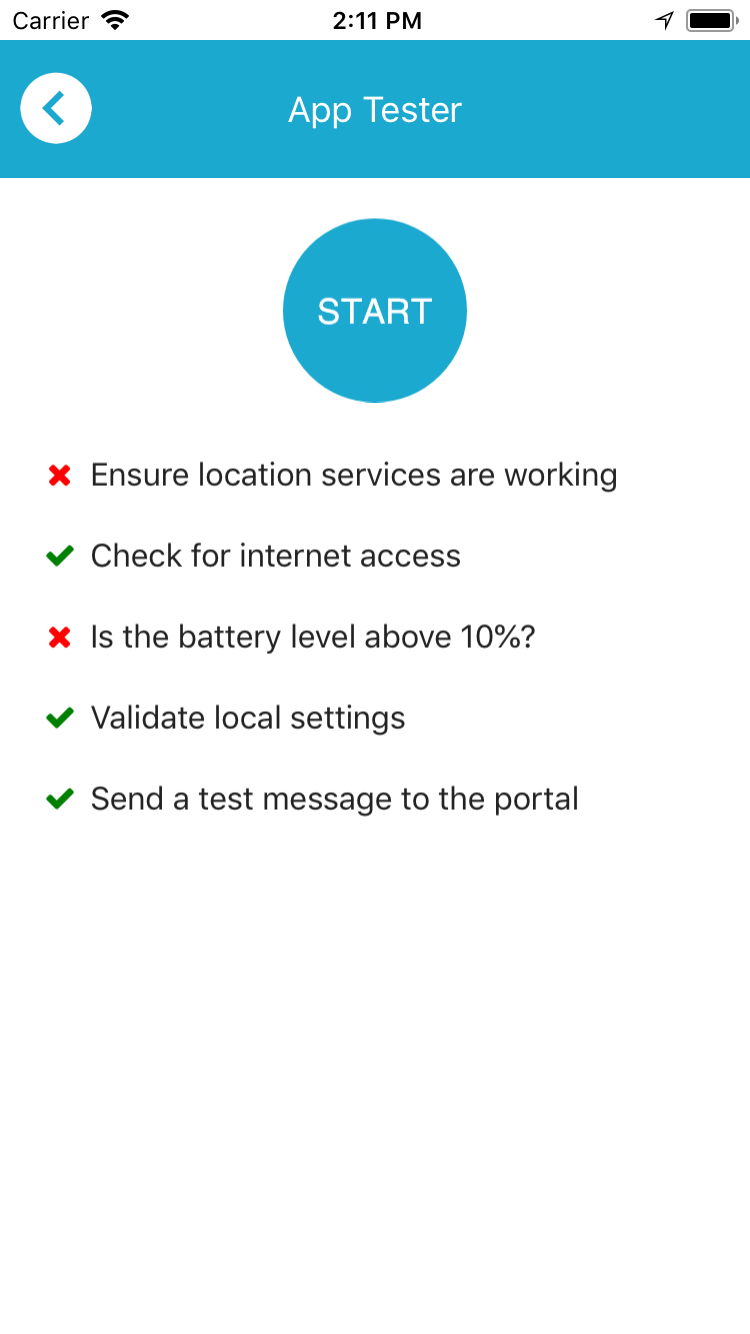
To perform basic testing to verify the functionality of the app, tap Settings then App Tester. To begin a test, tap the Start button.
Beacons
Bluetooth beacons (sometimes known as iBeacons) are used to help obtain more accurate position data when indoors. They emit a Bluetooth LE signal which the device can use to identify where it is when GPS or Wi-Fi based positioning fails.
How to configure beacon behaviours
To turn notifications regarding beacons on or off, tap "Settings" then "iBeacons" then swipe the "Show notification when region changes" option.
To send messages to the GAP Portal when the beacon region changes, tap "Settings" then "iBeacons" then swipe the "Send position report when region changes" option.
If neither of these options are enabled, the position of the nearest beacon may be sent in lieu of your actual position depending on the settings configured under Location Service Settings.
Deactivation
Deactivating the app will delete your settings and return the app to the Login screen. You will need to login again before the app will function.
How to deactivate your app
To deactivate the app, tap "Settings" then tap the "Deactivate" link at the bottom of the screen.
