GAP Guardian v3.0 - User Guide
Introduction
This article explains how to use the GAP Guardian app for iOS and Android.
Contents
- Installation
- Getting Started
- Navigation
- SOS
- Monitor Me
- Check-In Schedules
- Tracking
- Messages
- Devices
- Travel Advice
- Travel Alerts
- Documents
- Quick Call
- Location Service Settings
- Log
- Deactivation
Installation
You can install GAP Guardian from the Apple or Android app stores using the links below:
![]()
To run the app on iOS, your device needs to be running a minimum of iOS v10.3.0.
To run the app on Android, your device needs to be running a minimum of Android v4.4.
Getting Started
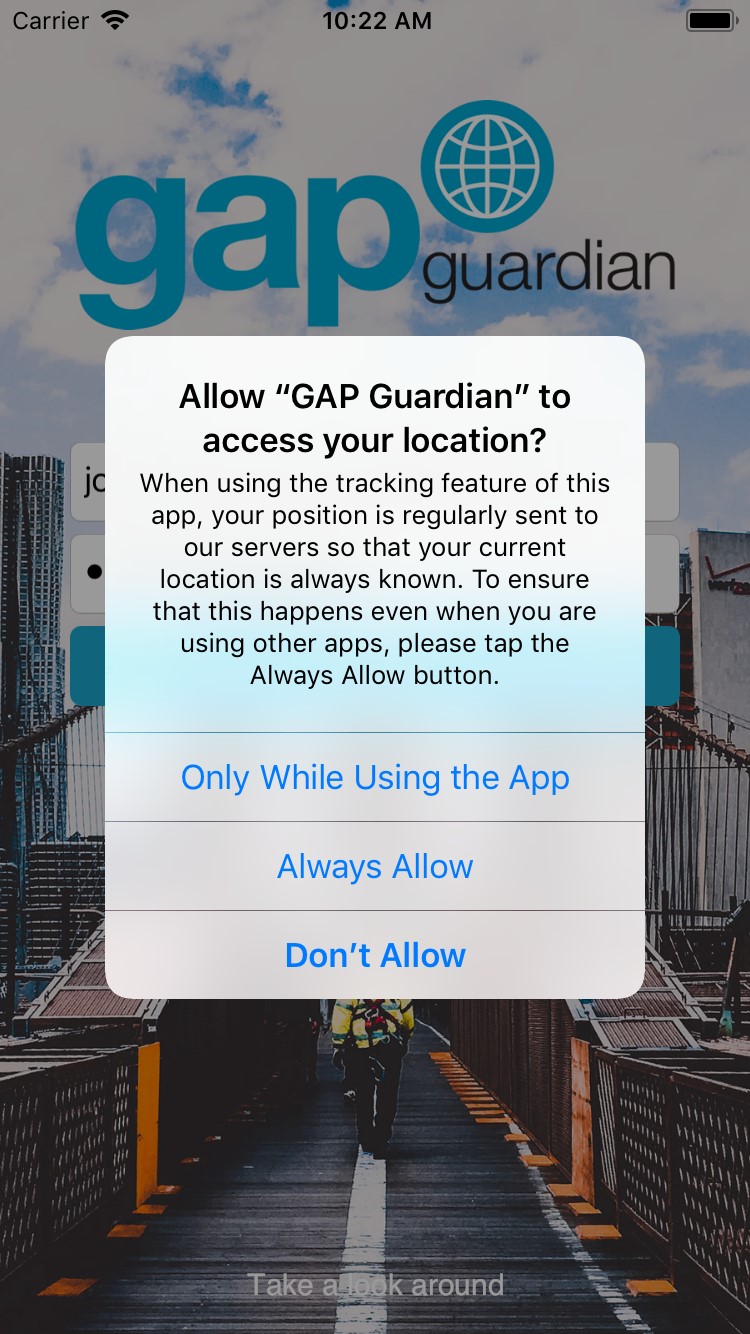
When you start the app for the first time on iOS, you may be prompted to allow the app access to your location. Tap "Always Allow". You may also be prompted to allow the app to send you notifications. Tap "Allow".
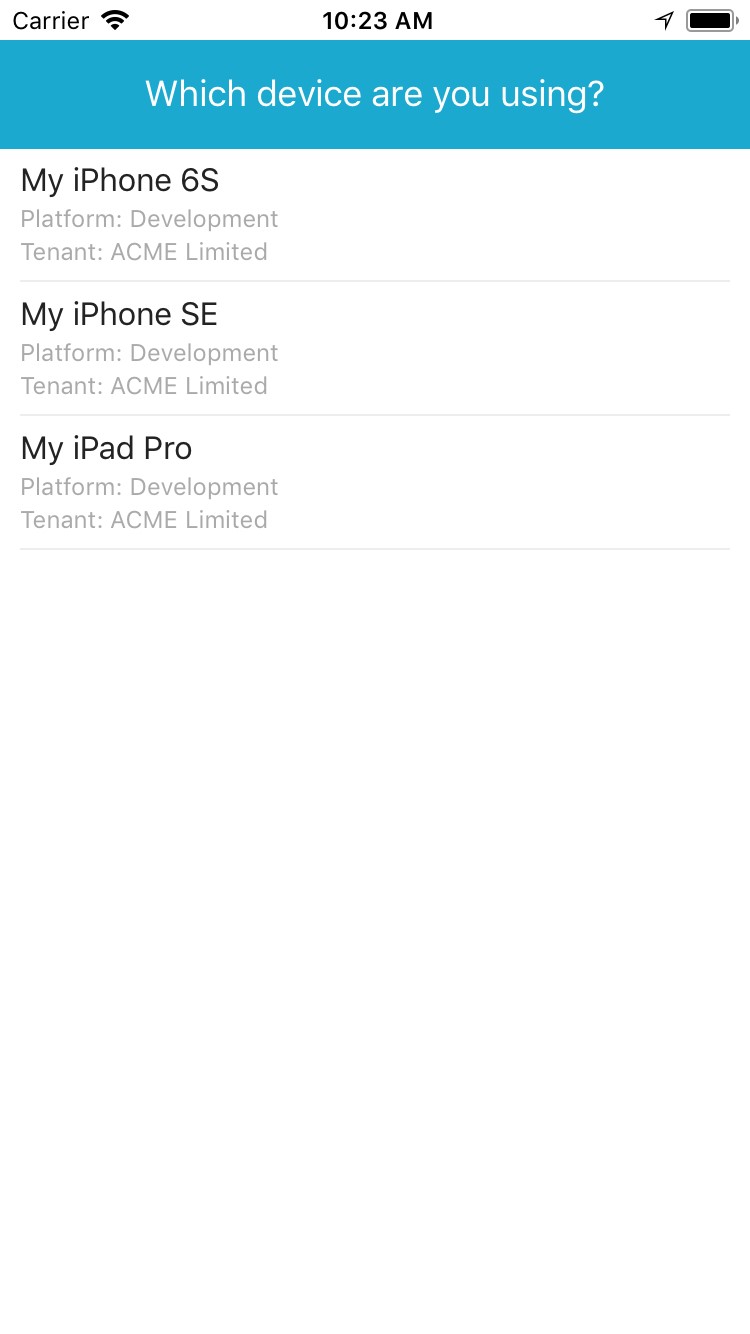
Enter your user name and password in the "Username" and "Password" text boxes respectively, then tap "Login". If you only have one device assigned to you on the Portal, your credentials will be validated, and the Dashboard will load. If you have more than one device assigned to you, you will be asked to select which device you are using before proceeding to the Dashboard.
Navigation
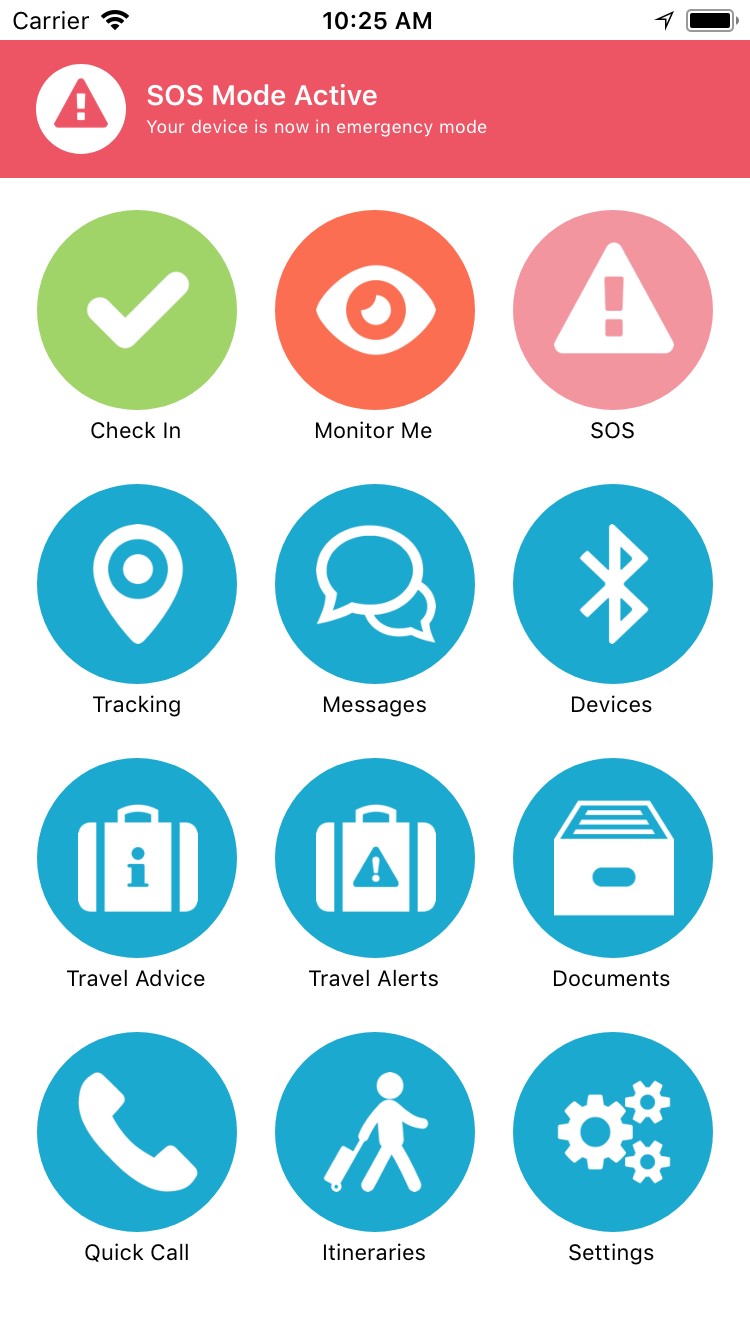
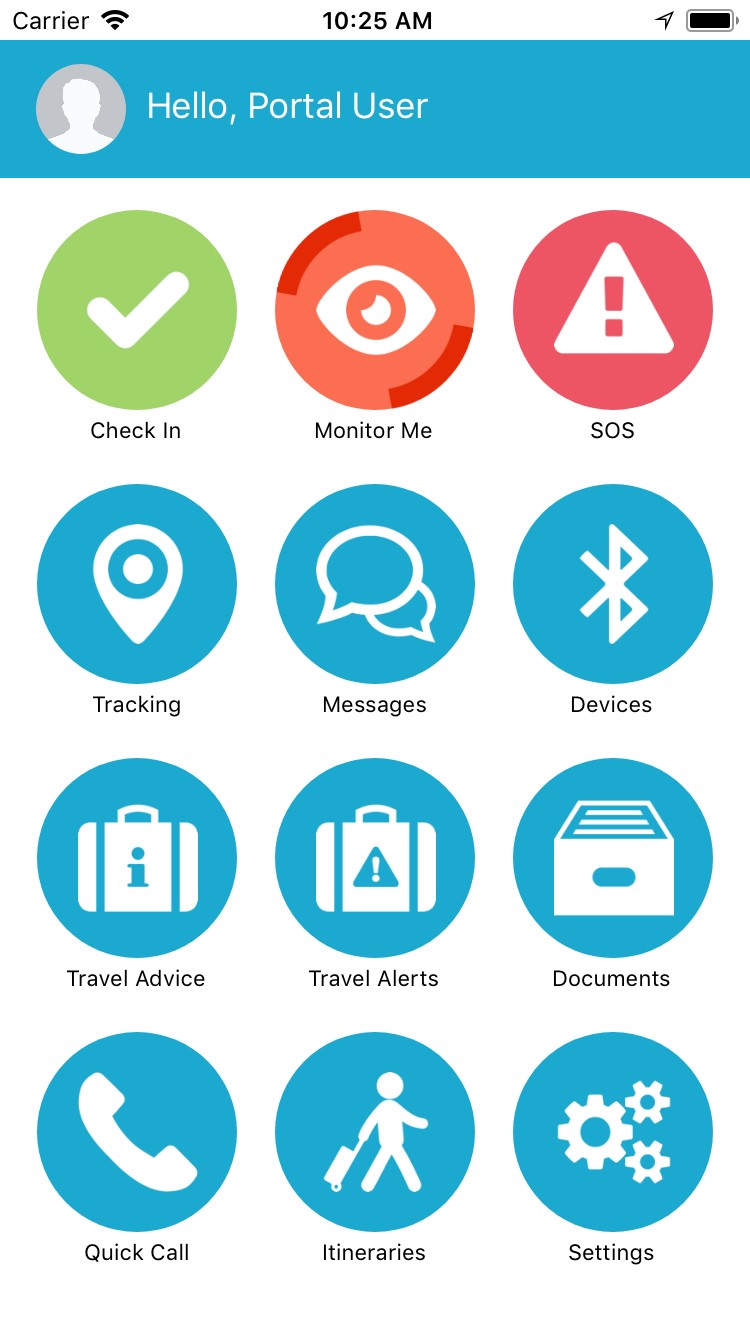
The Dashboard screen shows all the app functions available to you.
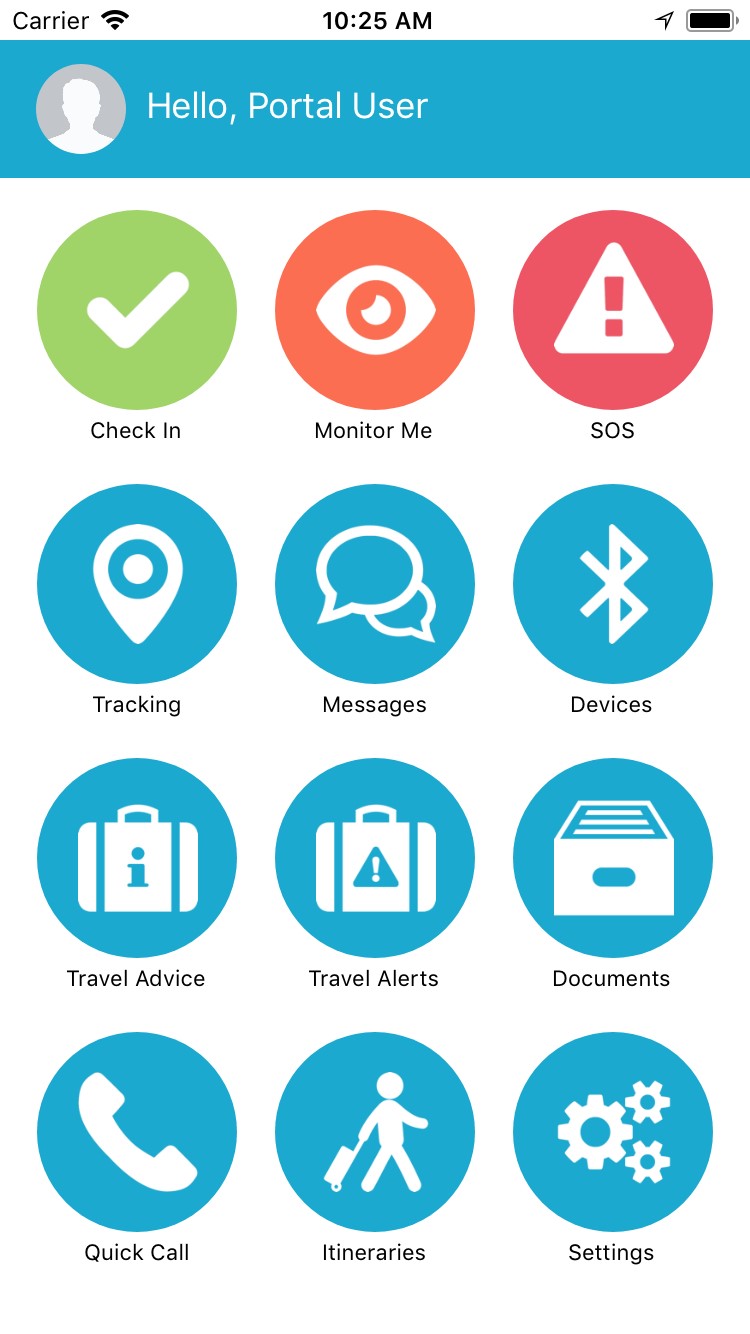
Note: some functions may not be available to you as a result of configuration undertaken by your administrator.
SOS
SOS mode raises an emergency alert on the Portal. It is used to indicate that you are in danger and require assistance.
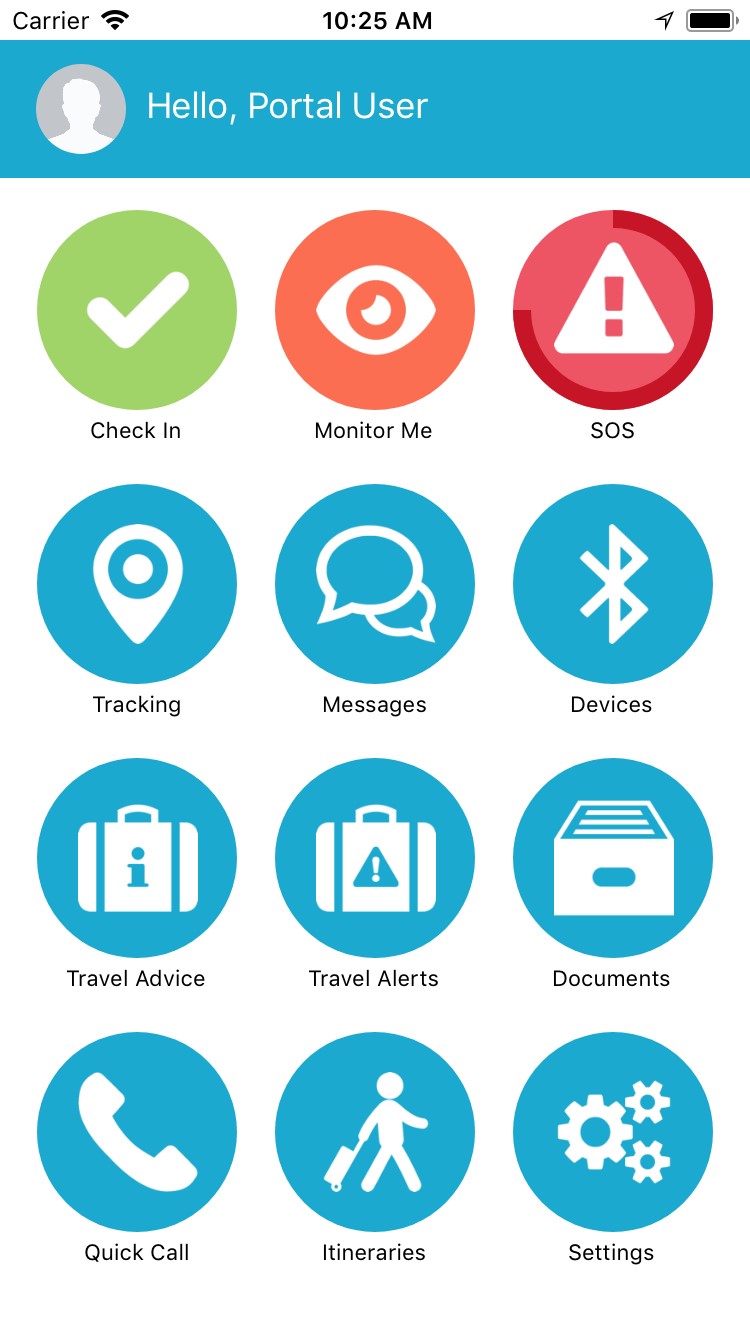
How to activate SOS mode
To activate SOS mode, press and hold the SOS button until the animation around the edge of the icon completes a full circle. When complete, a red banner will display, and the SOS button will pulsate. An SOS message will be sent at regular intervals to the Portal.
How to configure the SOS message interval
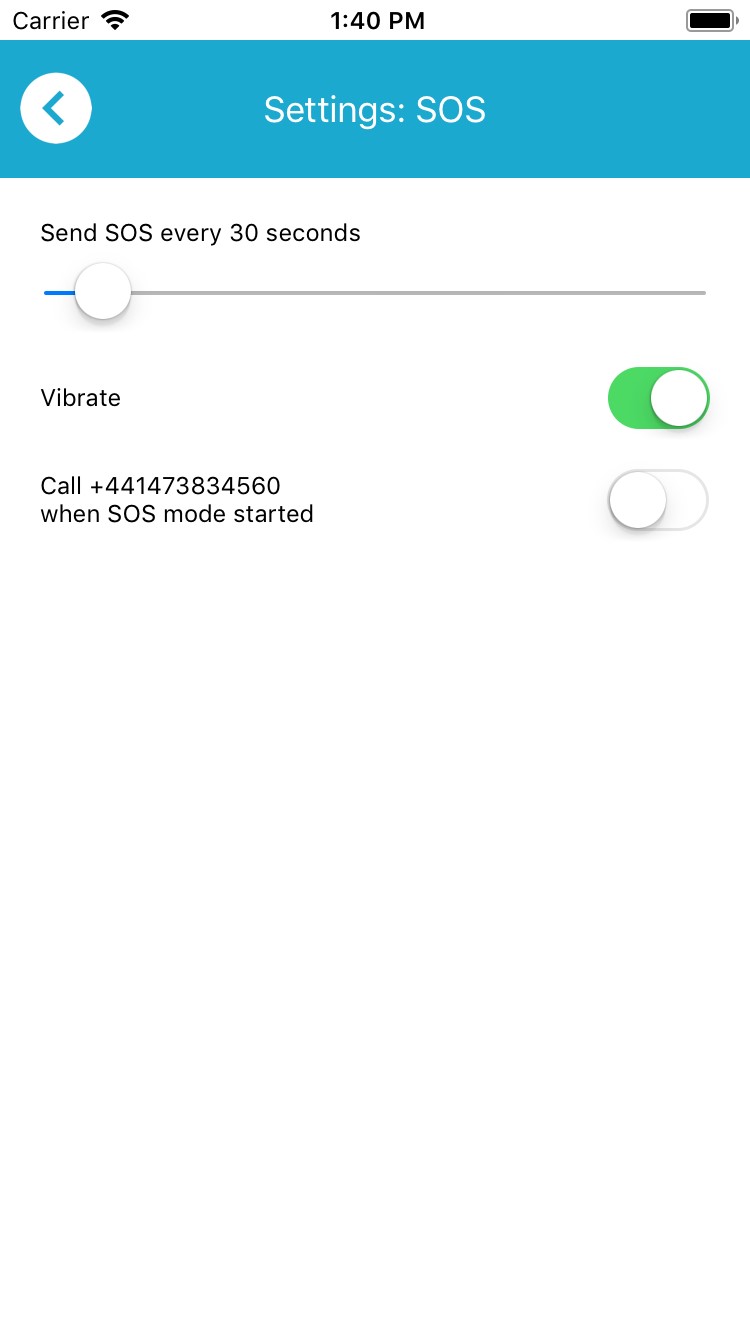
To configure the SOS message interval, tap Settings then SOS. Drag the "Send SOS every..." slider to the desired value.
How to trigger a phone call when SOS mode is started
To trigger a phone call when SOS mode is started, tap Settings then SOS. Flick the "Call ... when SOS mode started" option to "on". The number called will be the first number set up for the Quick Call buttons. This is configurable via the Portal by your administrator.
How to enable haptic feedback (vibration)
To enable haptic feedback (vibration) whilst SOS mode is enabled, tap Settings then SOS. Flick the "Vibrate" option to "on".
Note: on iOS, the "Vibrate on Ring" setting (tap Settings then Sounds) should also be enabled.
How to cancel SOS mode
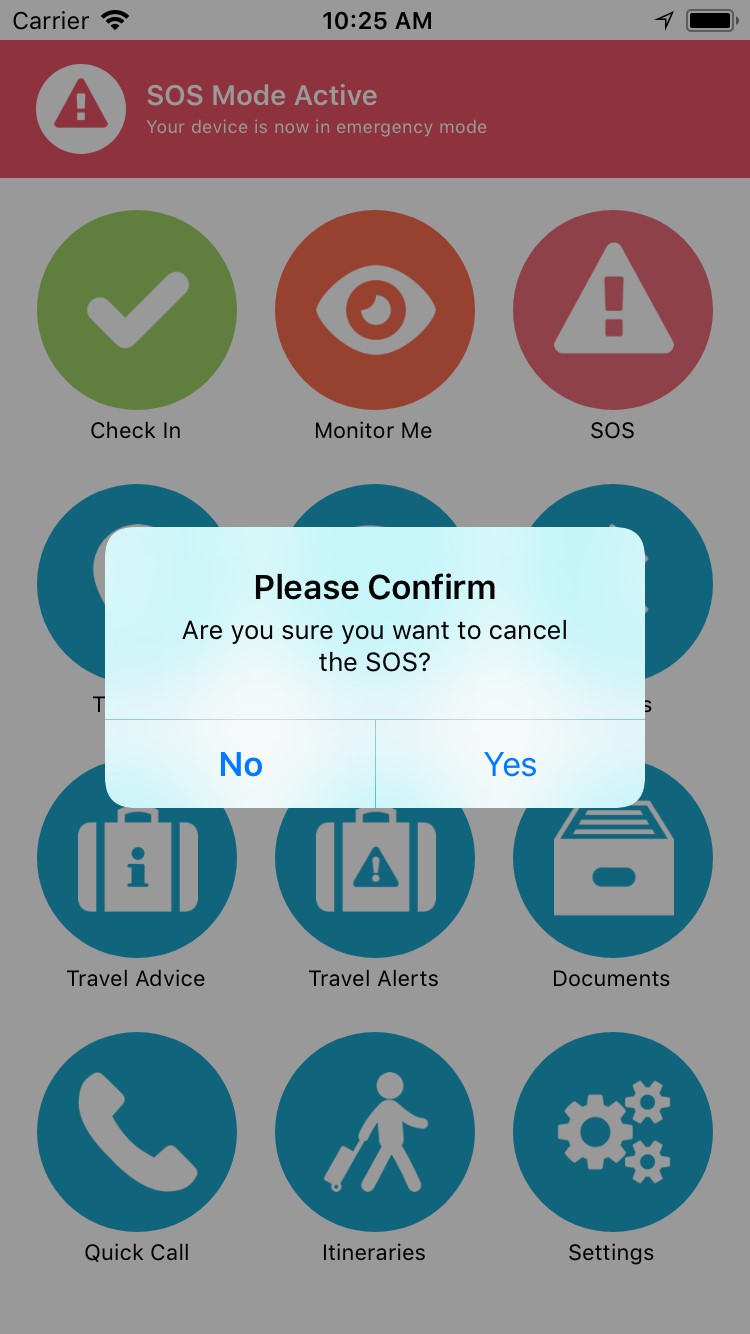
To cancel SOS mode, tap the SOS button and answer "Yes" to the warning prompt.
Monitor Me
Monitor Me is a customisable, user-initiated monitoring mode which allows you to decide what aspects of monitoring you would like to activate when Monitor Me is switched on. These include:
- How often you should be required to check in
- How often your position should be reported
- If man-down detection should be enabled
- If a call should be initiated so that a remote operator can listen in
How to configure Monitor Me
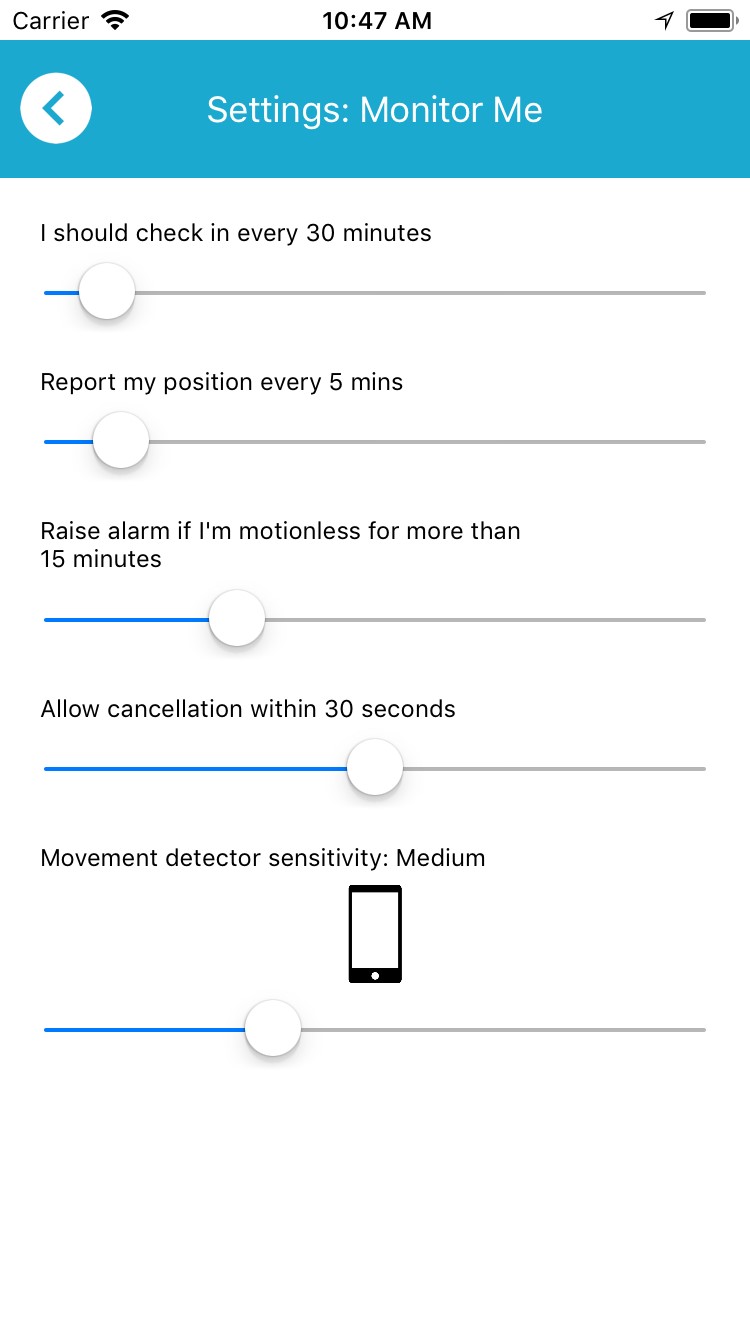
To configure your Monitor Me settings, tap Settings then Monitor Me. You can configure the following values:
- How often you should check in ("I should check in every...")
- How often your location should be reported ("Report my position every...")
- How long your device can be motionless before an alert is sent to the Portal ("Raise alarm if I'm motionless for more than...")
- How long until an alert is sent to the Portal if you've been motionless ("Allow cancellation within...")
- How sensitive the motion detection is ("Movement detector sensitivity:...")
- Whether a phone call should be triggered when Monitor Me is started ("Call ... when Monitor Me started")
Note: if you change these values when Monitor Me is currently active, they will not take effect until Monitor Me is stopped and restarted.
How to start Monitor Me
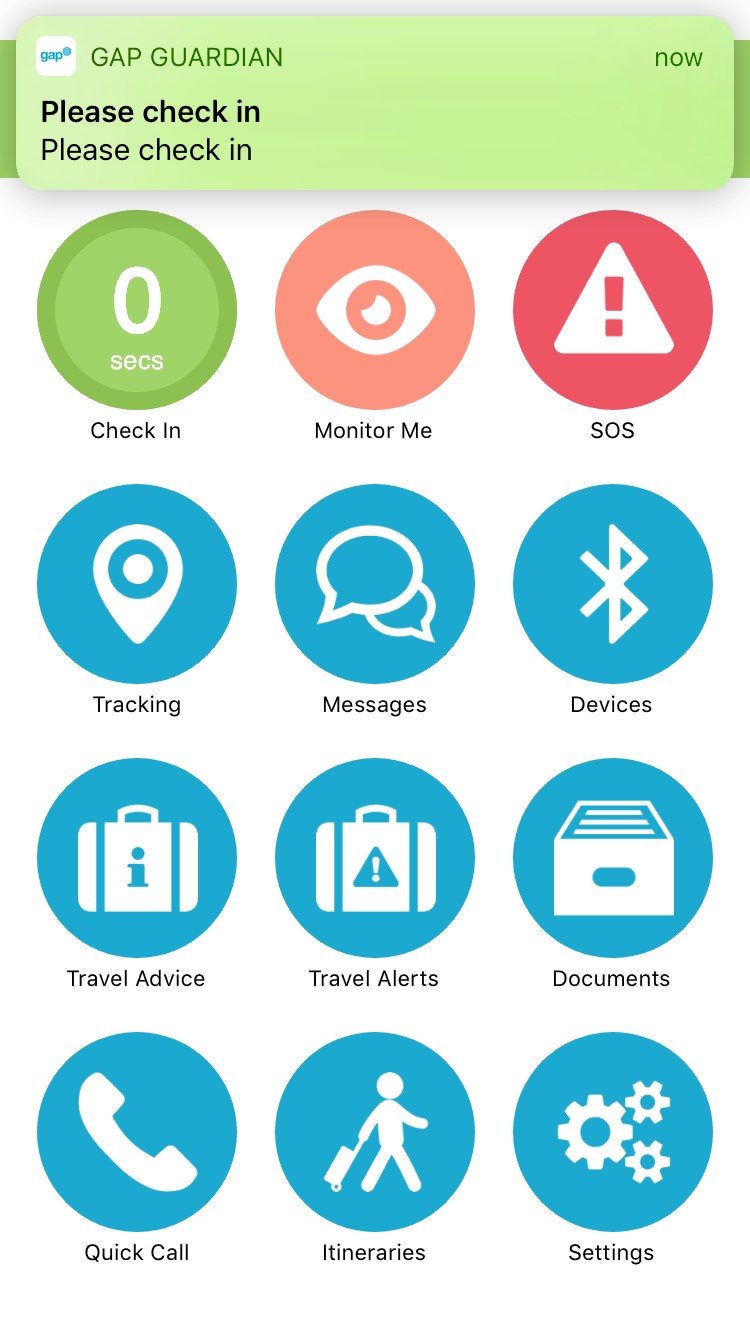
To start Monitor Me, tap the Monitor Me button. The edge of the button will rotate whilst Monitor Me is activating, after which point the button will pulsate to indicate it is active. The banner will also temporarily display a notification to that effect.
The Check In button will change to show a countdown timer, indicating when you are next required to check in. If you do not check in when required, a banner will be shown reminding you to check in.

How to check in
To check in, tap the Check In button. The edge of the button will rotate whilst the check in is performed. The banner will also temporarily display a notification to that effect.

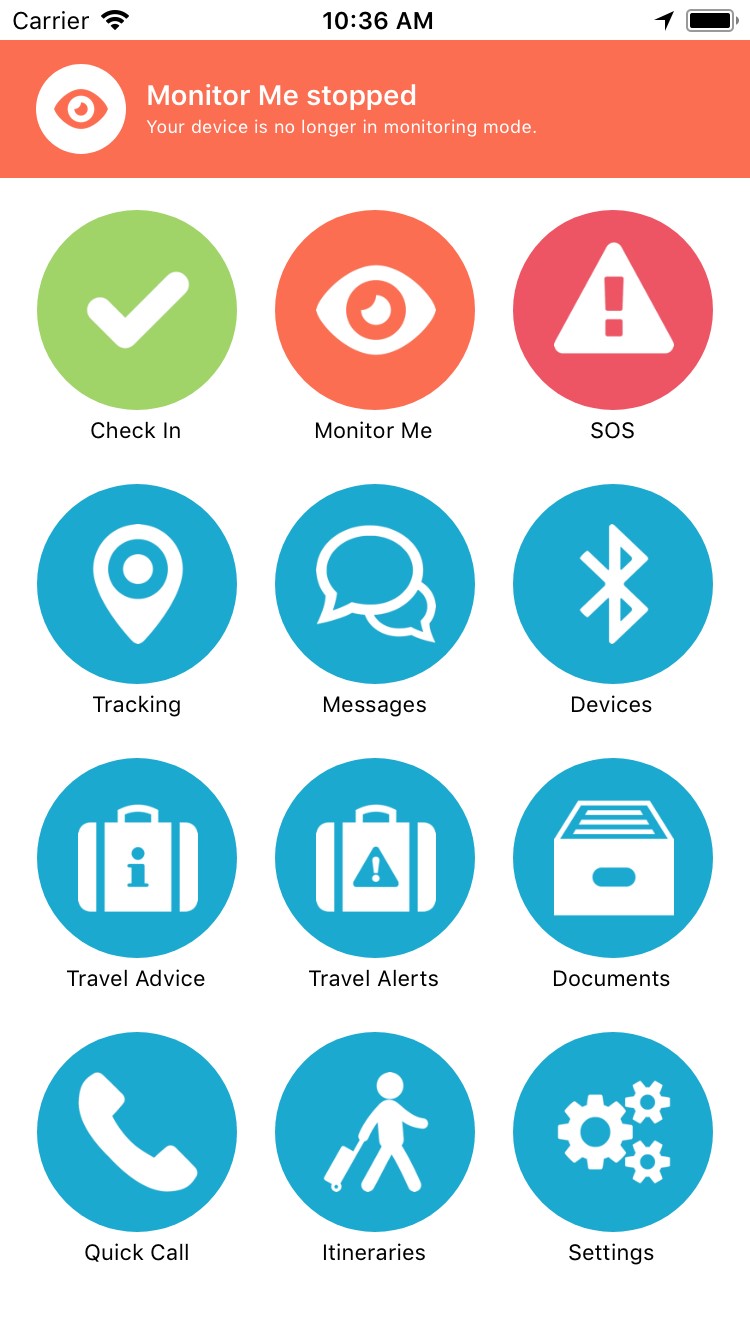
How to stop Monitor Me
To stop Monitor Me, tap the Monitor Me button. The edge of the button will rotate whilst Monitor Me is stopping, after which point the button stop pulsating. The banner will also temporarily display a notification to that effect.
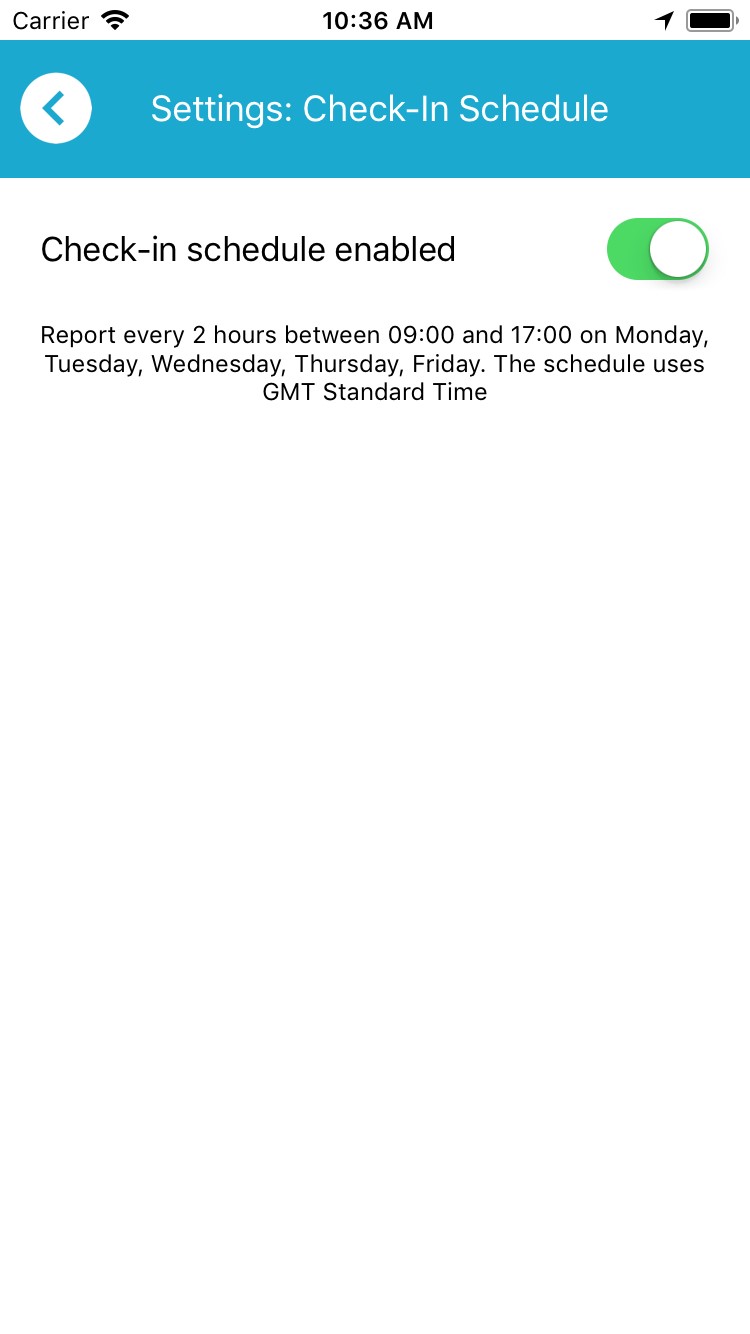
Check-In Schedules
In addition to Monitor Me, your administrator can create Check-In Schedules, requiring you to check in at predefined intervals or certain times of the day. These are assigned remotely to your device via the Portal by your administrator.
How to enable a Check-In Schedule
To enable your assigned Check-In Schedule, tap Settings then Check-In Schedule and then flick the "Check-in schedule enabled" option to "on". The details of your assigned schedule will be displayed.
If there is no Check-In Schedule assigned to your device, an error message will be displayed.
If Monitor Me is active, your next check-in will be calculated based on the chosen Monitor Me interval and your assigned Check-In Schedule.
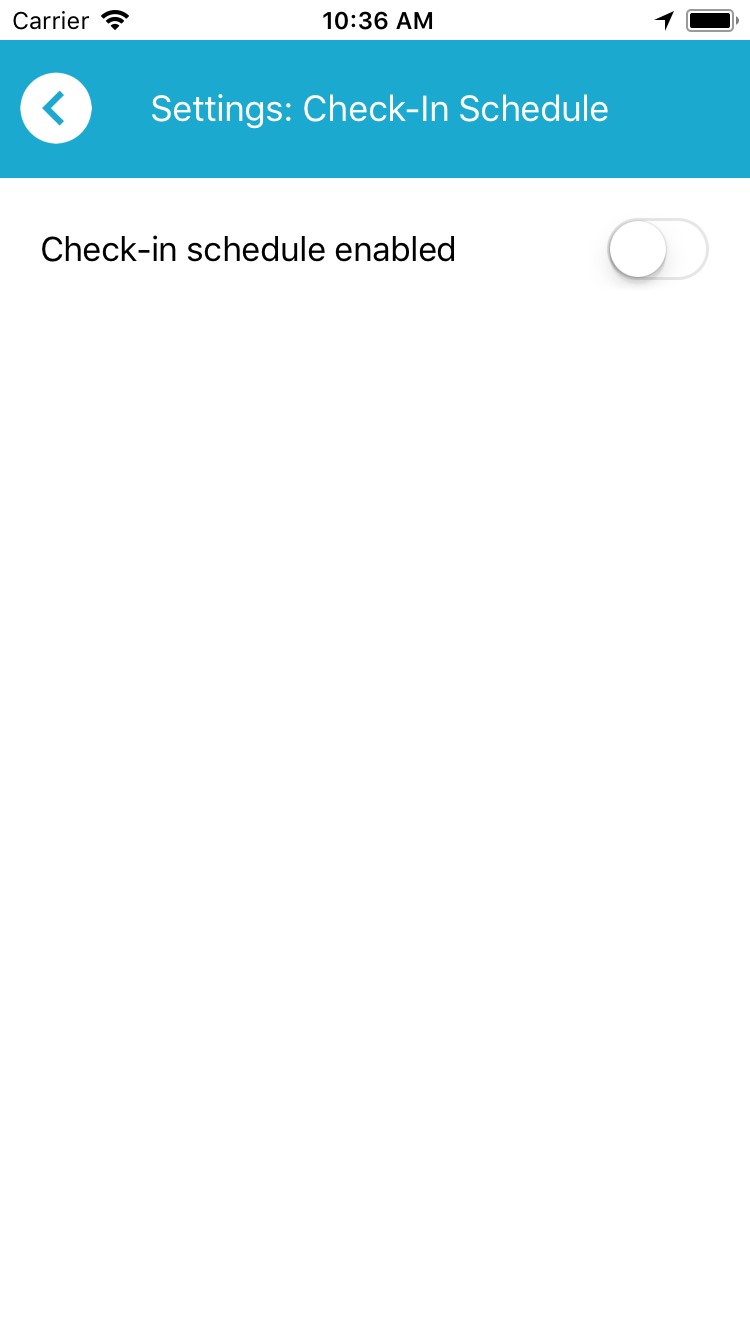
How to disable a Check-In Schedule
To disable your assigned Check-In Schedule, tap Settings then Check-In Schedule and then flick the "Check-in schedule enabled" option to "off".
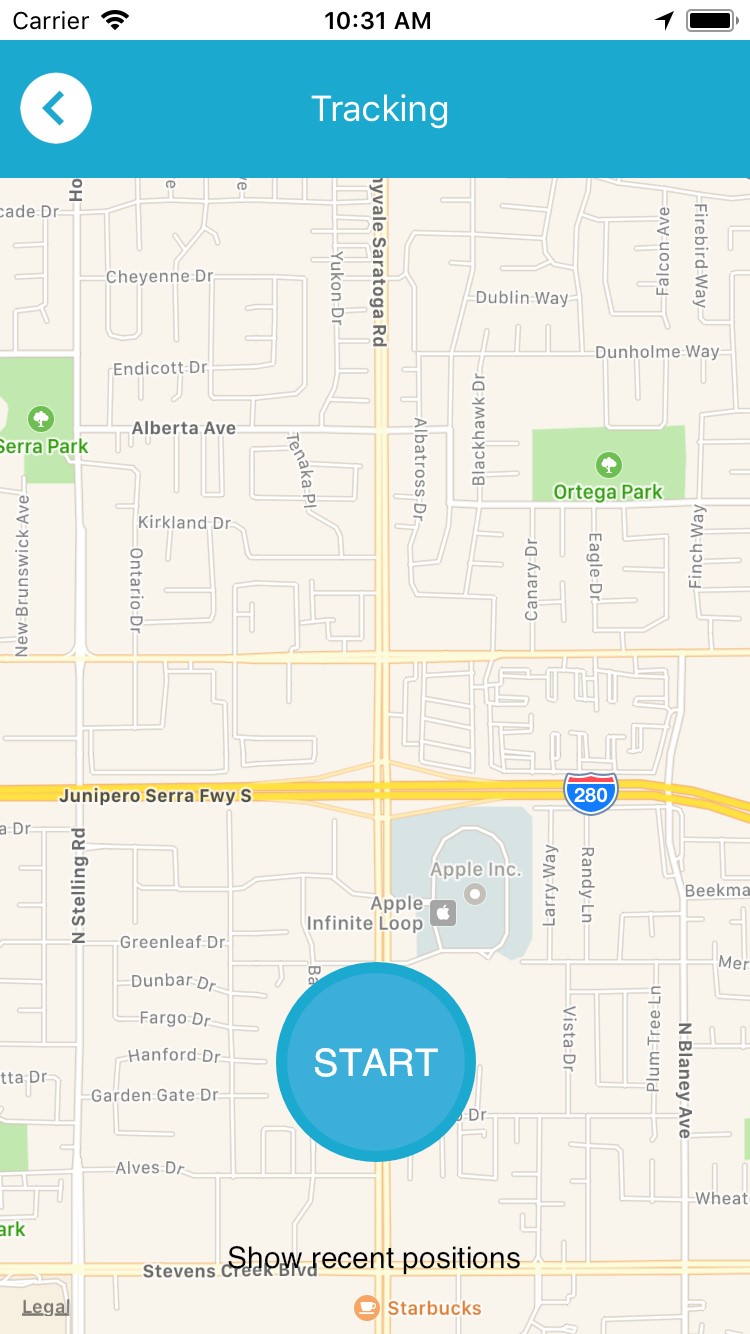
Tracking
When tracking mode is active, your location information will be sent to the Portal on a regular basis.
How to start tracking
To start tracking, tap Tracking then tap the Start button. When tracking mode is enabled, the Tracking button on the Dashboard will pulsate.
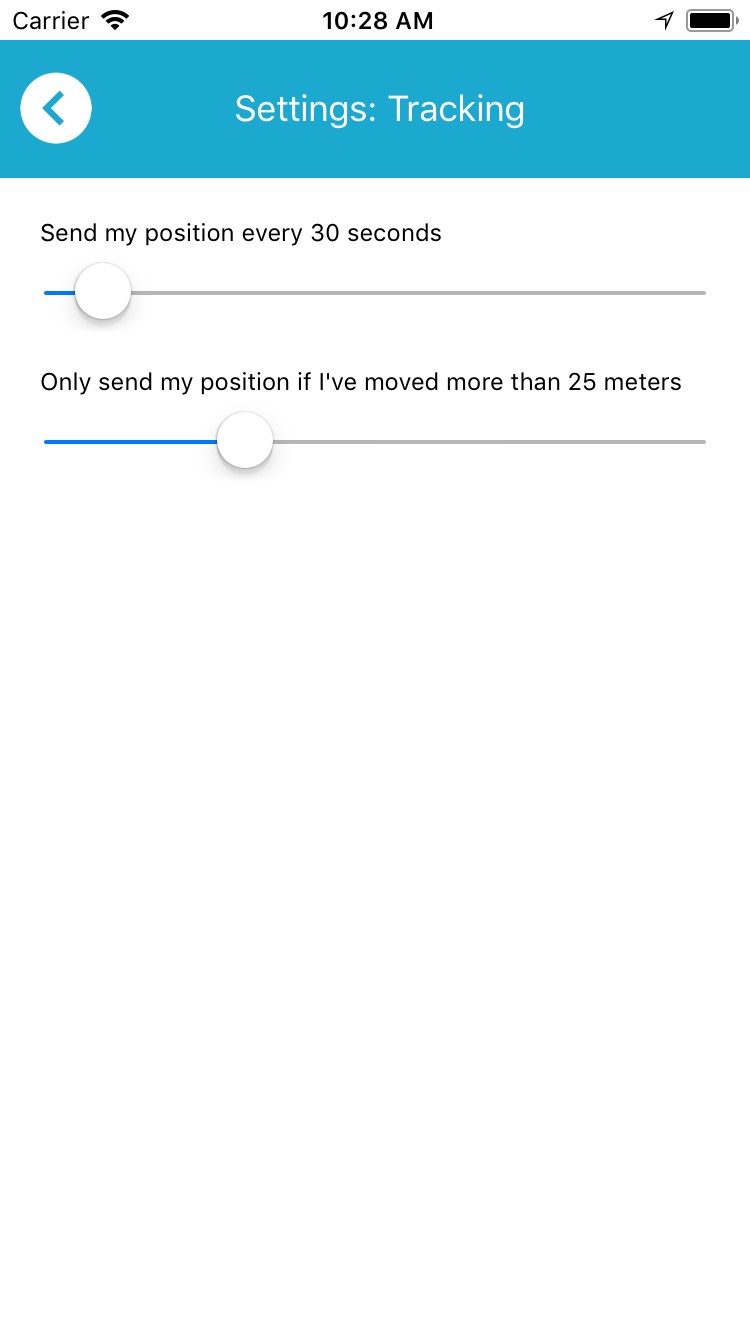
How to configure the tracking message interval
To configure the tracking message interval, tap Settings then Tracking. Drag the "Send my position every..." slider to the desired value.
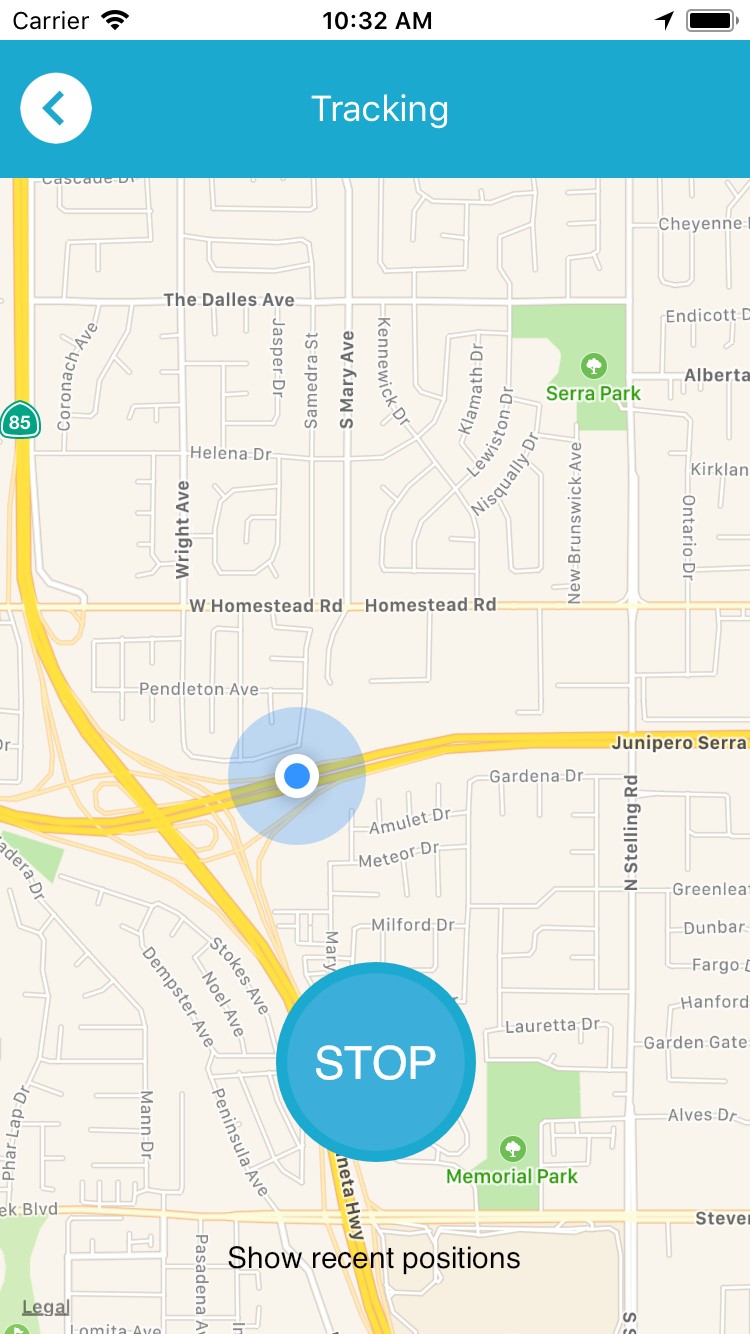
How to stop tracking
To deactivate tracking, tap Tracking then tap the Stop button.
Messages
The Messages screen allow you to converse via text messages with a Portal operator.
When you receive a message, a notification will be displayed and a red badge indicating the number of unread messages will be shown on the Dashboard screen and on your device's app launcher screen (on supported Apple, Samsung and Sony devices only).
How to reply to a message
To reply to a message, tap Messages then the name of the sender. Enter your message in the text box at the bottom of the screen and tap Send.
Devices
The Devices screen allows you to pair a Bluetooth LE button called a V.BTTN, enabling you to trigger SOS alerts without having to unlock the phone and use the app.
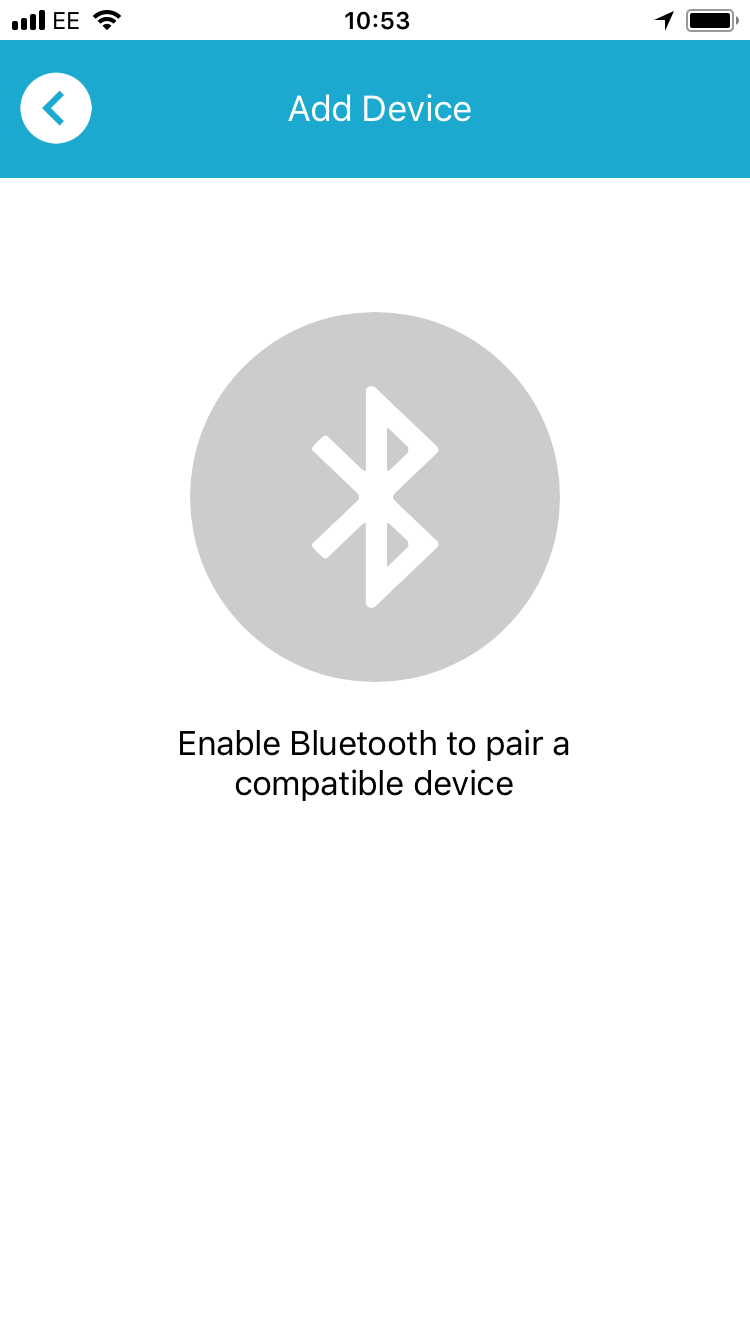
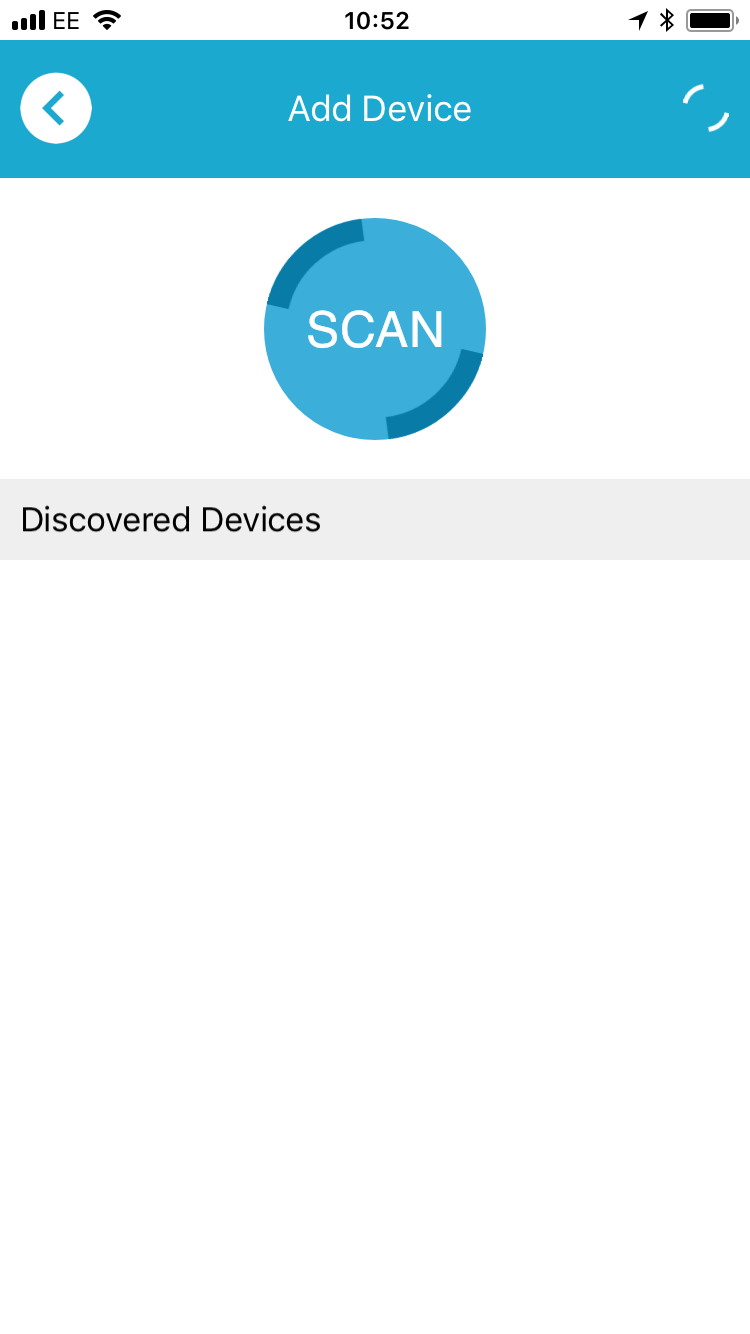
How to connect the V.BTTN
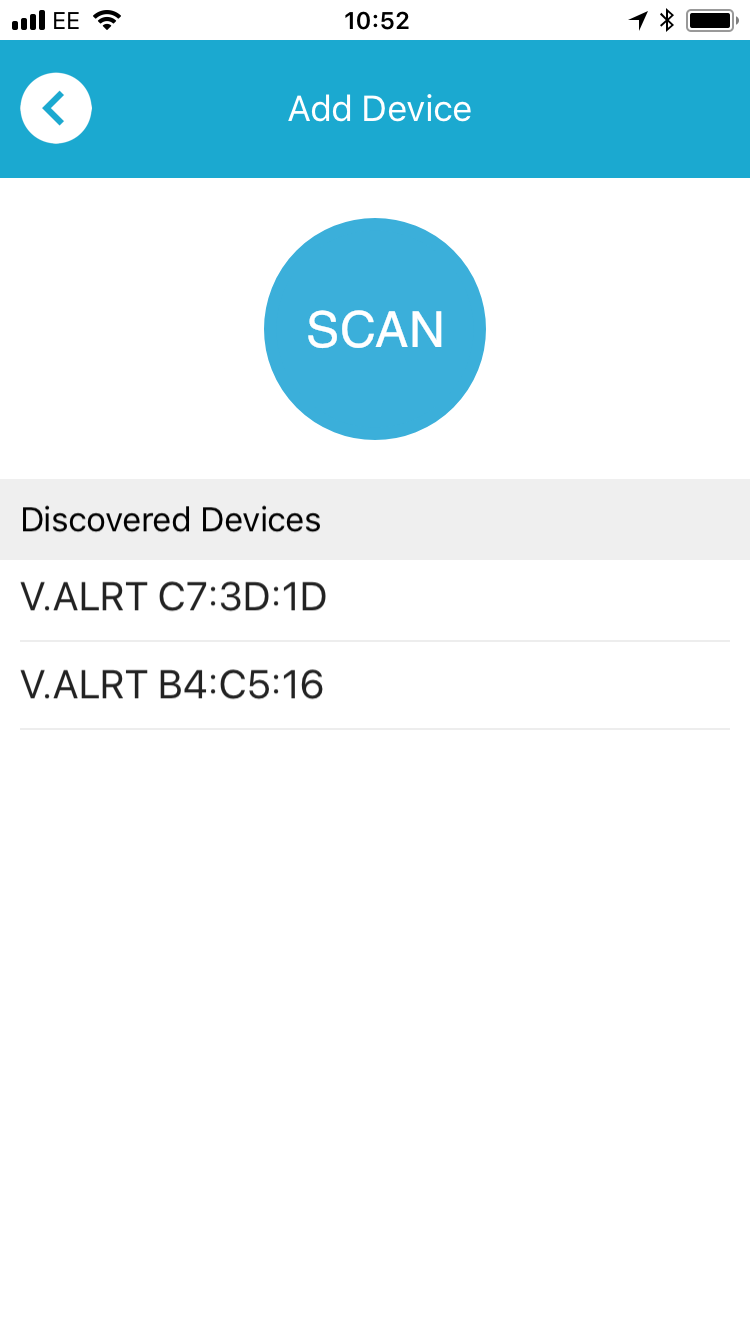
To connect the V.BTTN, make sure Bluetooth is enabled on your device and then tap Devices. If Bluetooth is not enabled, you will be reminded to enable it. Once enabled, tap the Scan button. A list of available V.BTTNs will appear below. Tap on the device you wish to connect. The V.BTTN should beep and display a green light; the app will also display that it is connected to the V.BTTN.
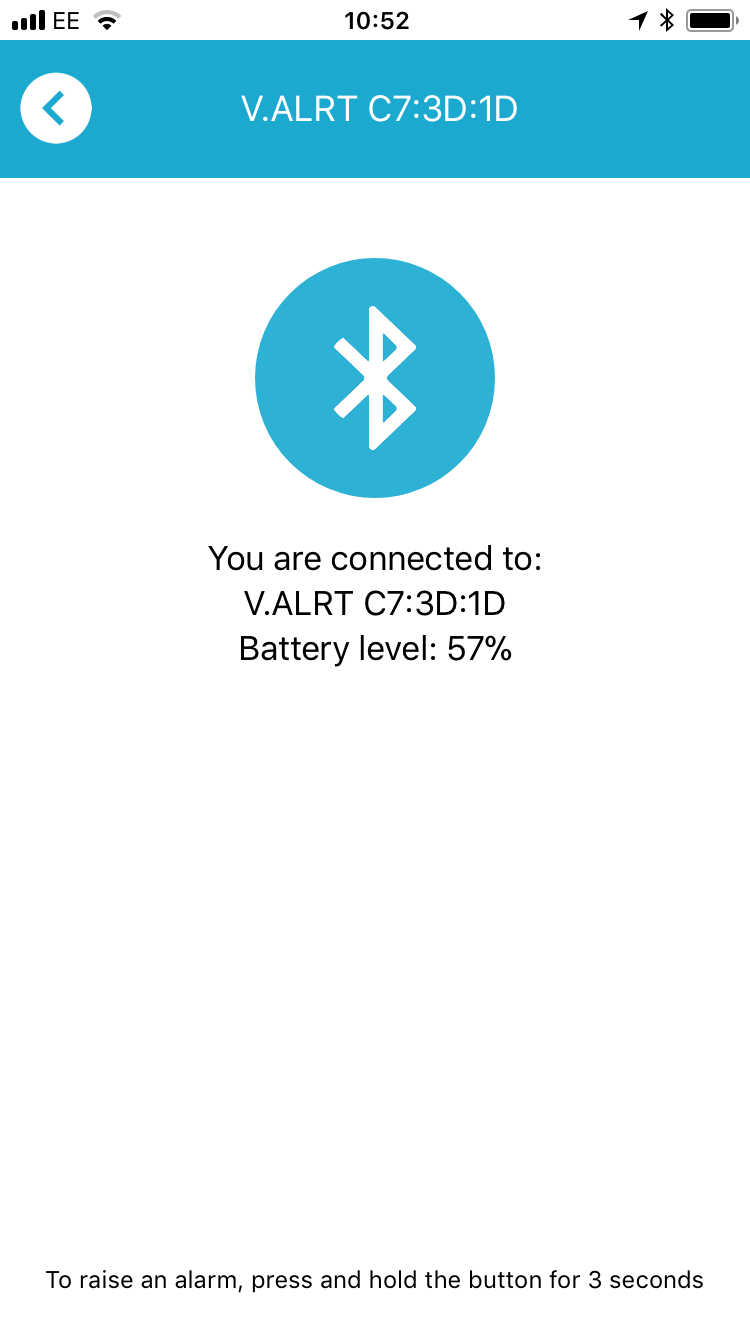
How to trigger an SOS via the V.BTTN
To trigger an SOS via the V.BTTN, press and hold the button for 3 seconds and release. The button will flash red and beep twice. Once the app has received the alert from the button, the V.BTTN will flash alternate red and green.
How to cancel an SOS
To cancel as SOS you triggered via the V.BTTN, you must use the app to cancel in the normal way. Cancelling an SOS via the V.BTTN is not currently supported.
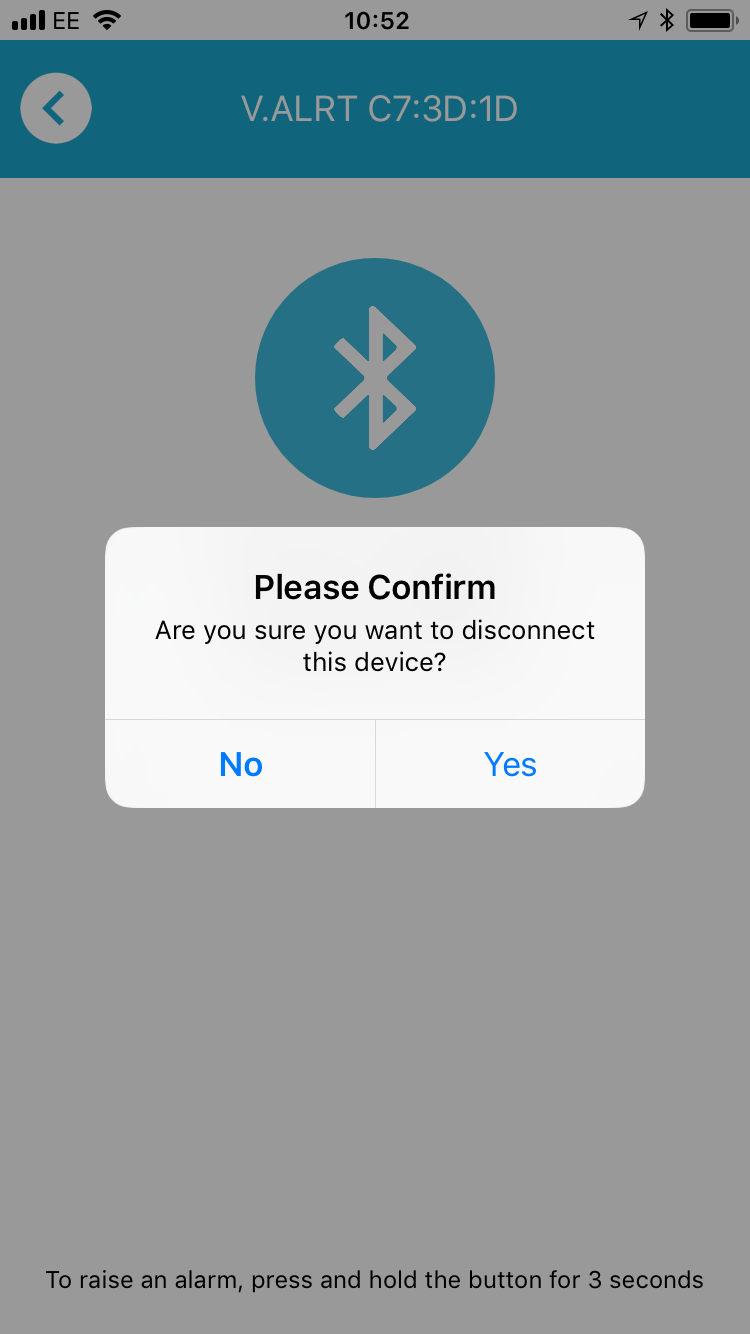
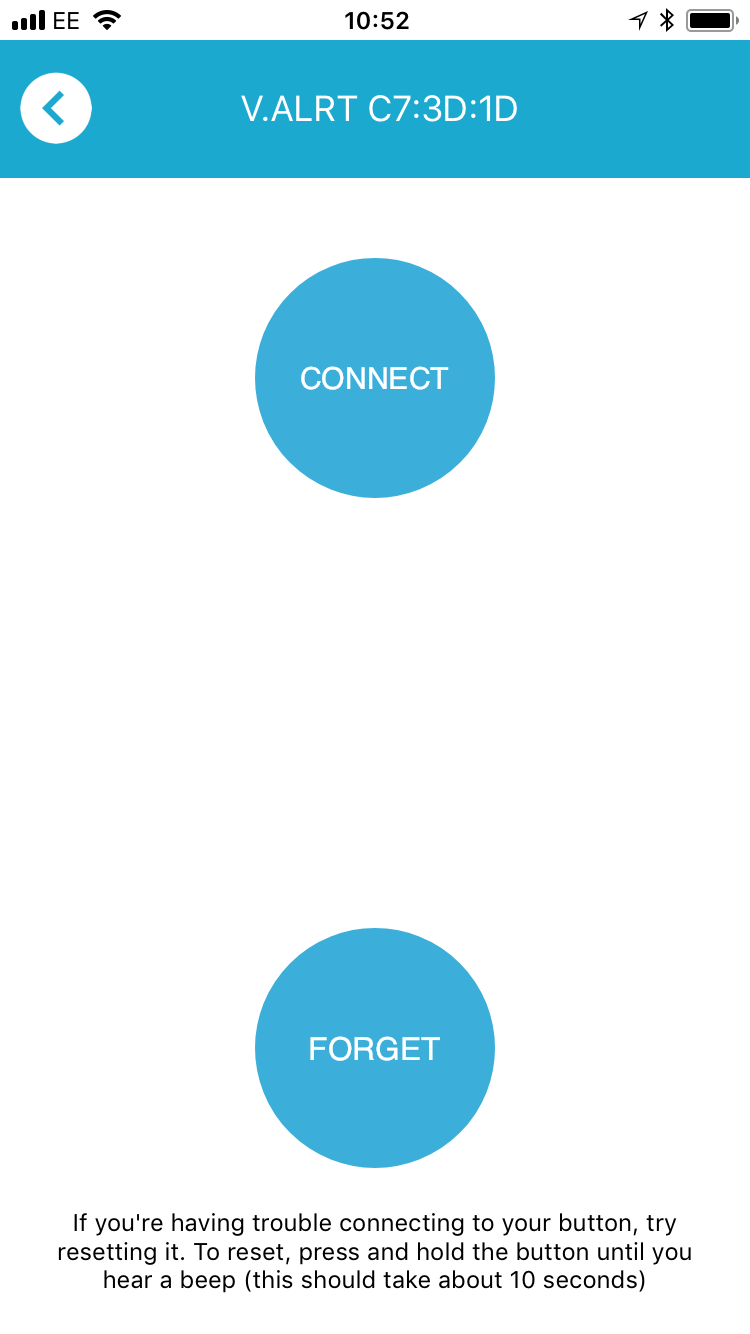
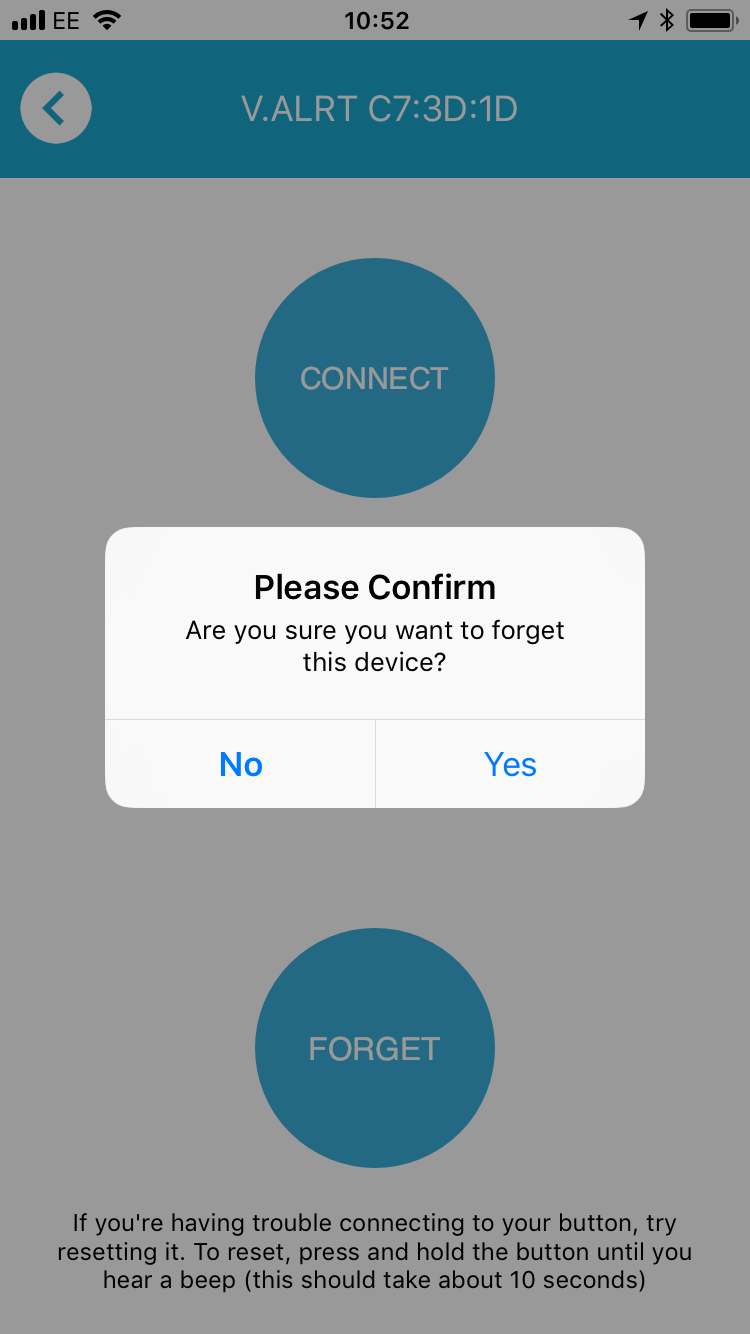
How to disconnect a V.BTTN
To disconnect the V.BTTN, tap Devices and then tap the flashing Bluetooth button. Accept the prompt to disconnect the device. The V.BTTN will beep twice and flash red for a few seconds. To forget the device permanently, tap Forget. To reconnect, tap Connect.
Travel Advice
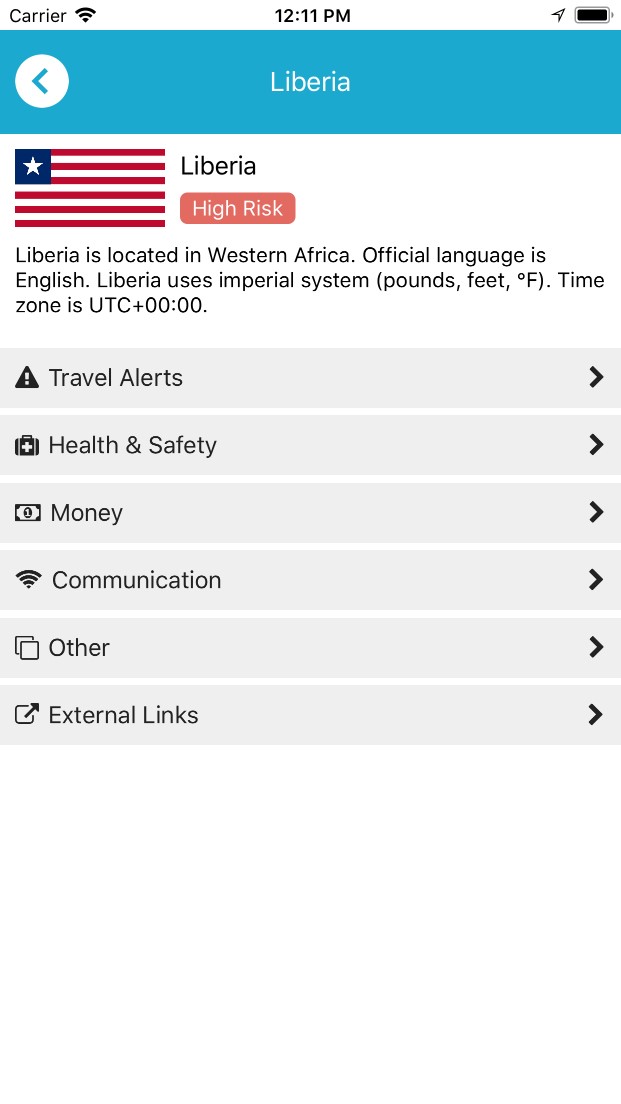
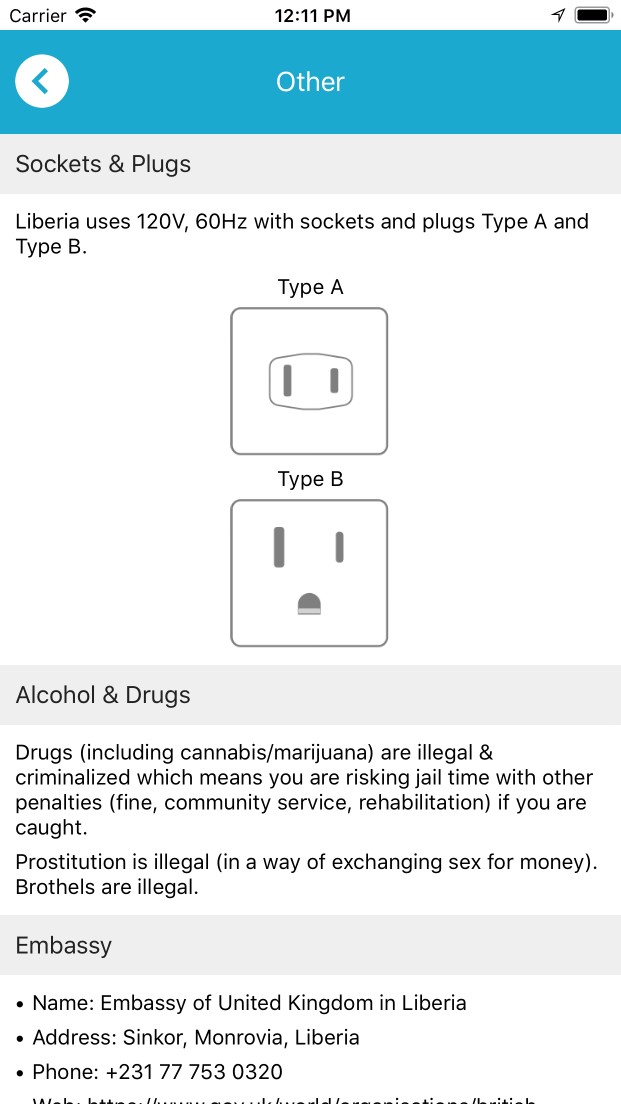
You can access comprehensive travel advice via the "Travel Advice" screen. Advice and information includes:
- Health, money, communication and cultural information
- Links to your risk provider's country brief (if available)
- The country risk rating (if available)
- Links to travel advice provided by various government of English-speaking nations (if available)
Note: certain elements of the Travel Advice functionality are available for GAP Insights customers only.
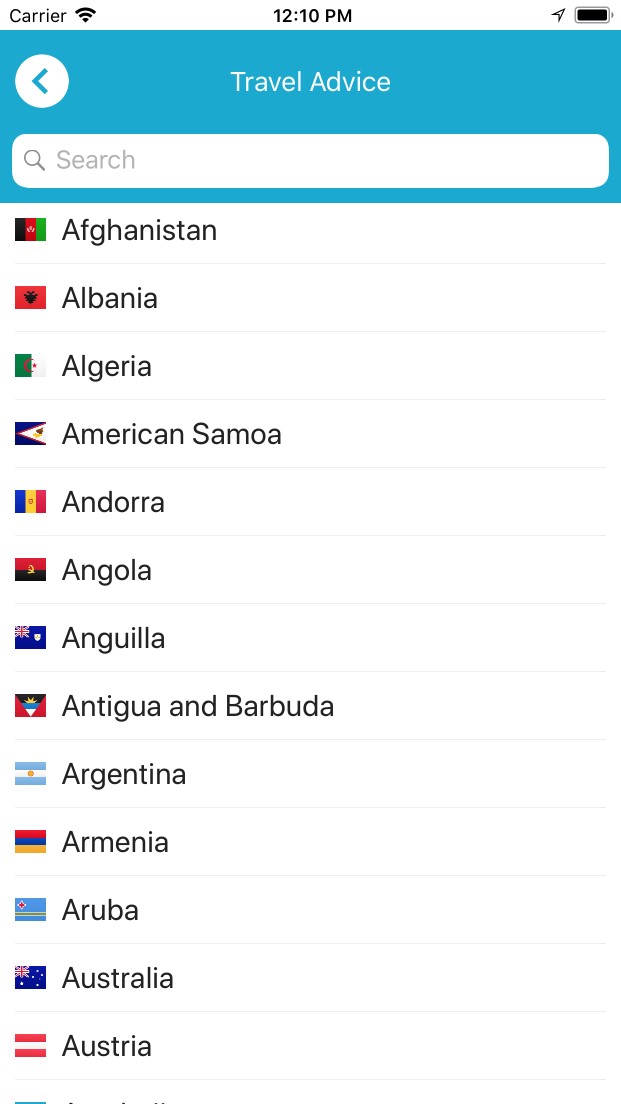
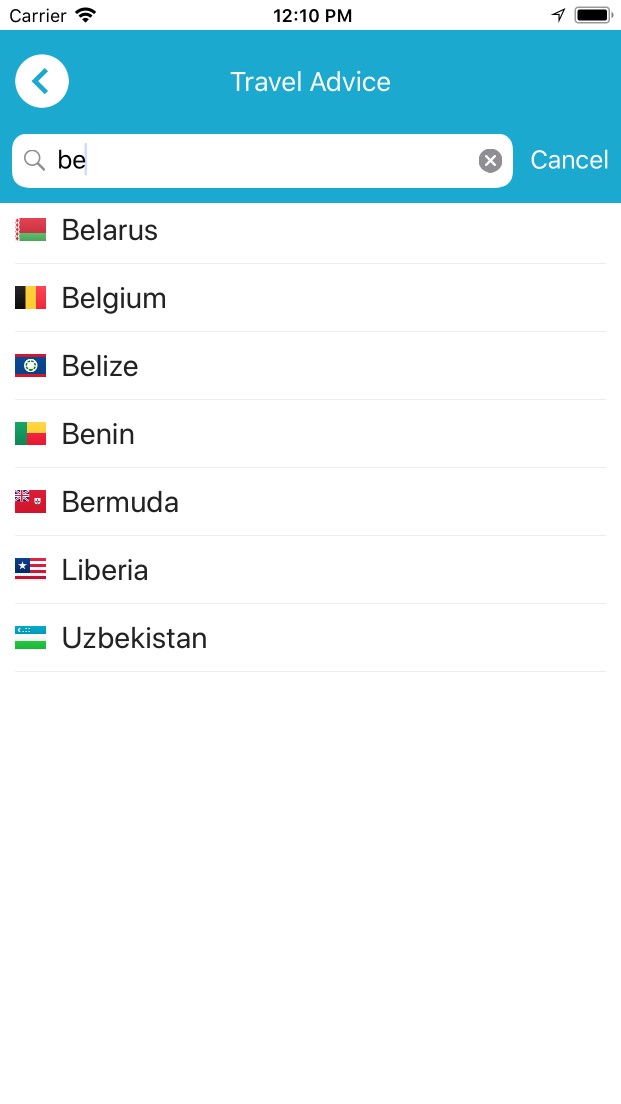
How to view advice for a specific country
To view the advice for a specific country, tap the Travel Advice button and then tap on the name of the country in question. Each section can be expanded by tapping on it.
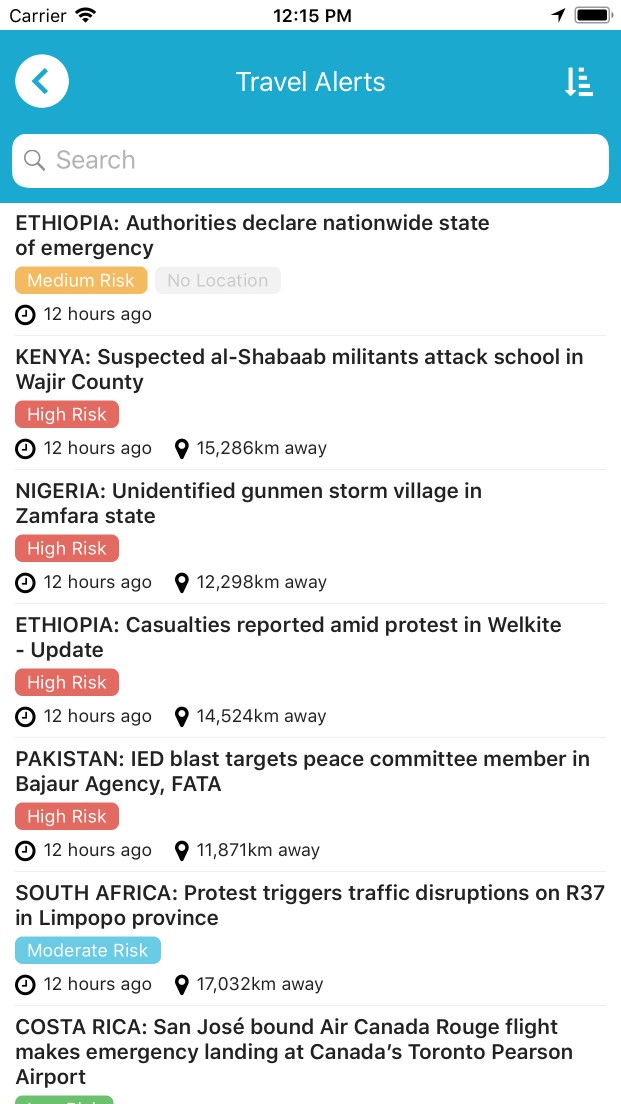
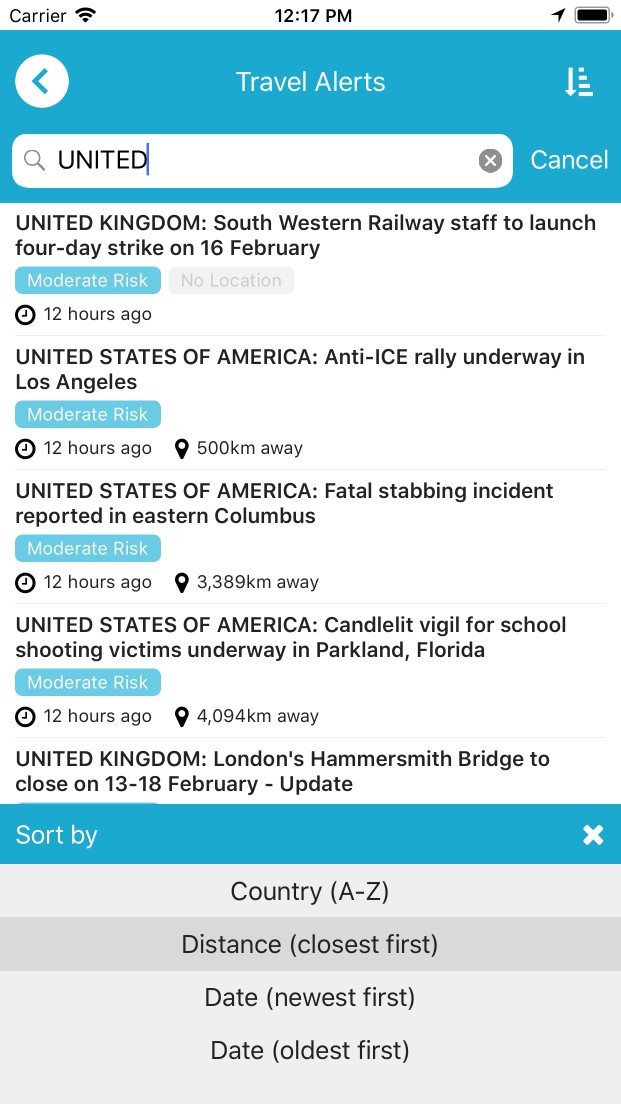
Travel Alerts
Note: the Travel Alerts function is available for GAP Insights customers only.
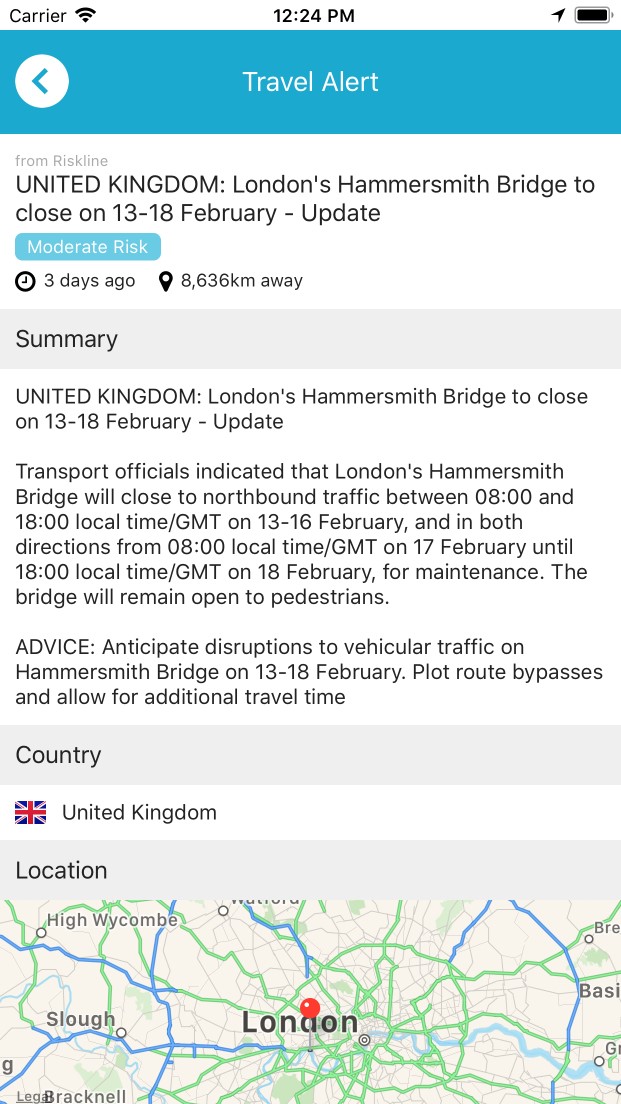
How to view travel alerts
To view travel alerts, tap the Travel Alerts button. Tap on an alert to view further details.
Documents
Note: the Documents function is available for GAP Insights customers only.
How to view documents
To view documents, tap the Documents button. Tapping on a folder will open that folder. Tapping on a document will open the document (if the file format is supported by your device). To navigate back up the folder structure, tap the back icon on the banner.
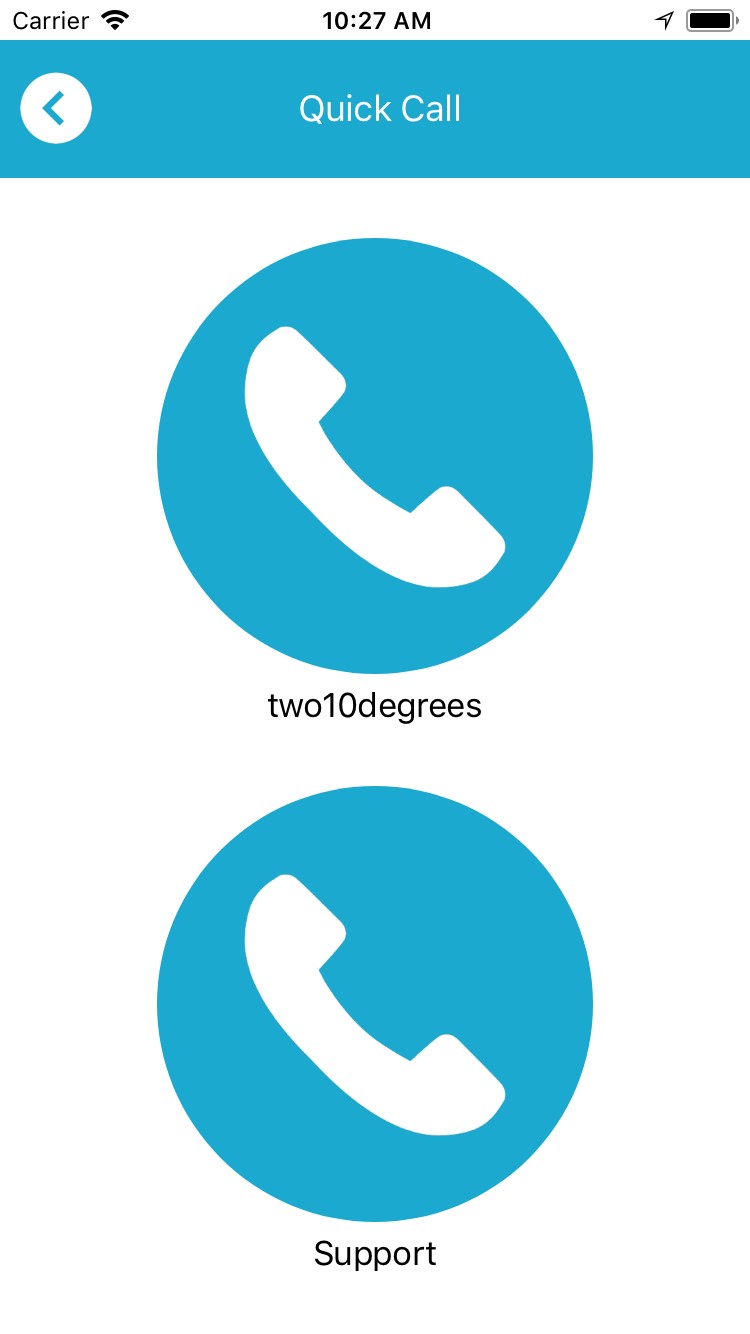
Quick Call
The Quick Call function presents you with two buttons to initiate phone calls to numbers configured by your administrator.
How to initiate a call
To initiate a quick call, tap the Quick Call button then tap the button representing the number you wish to dial.
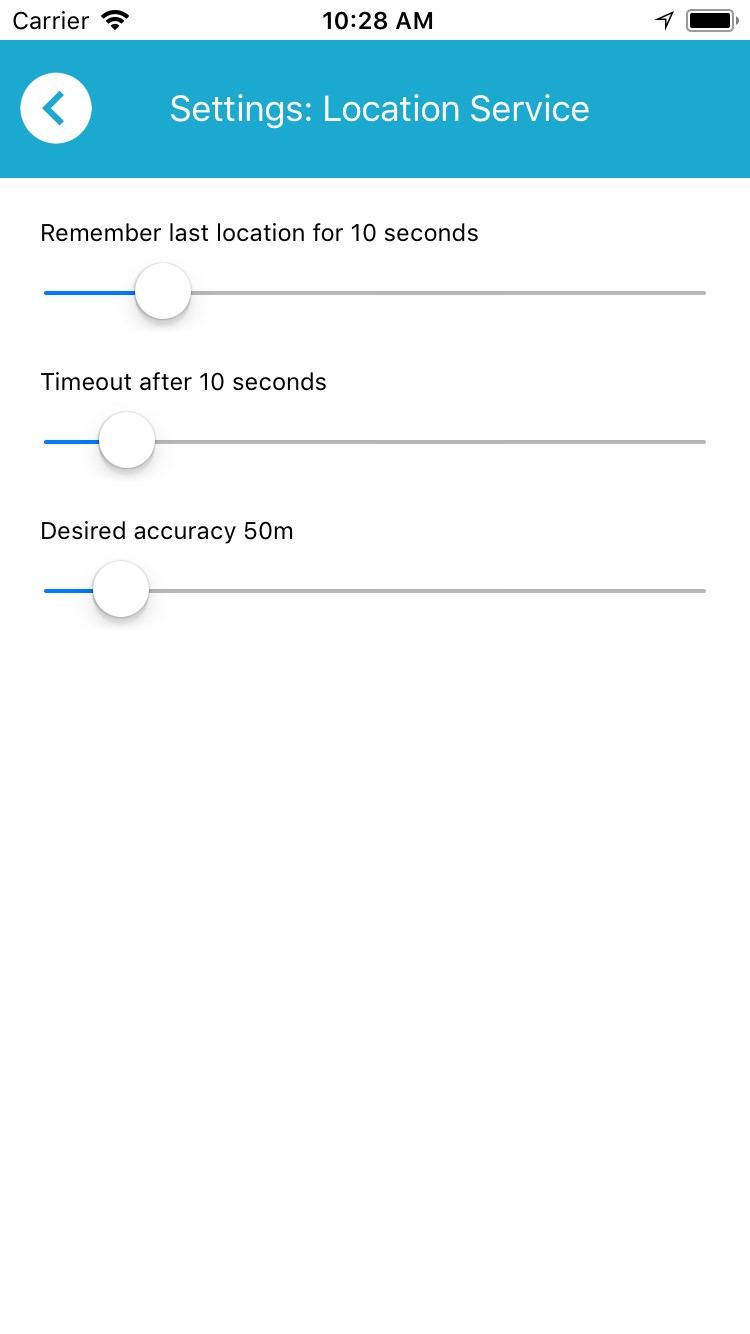
Location Service Settings
You can configure how the app obtains a location from the device's operating system using the Location Service settings screen. On this screen you can configure:
- How long the app will remember its last position ("Remember last location for...")
- How long the app will spend trying to obtain a new position ("Timeout after...")
- How accurate you would ideally like the position data to be ("Desired accuracy...")
How to configure your location service settings
To configure location service settings, tap Settings then tap Location Service. Drag the sliders to the desired values.
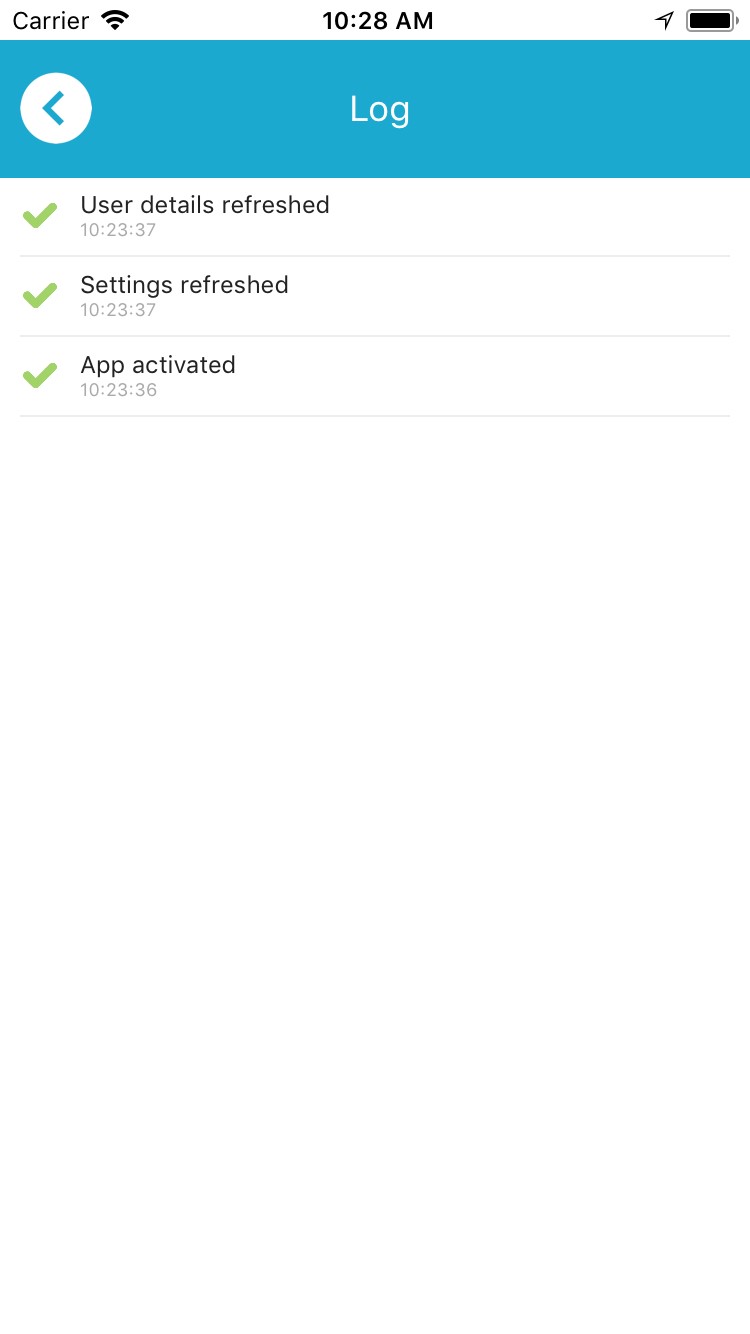
Log
The Log screen contains information on the app's activities, including any warnings and errors.
How to view the log
To view the log, tap Settings then tap Log.
Deactivation
Deactivating the app will delete your settings and return the app to the Login screen. You will need to login again before the app will function.
How to deactivate your app
To deactivate the app, tap Settings then tap the Deactivate link at the bottom of the screen.